Other
Various APEX AIOps Incident Management content that does not fit in any of the above categories
BASIC | 2 MIN
Demo video: Executive Summary in APEX AIOps Incident Management ►
This video explains how to use the Executive Summary feature in APEX AIOps Incident Management to give you a high level understanding of your operations performance.
*Please note Moogsoft is now part of Dell's IT Operations solution called APEX AIOps, and changed its name to APEX AIOps Incident Management. The UI in this video may differ slightly but the content covered is still relevant.
You may have set up team dashboards to monitor the performance of each team. But at the executive level, you need the overall understanding of how things are going.
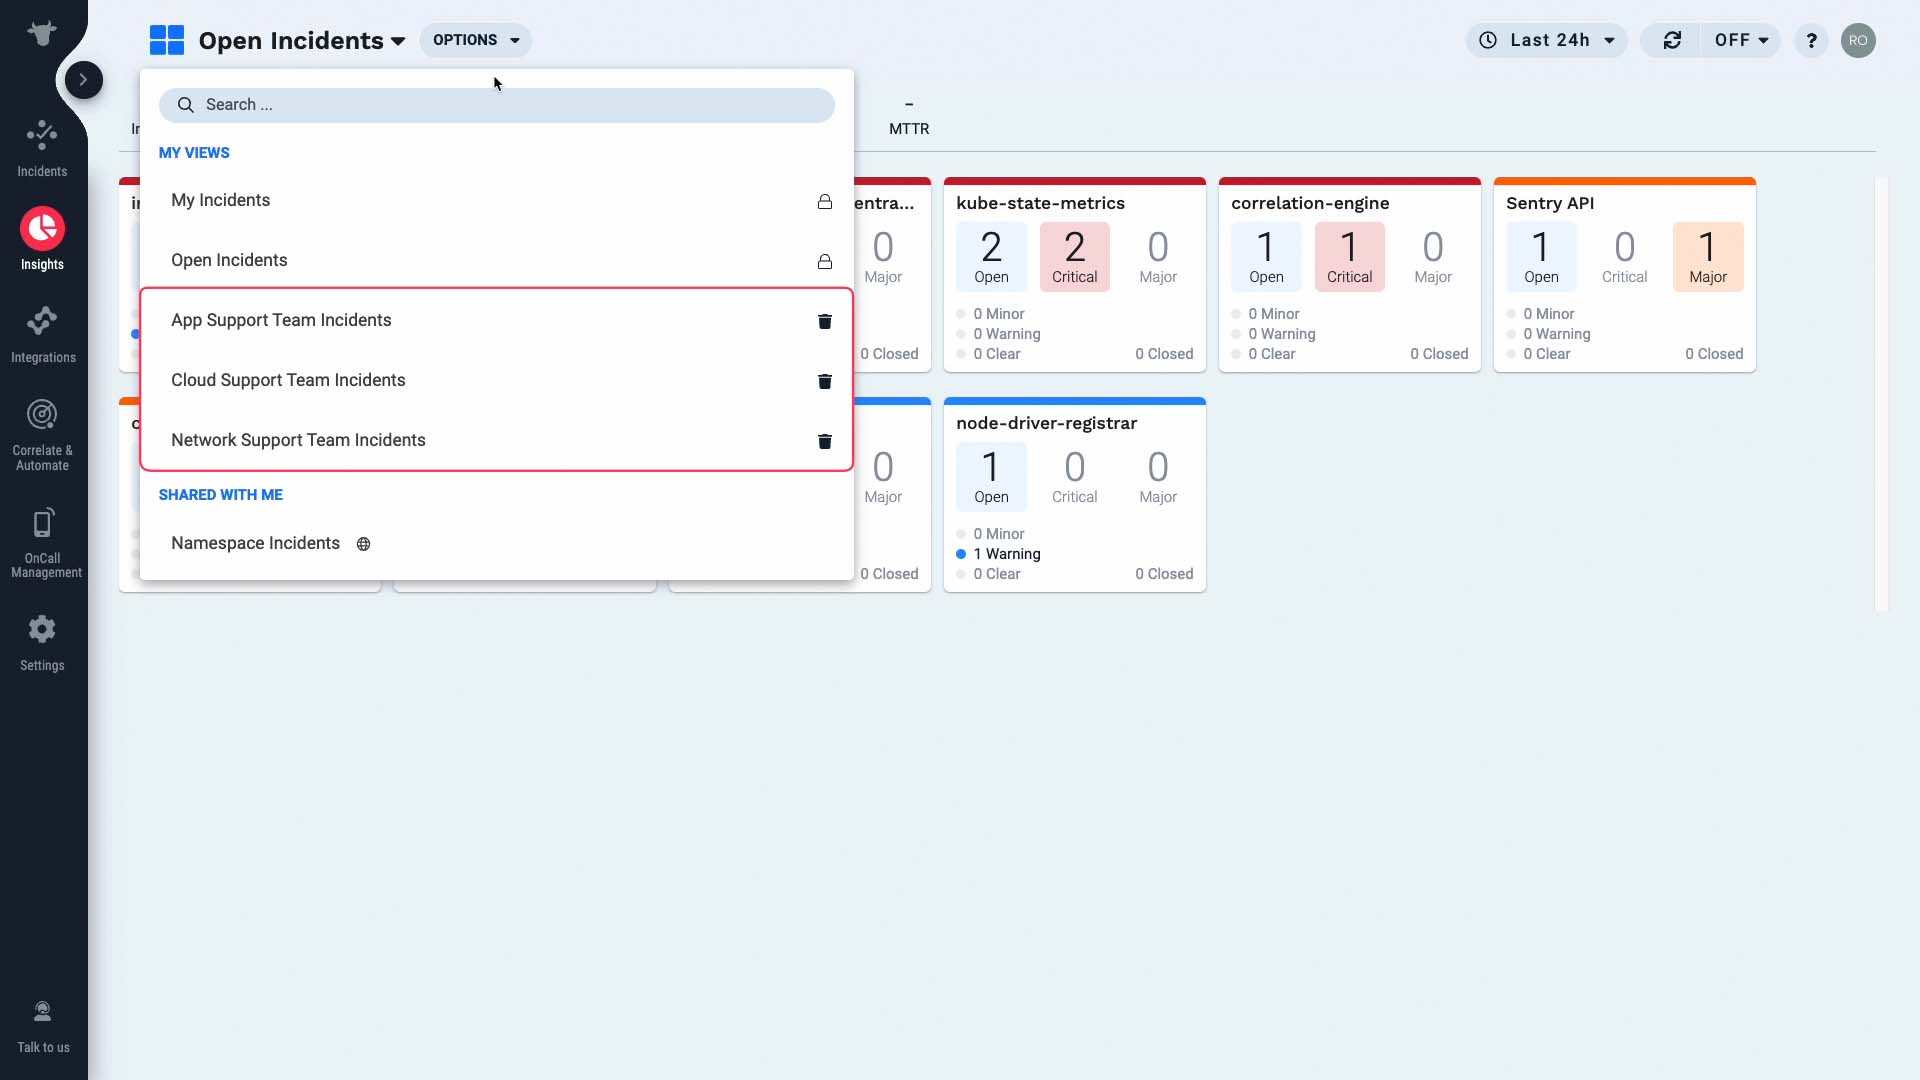
The executive summary page is perfect for that purpose.
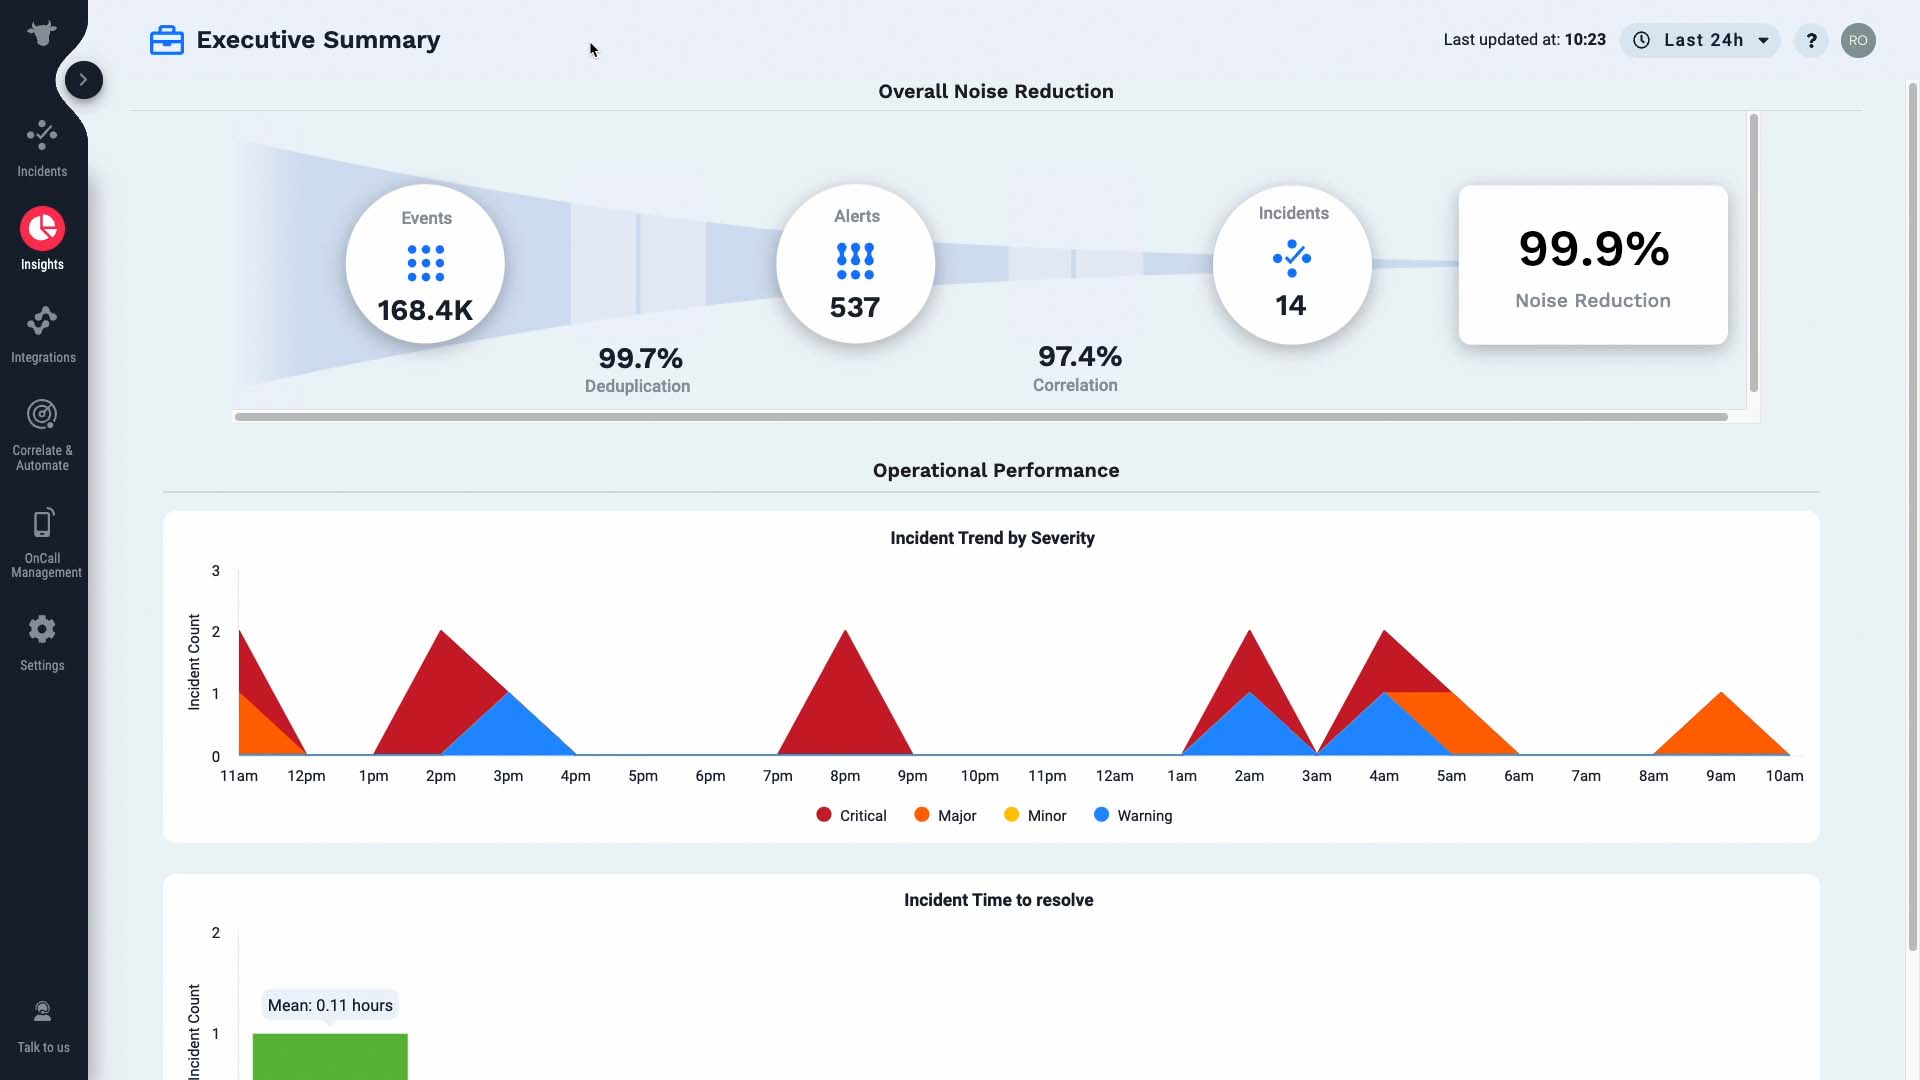
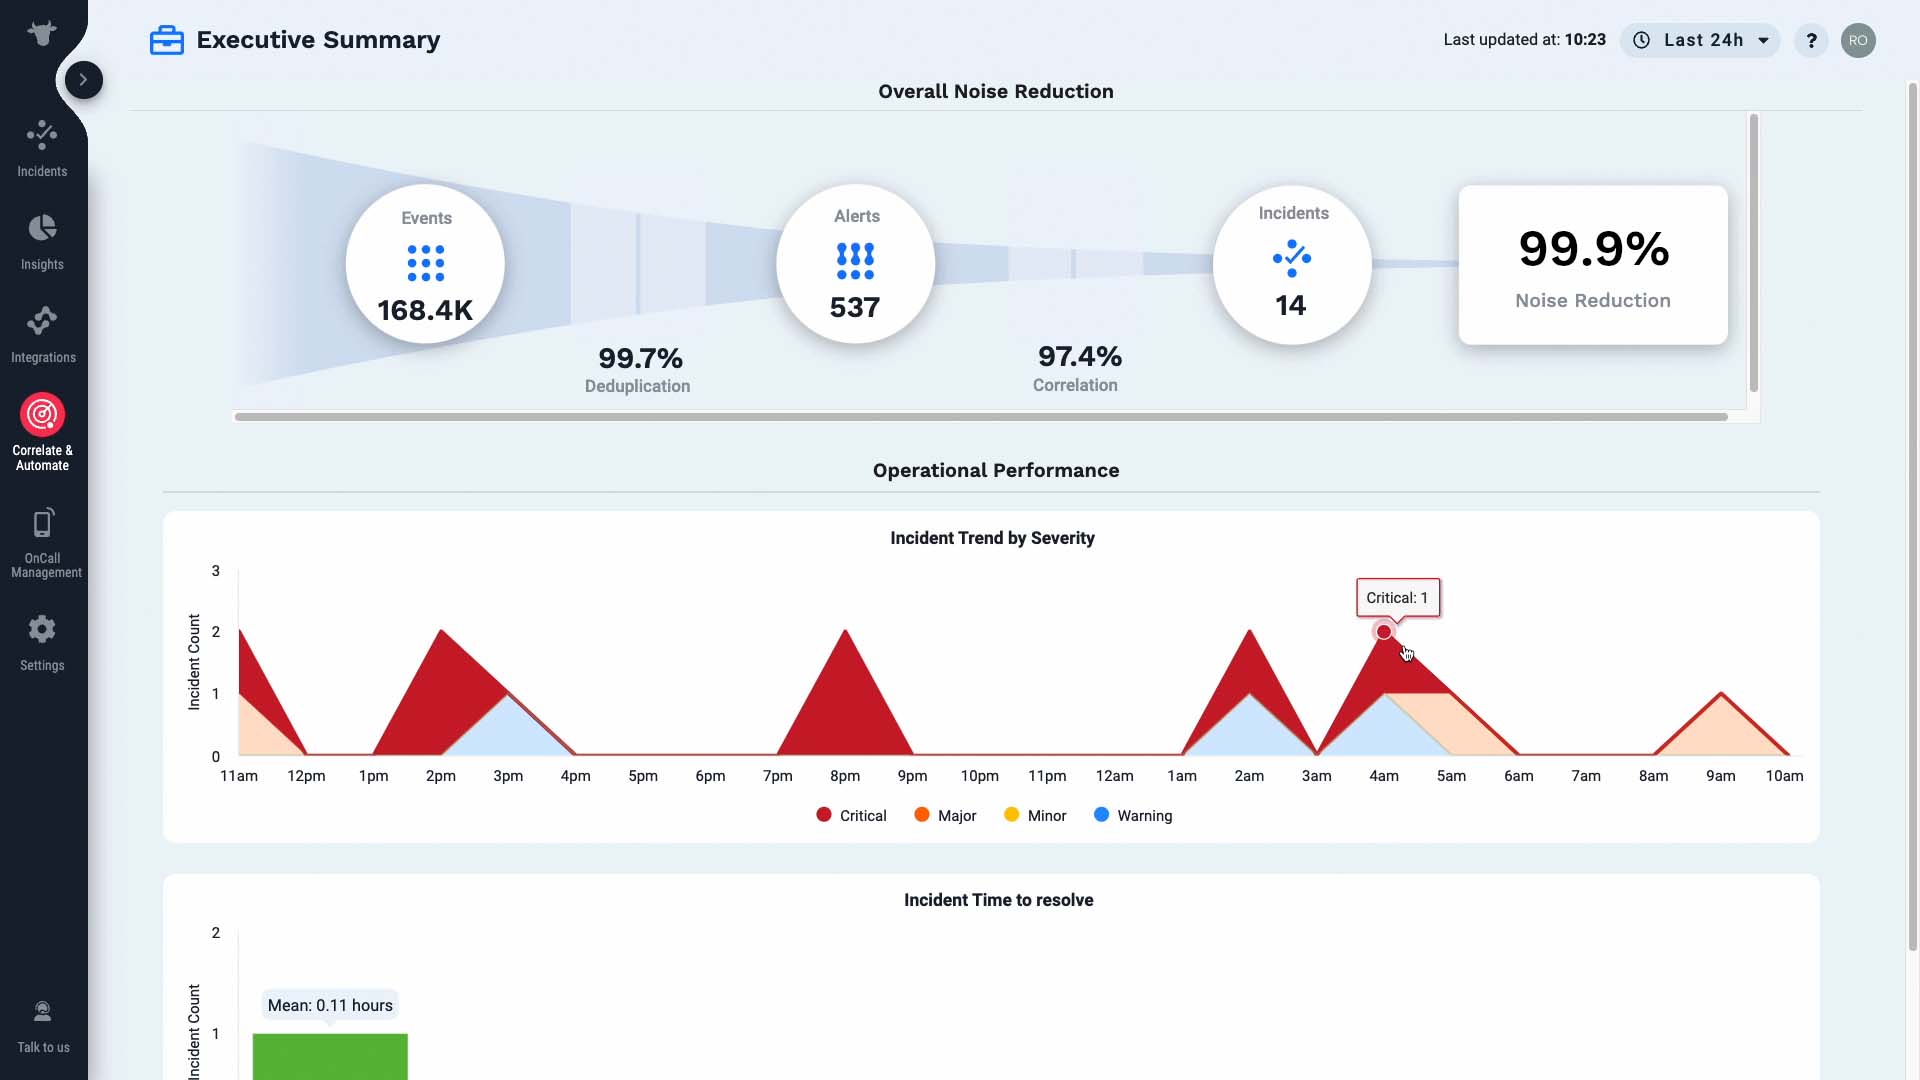
The top row tells you how Incident Management is helping your operational efficiency.
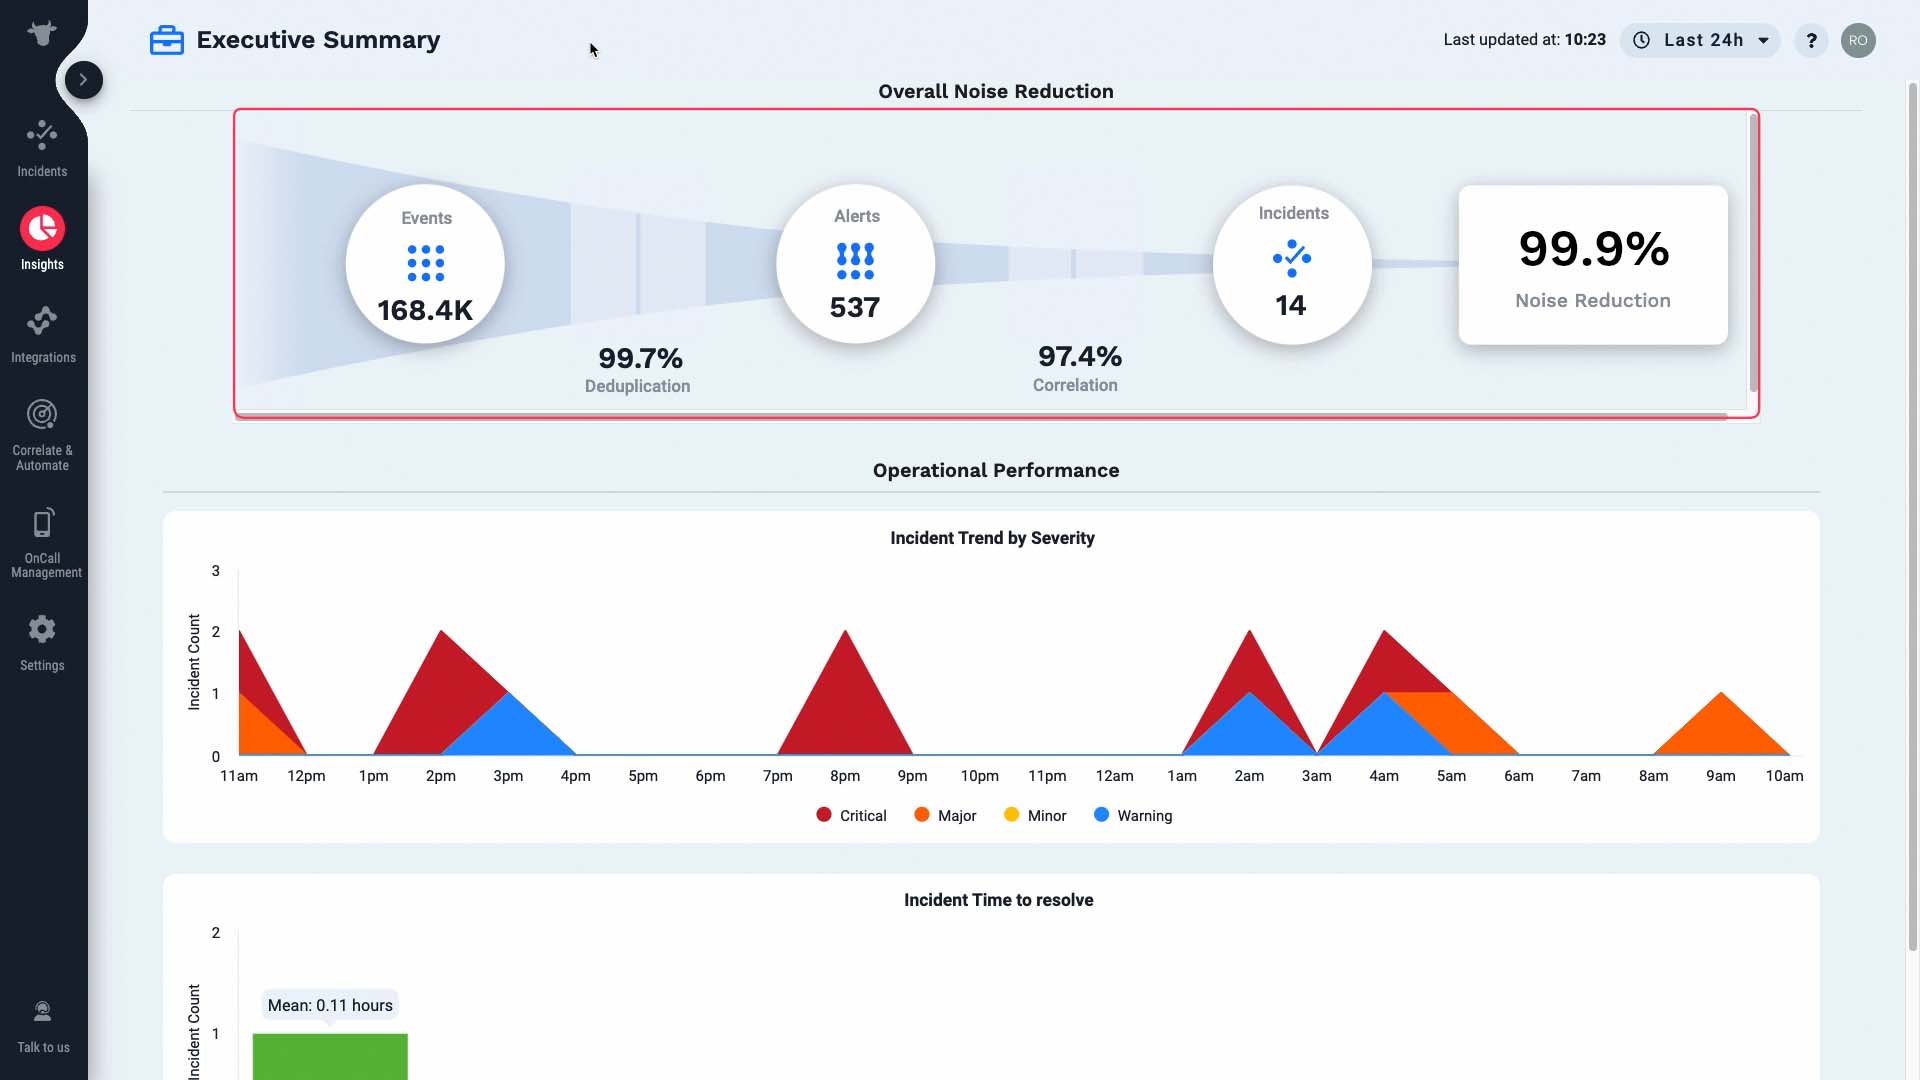
In this instance, the 99.7% of incoming events were deduplicated into 537 alerts.
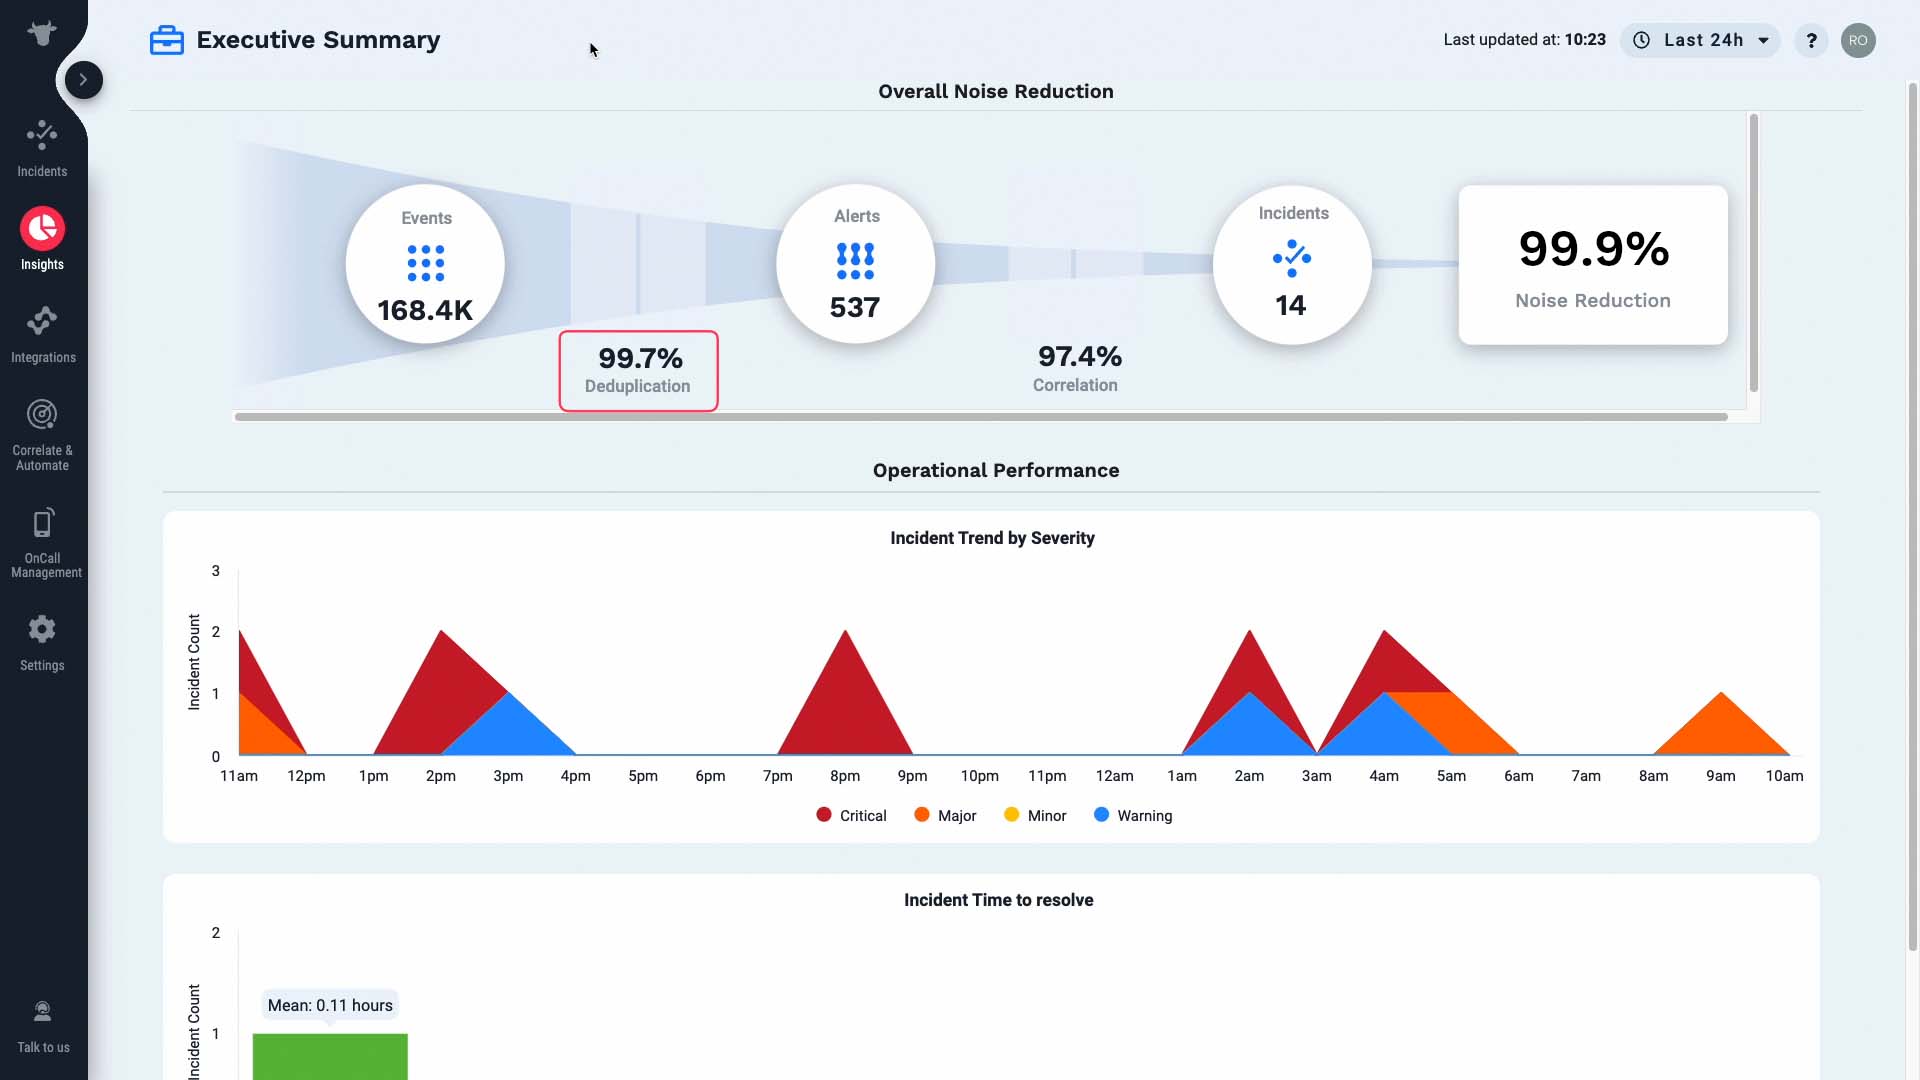
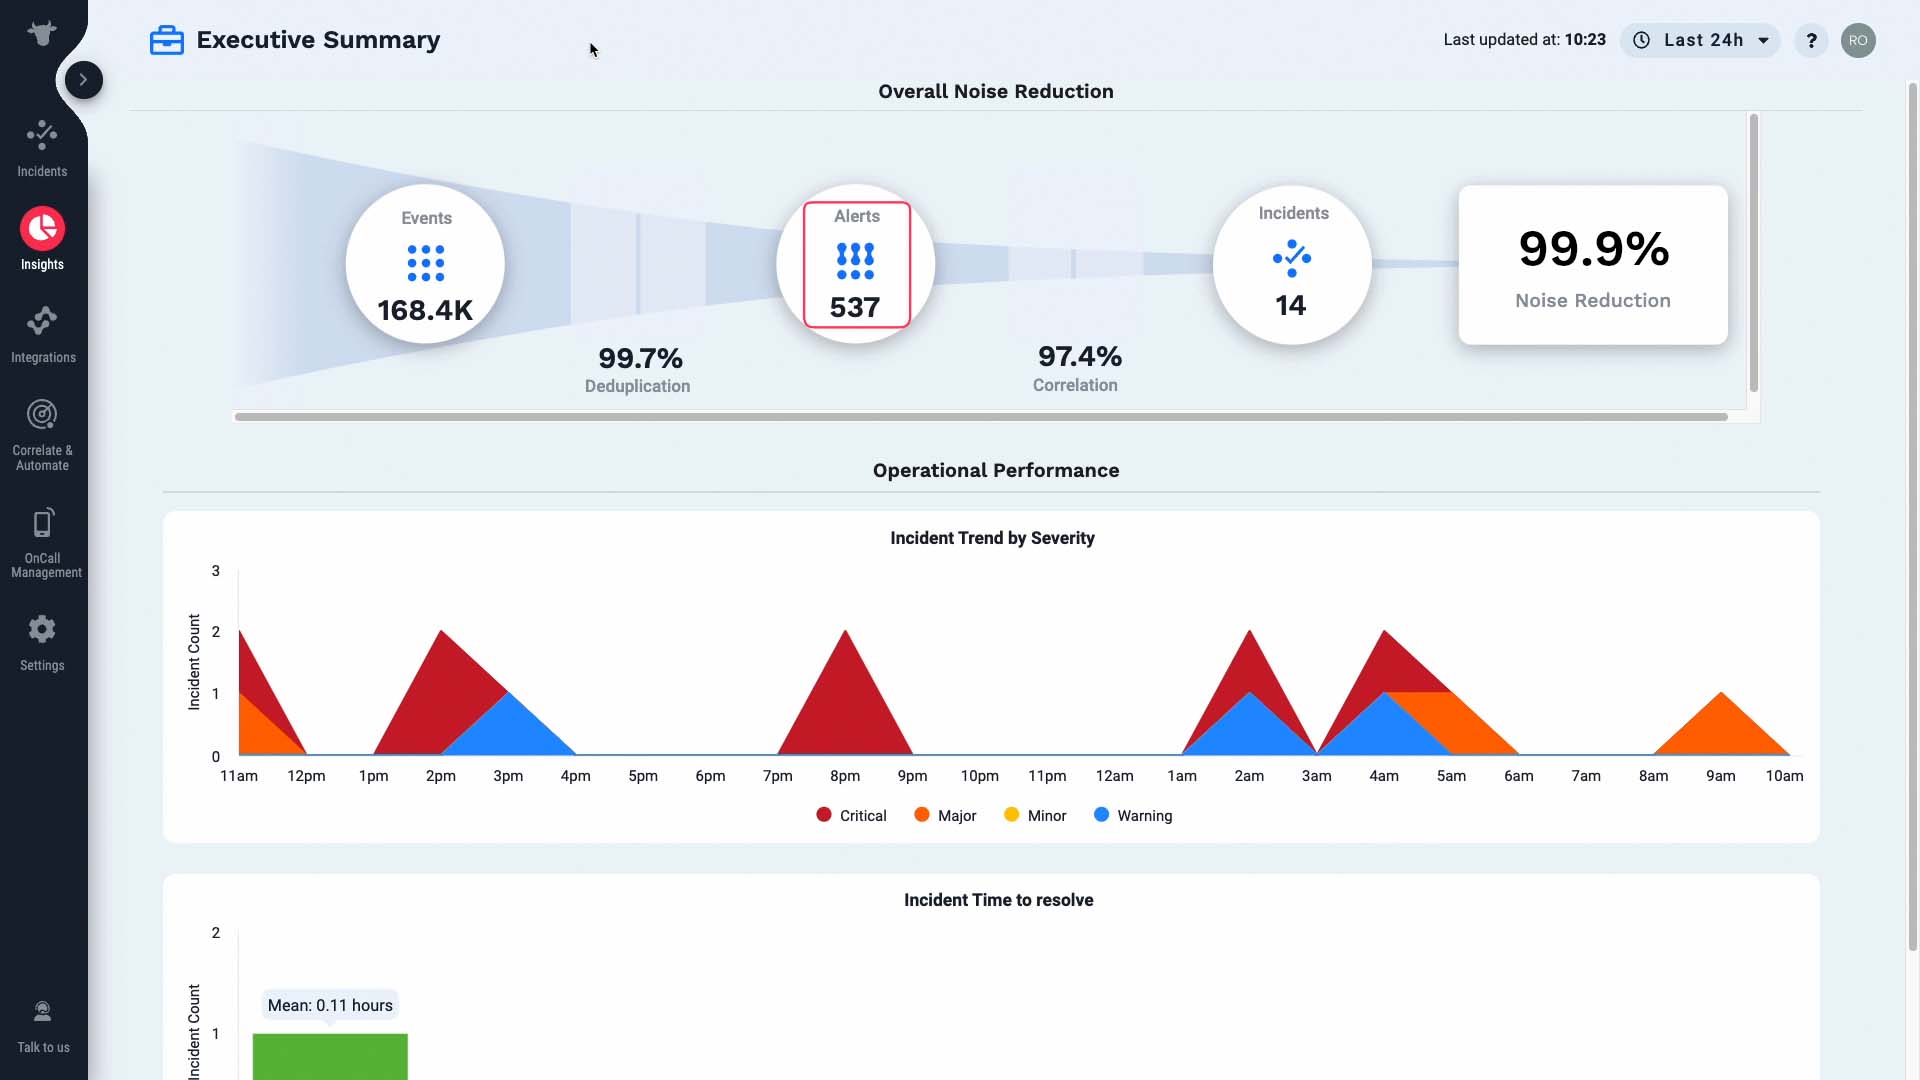
Then those alerts were grouped by their relatedness into 14 incidents.
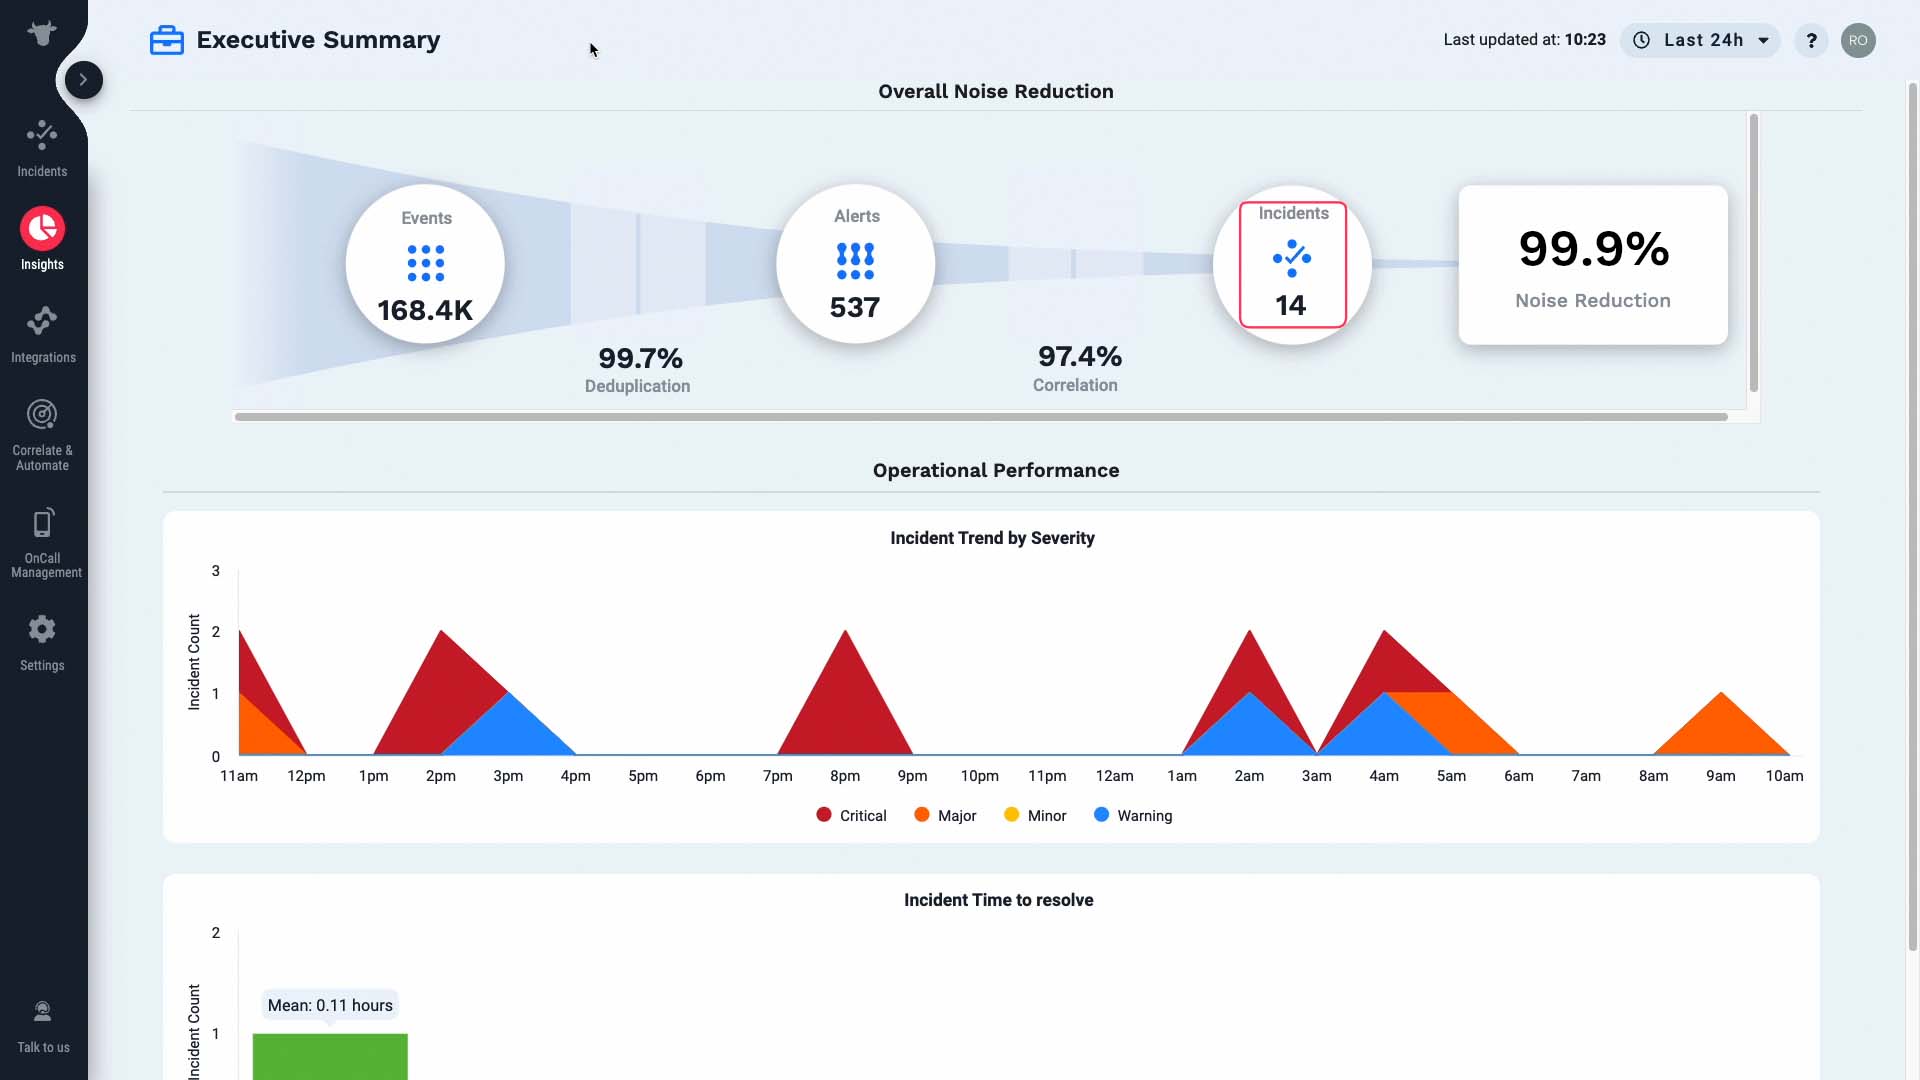
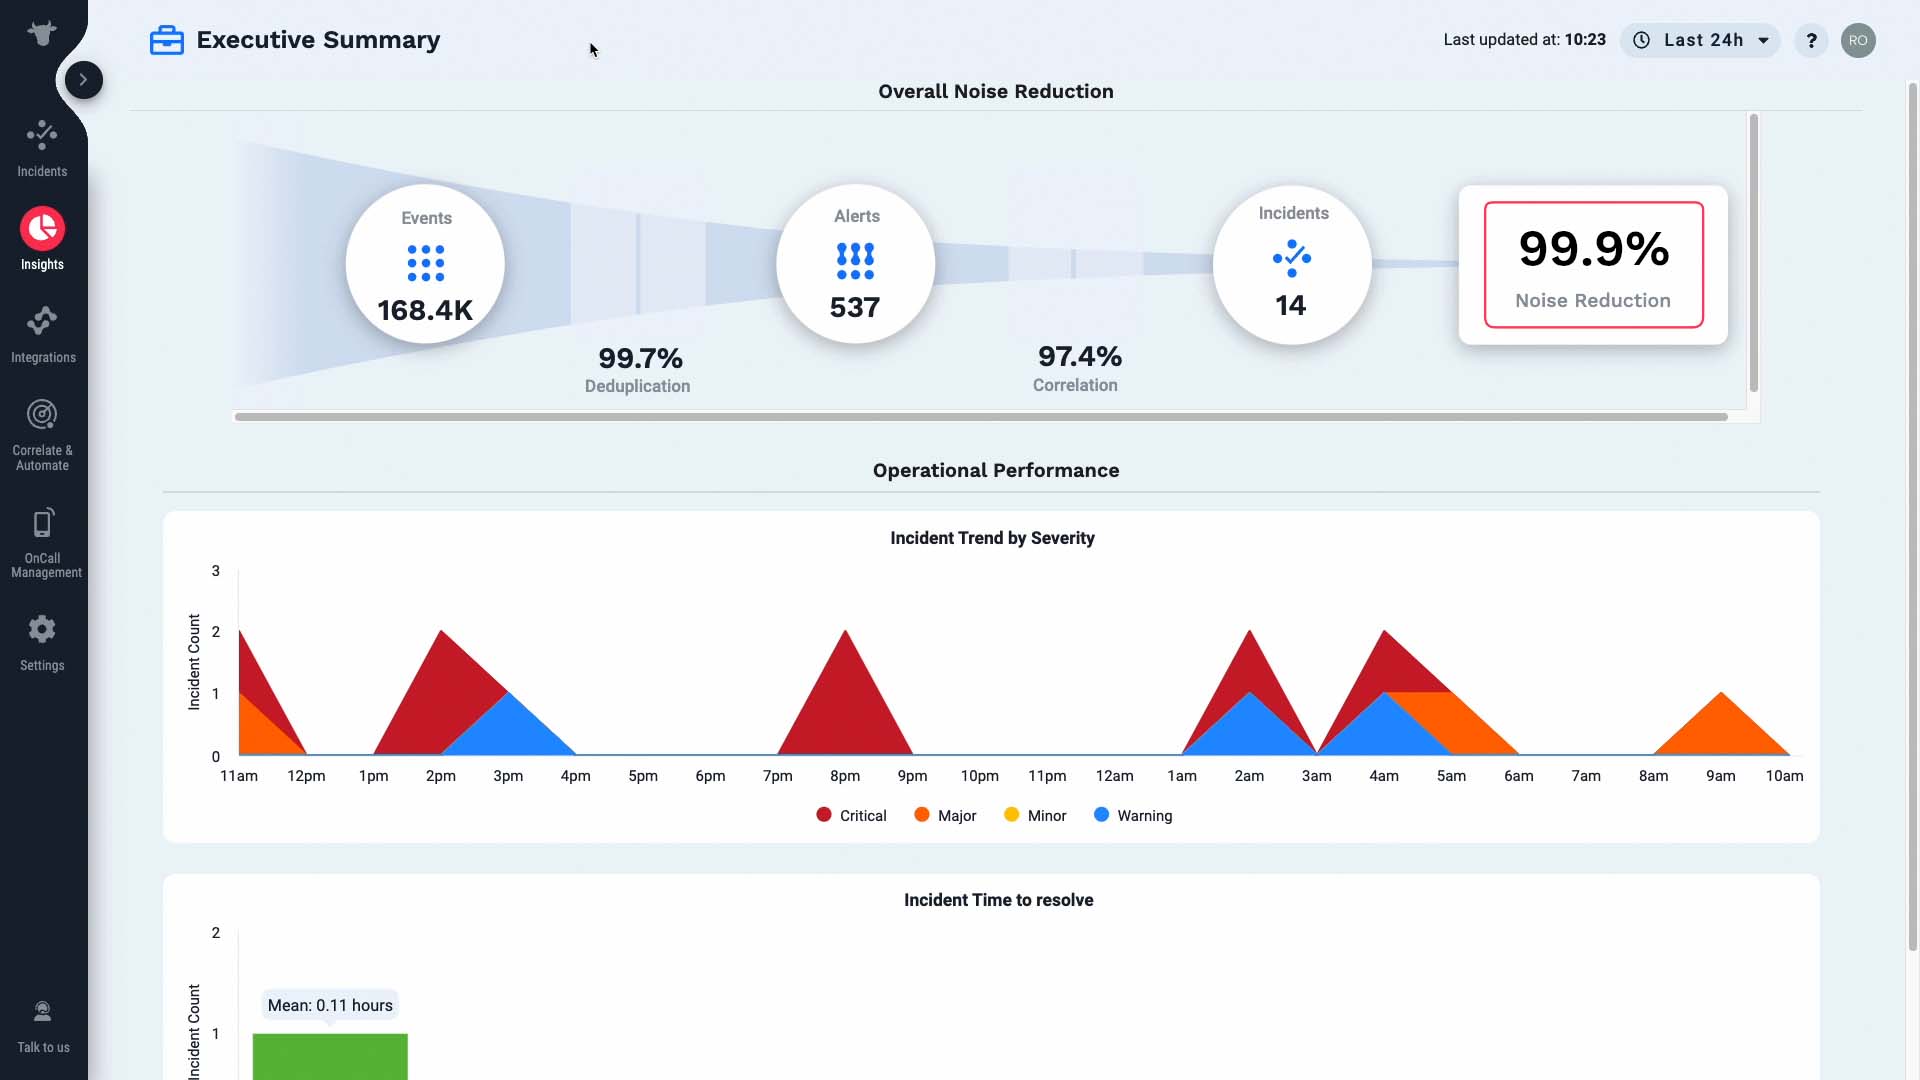
So Incident Management has reduced 99.9% of the noise for you.
And if needed, you can examine each item with one hop.
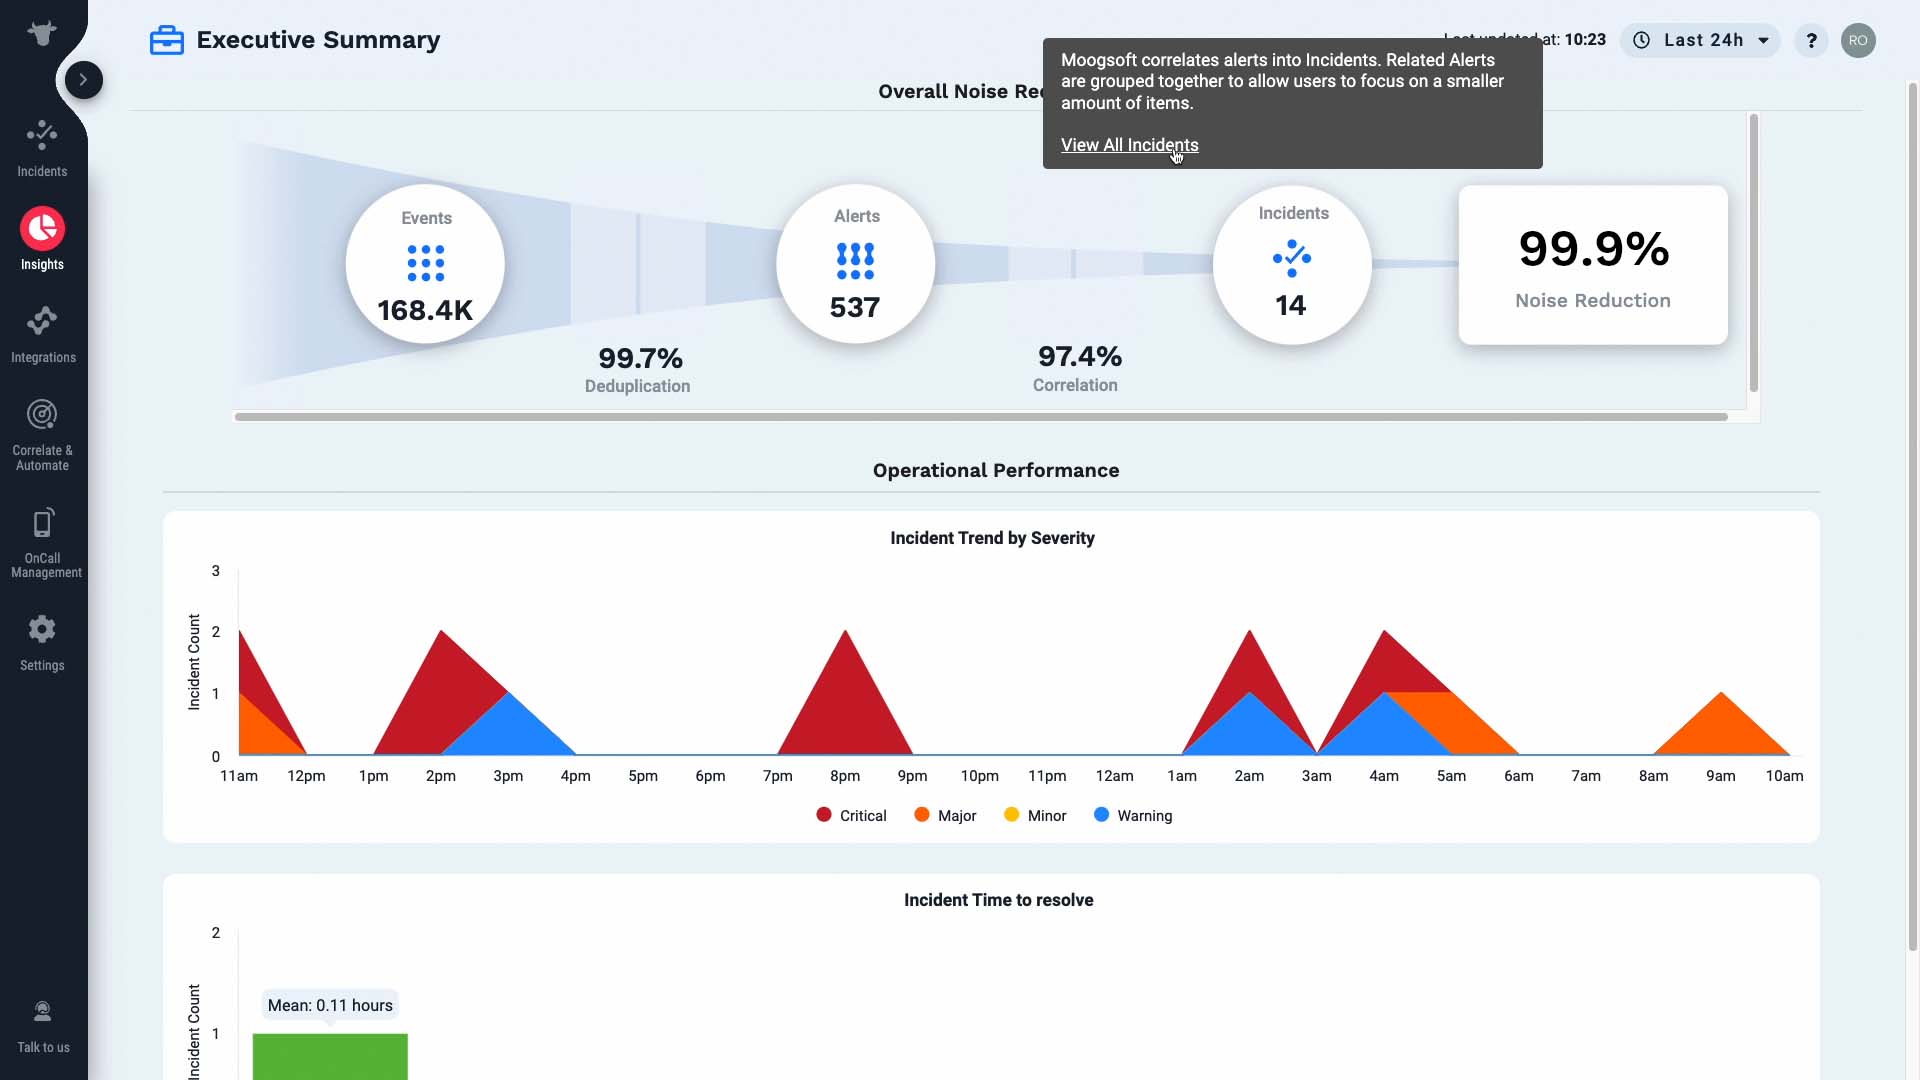
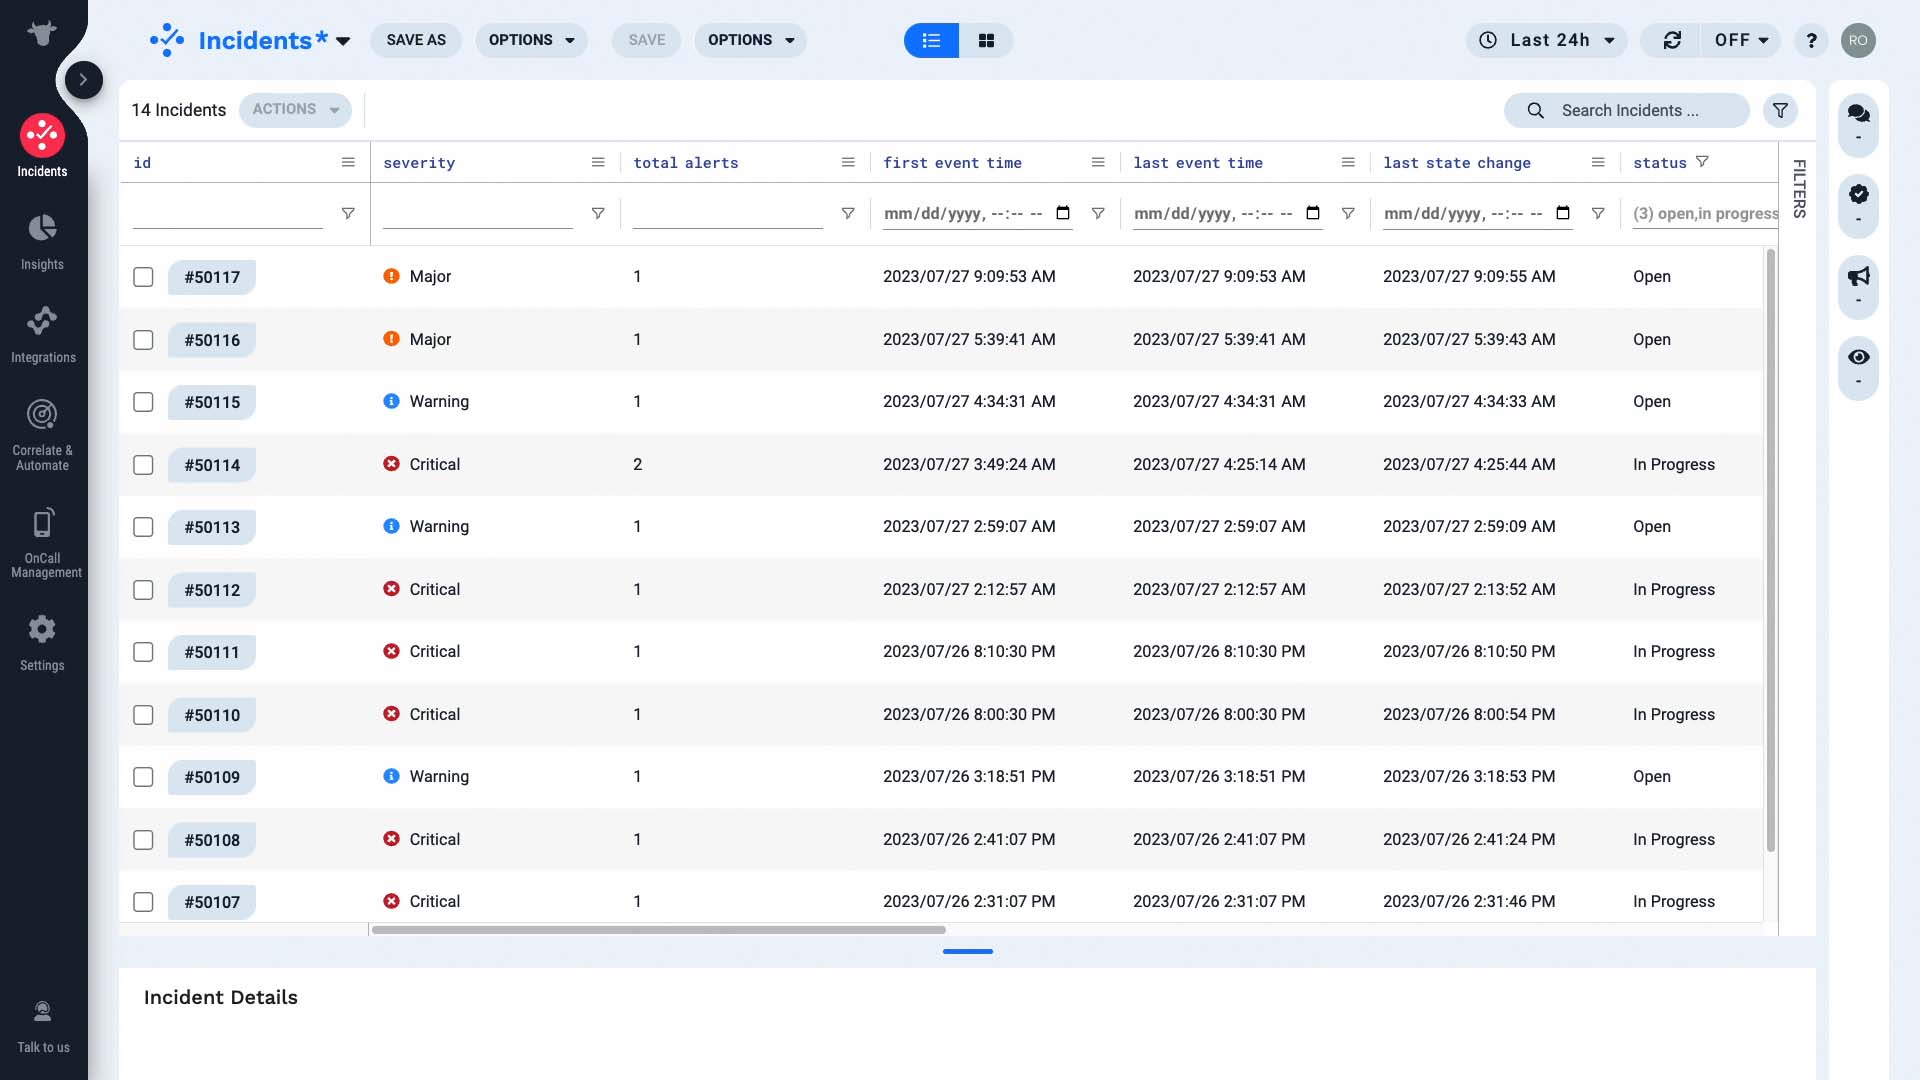
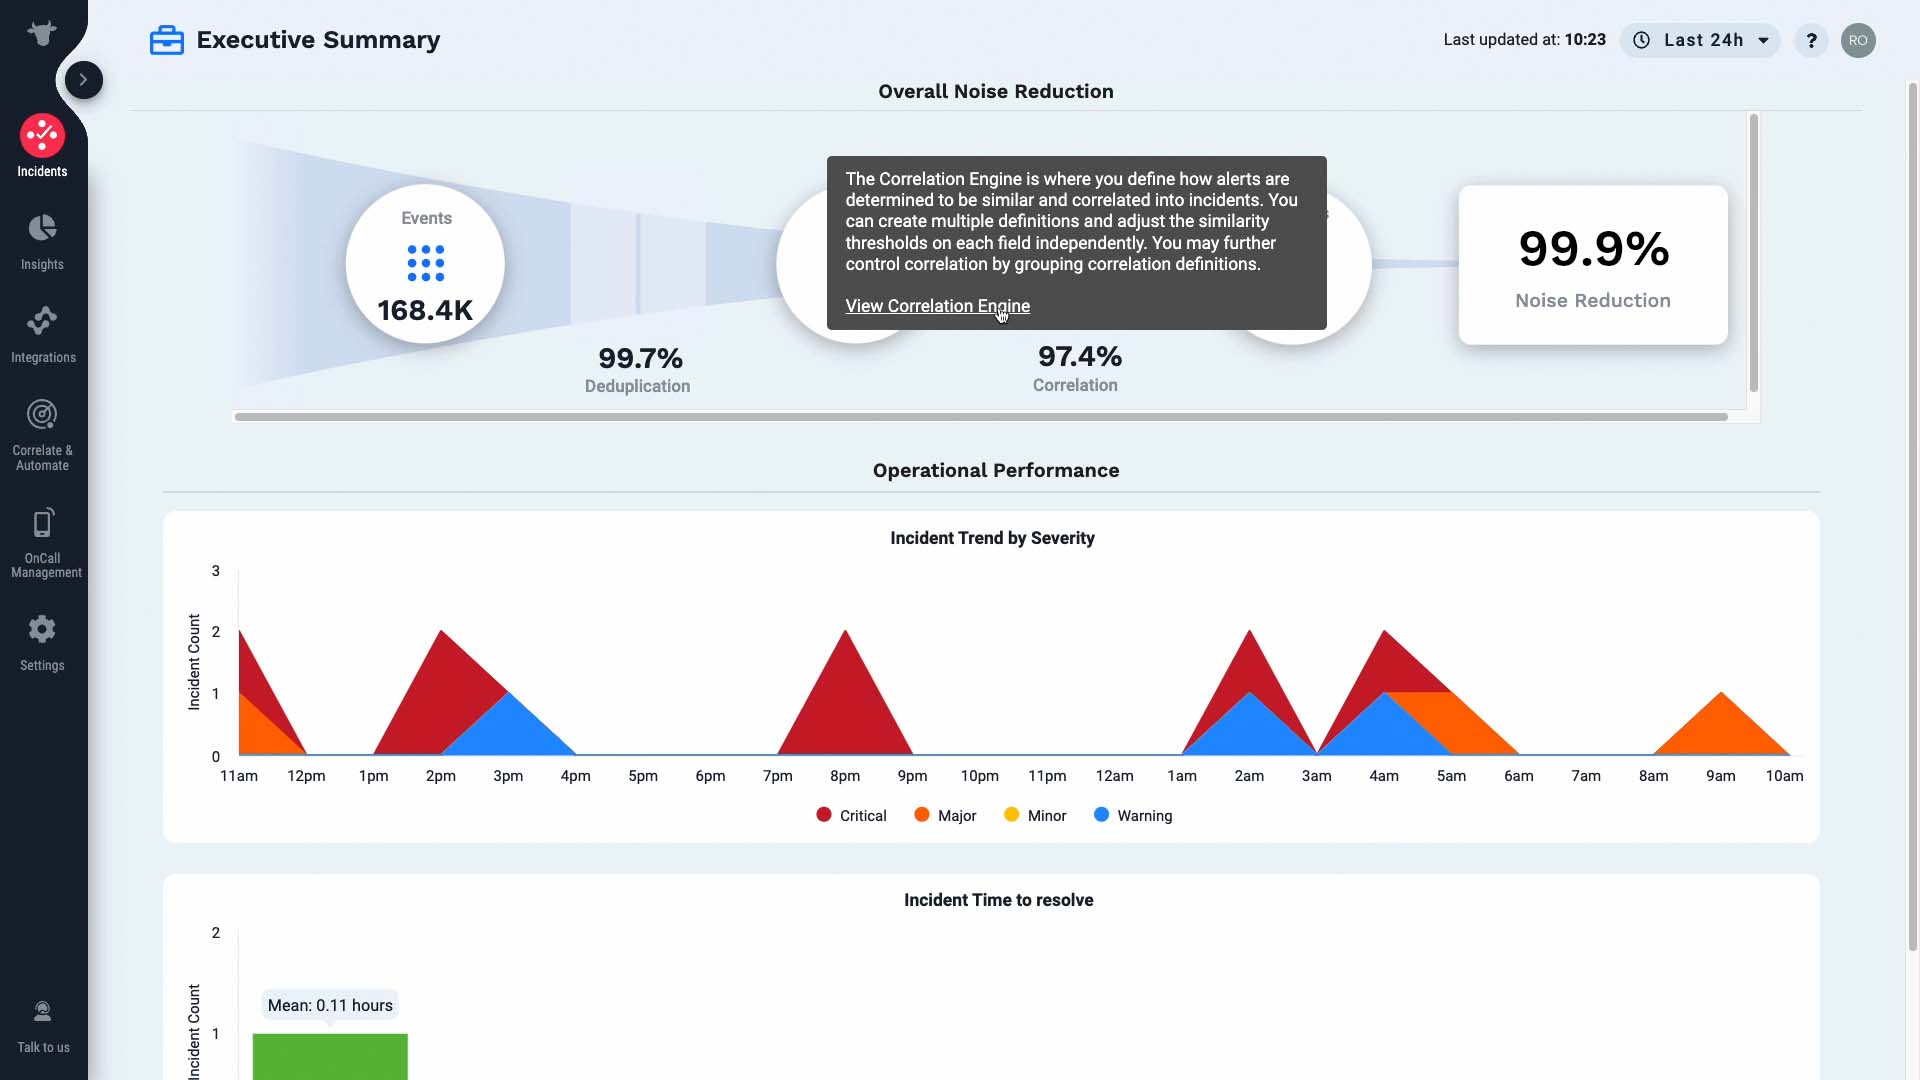
Or suppose you are not seeing the desired level of noise reduction. Then you can hop over to the configuration page and tweak the settings.
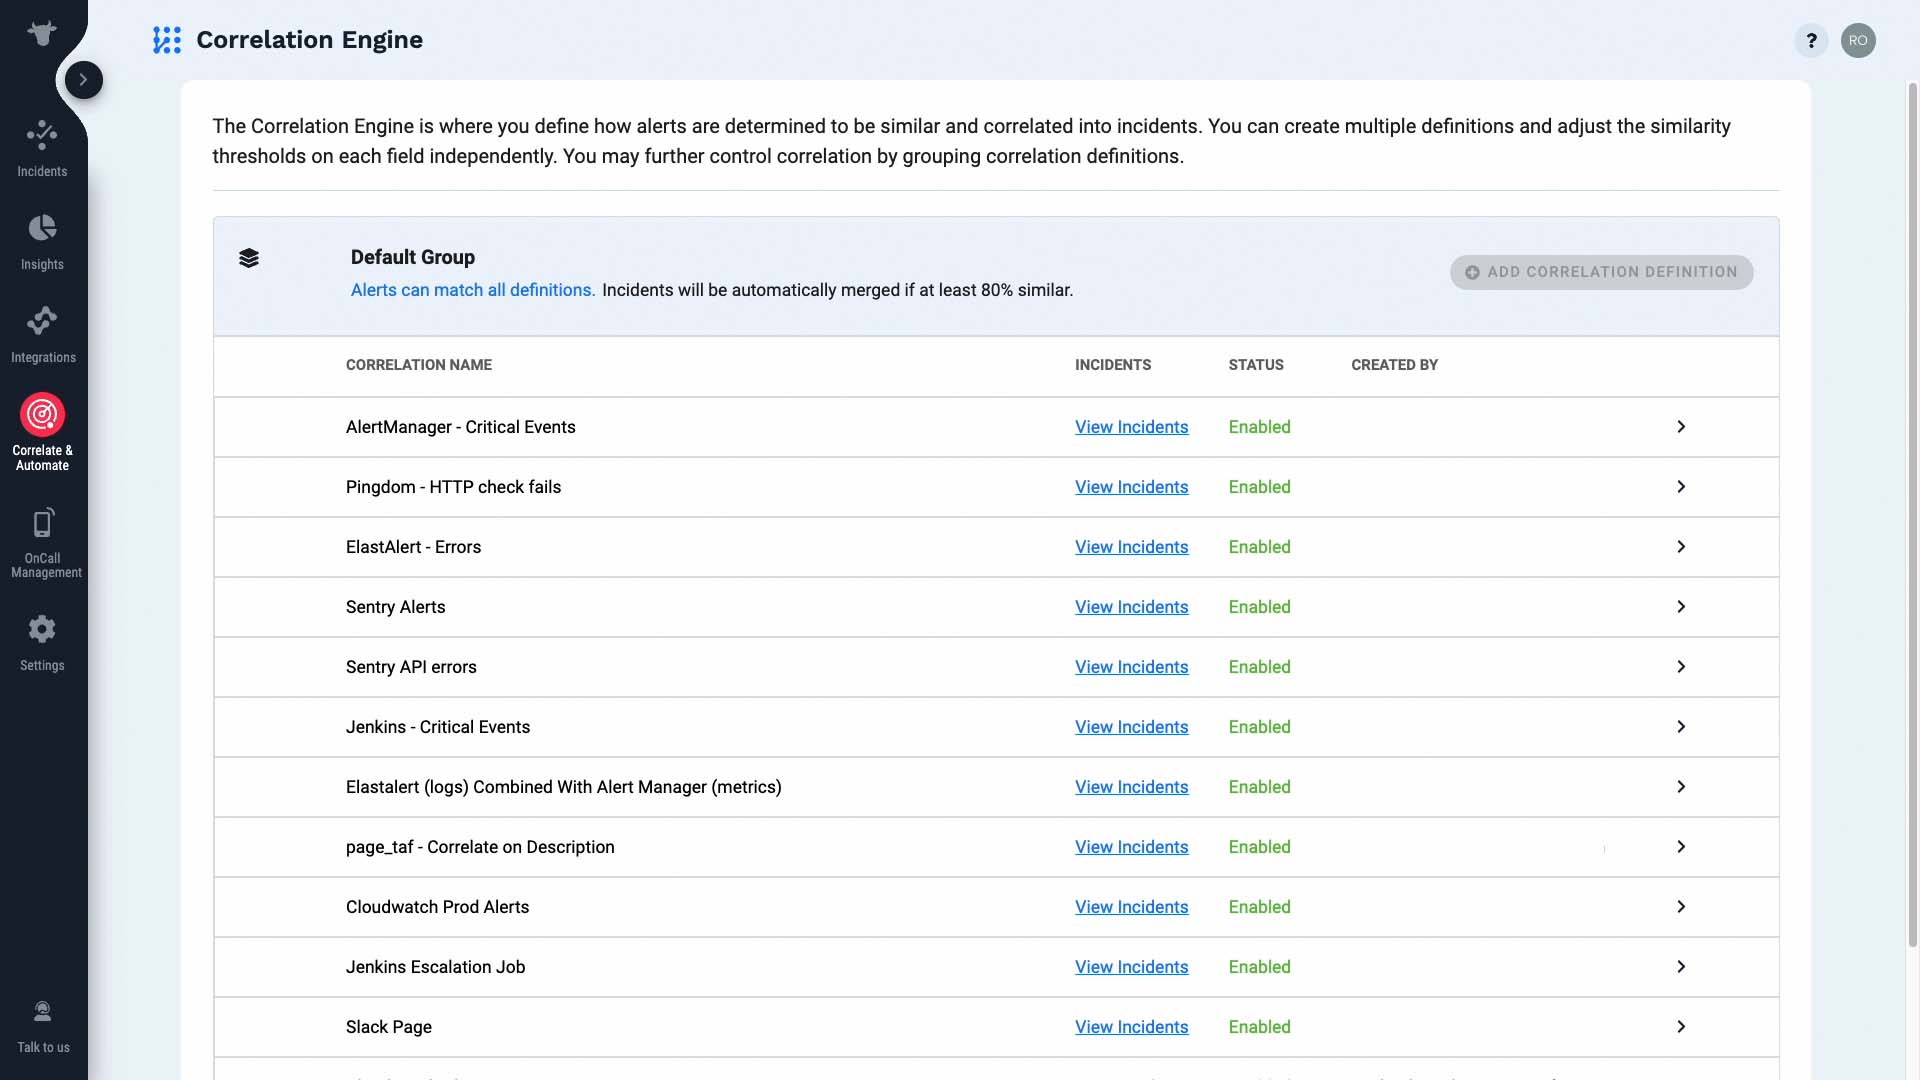
Next you get to see how your issues are trending. Are the number of serious issues trending up? Are we getting more incidents overall? Any incidents that persisted for a long time? It’s easy to get such information with visualization.
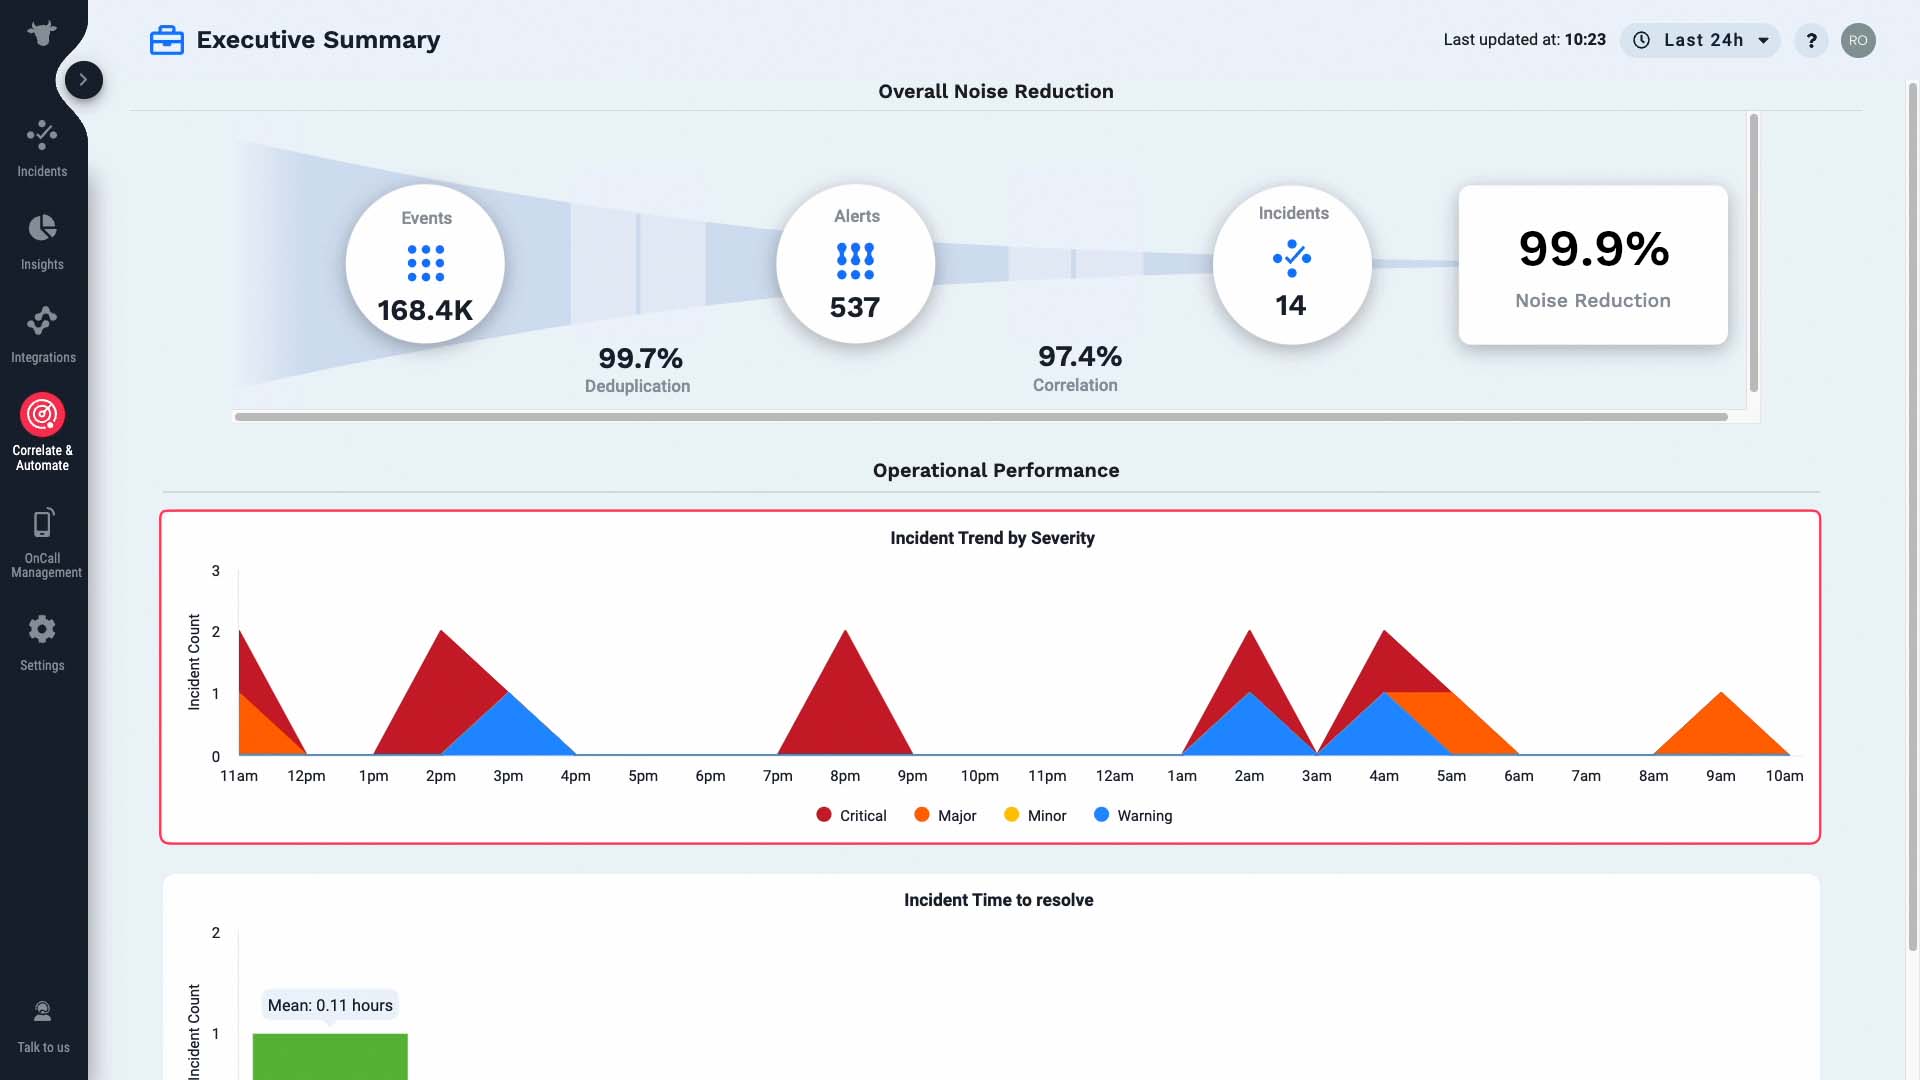
And if needed, you can click through to learn the details of each incident.
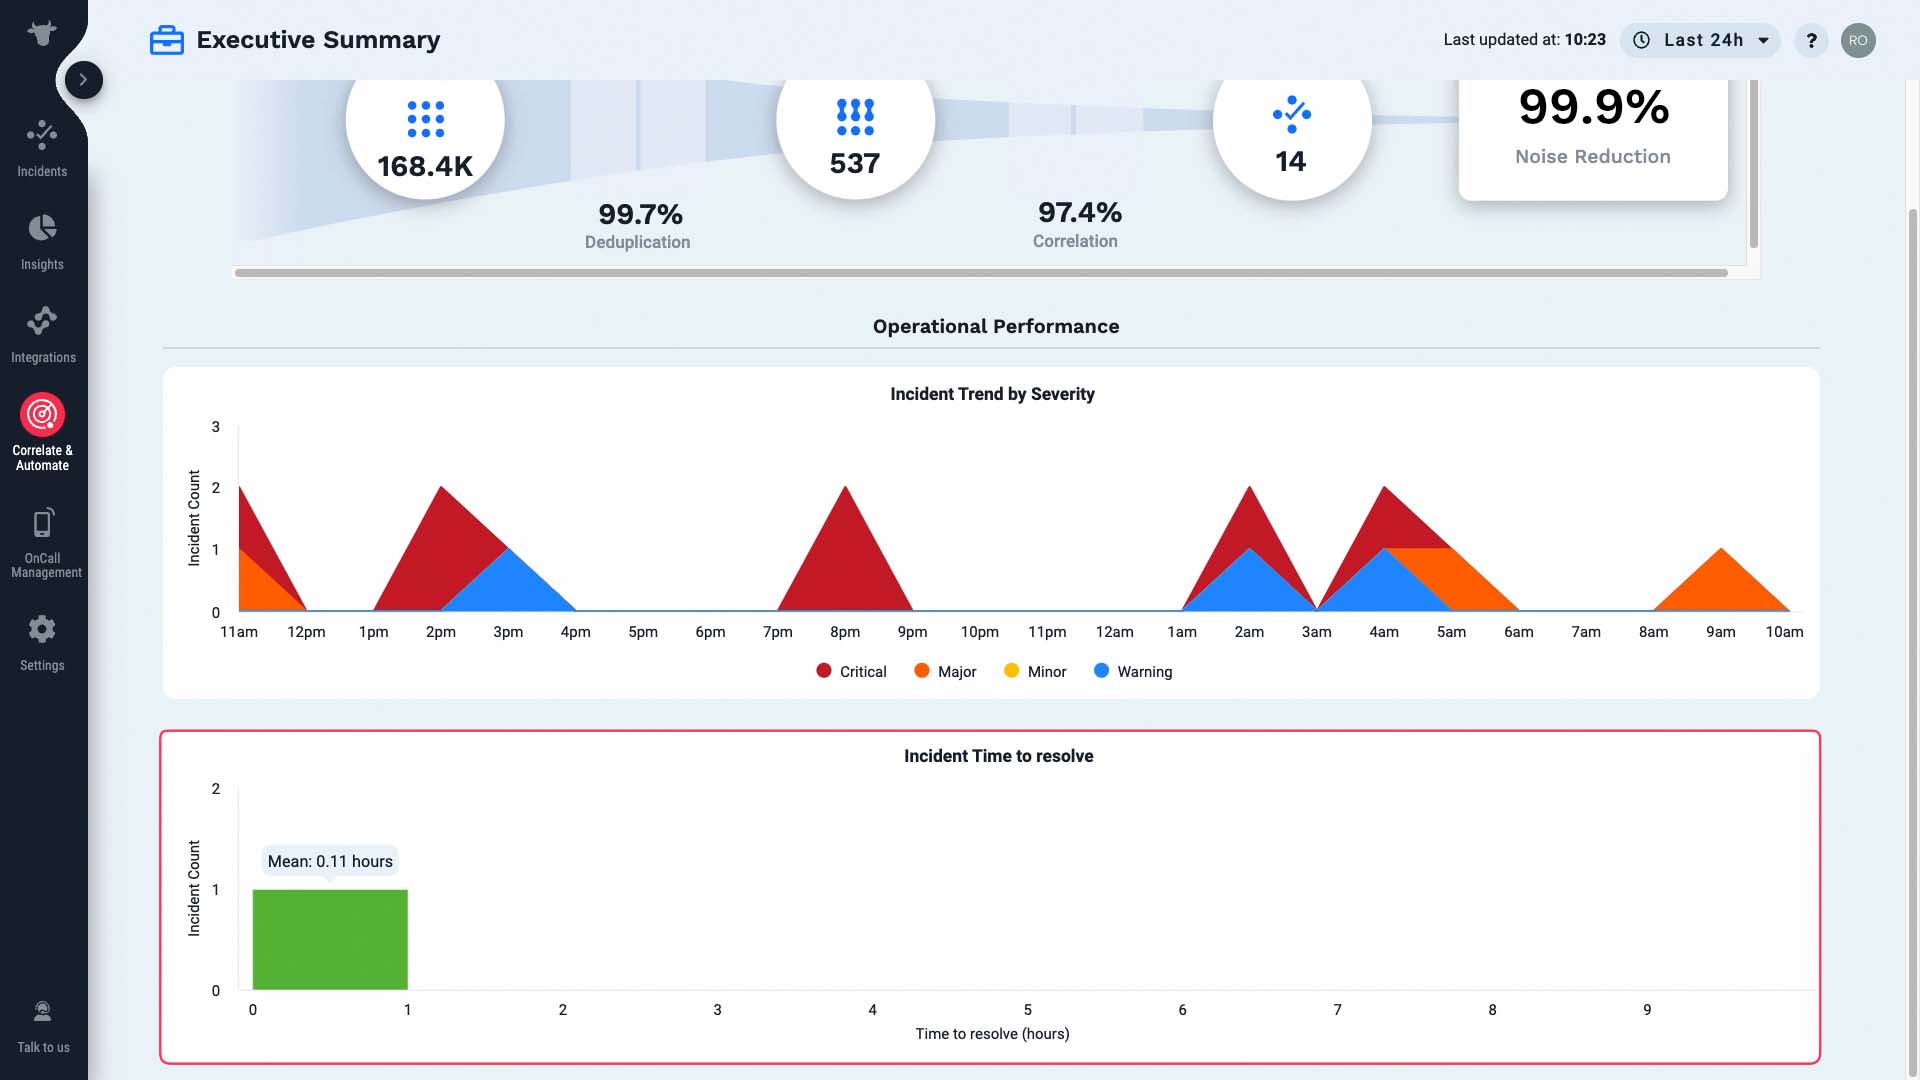
You can also monitor how long it’s taking to resolve incidents. Are there any incidents that take a disproportionately long time to get resolved? What’s the overall average time needed? You can ensure your staffing is adequate so the issues are taken care of in a timely manner.
Like this, the page gives you an executive summary of your operations performance. Enjoy!
BASIC | 7 MIN
Demo video: Incident Workflow in APEX AIOps Incident Management ►
This video explains how to configure incident workflows in APEX AIOps Incident Management with examples.
You can now set up workflows to process incidents in Incident Management. In this video, we’ll introduce two examples.
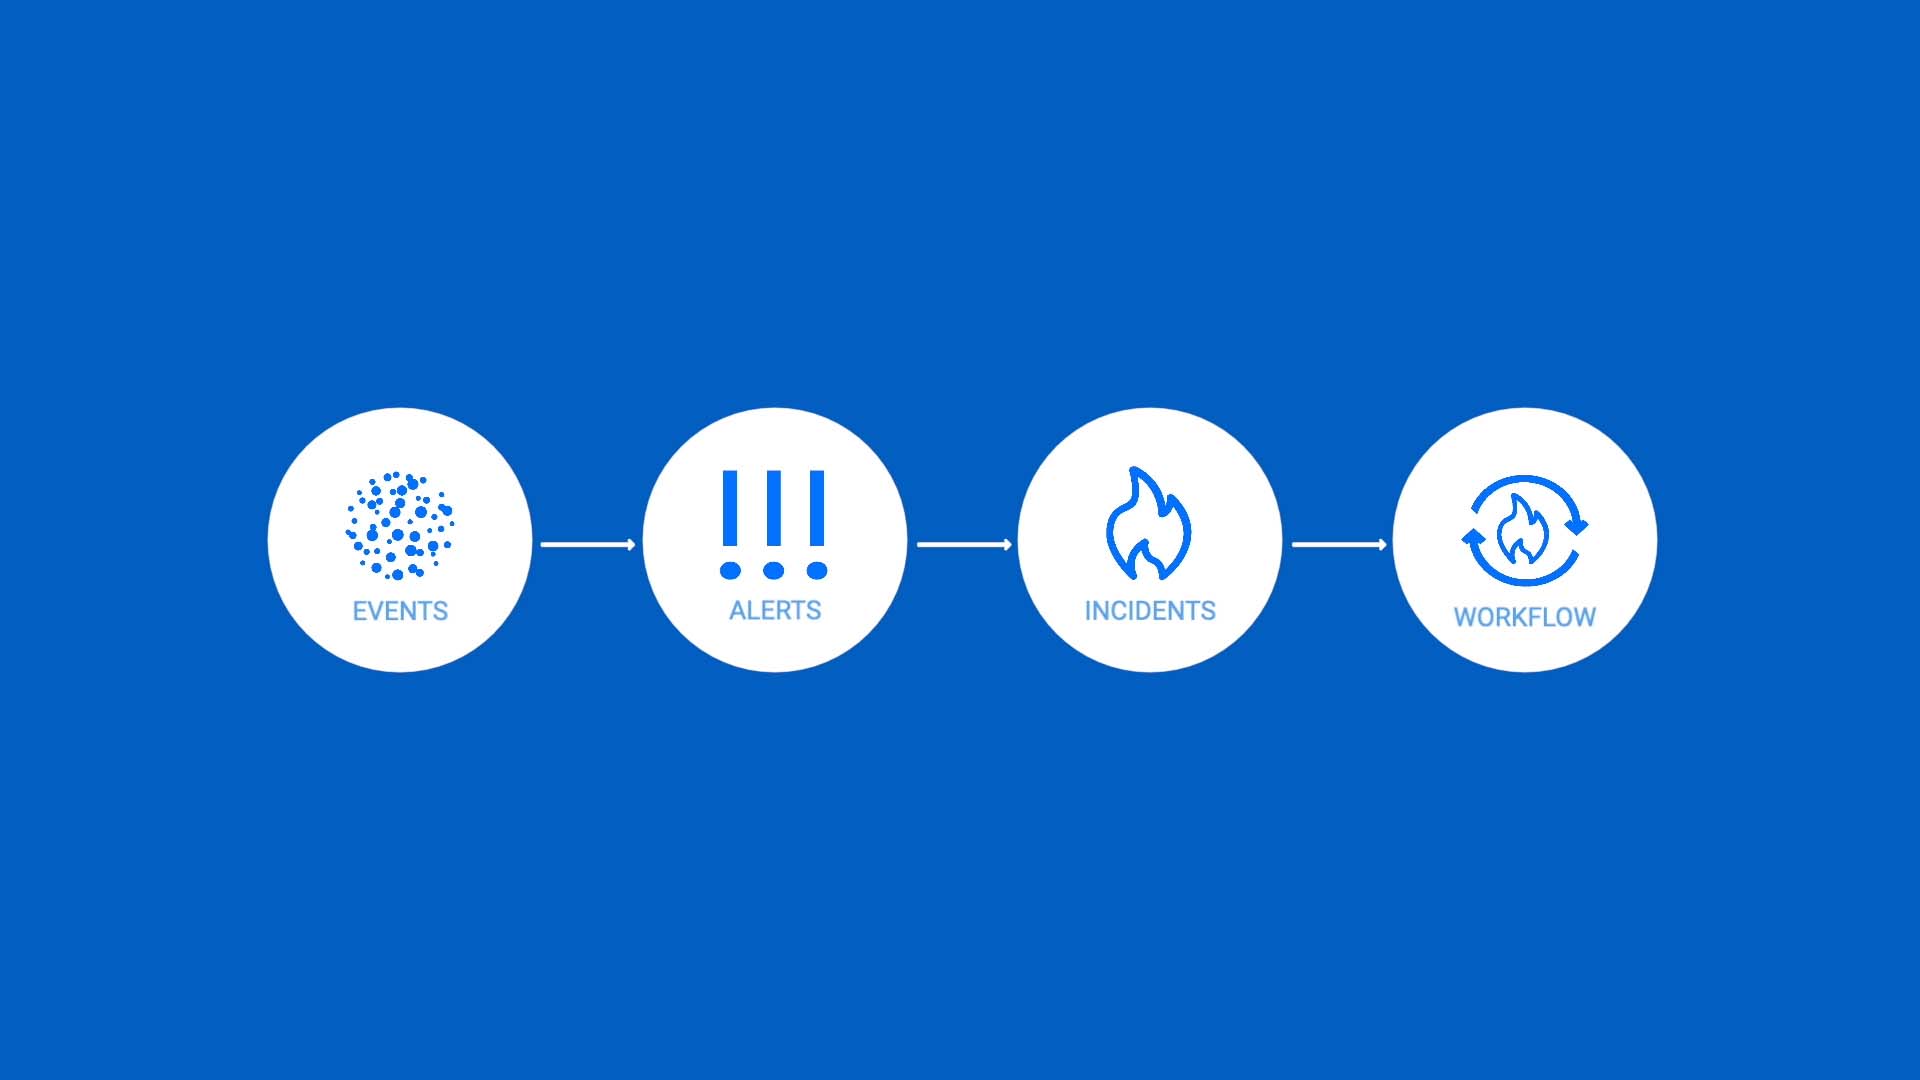
I’m sure you have some rules about how incidents get assigned. Let’s use a simple example and step through a setup.
We want to assign incidents to different teams based on the impacted services.
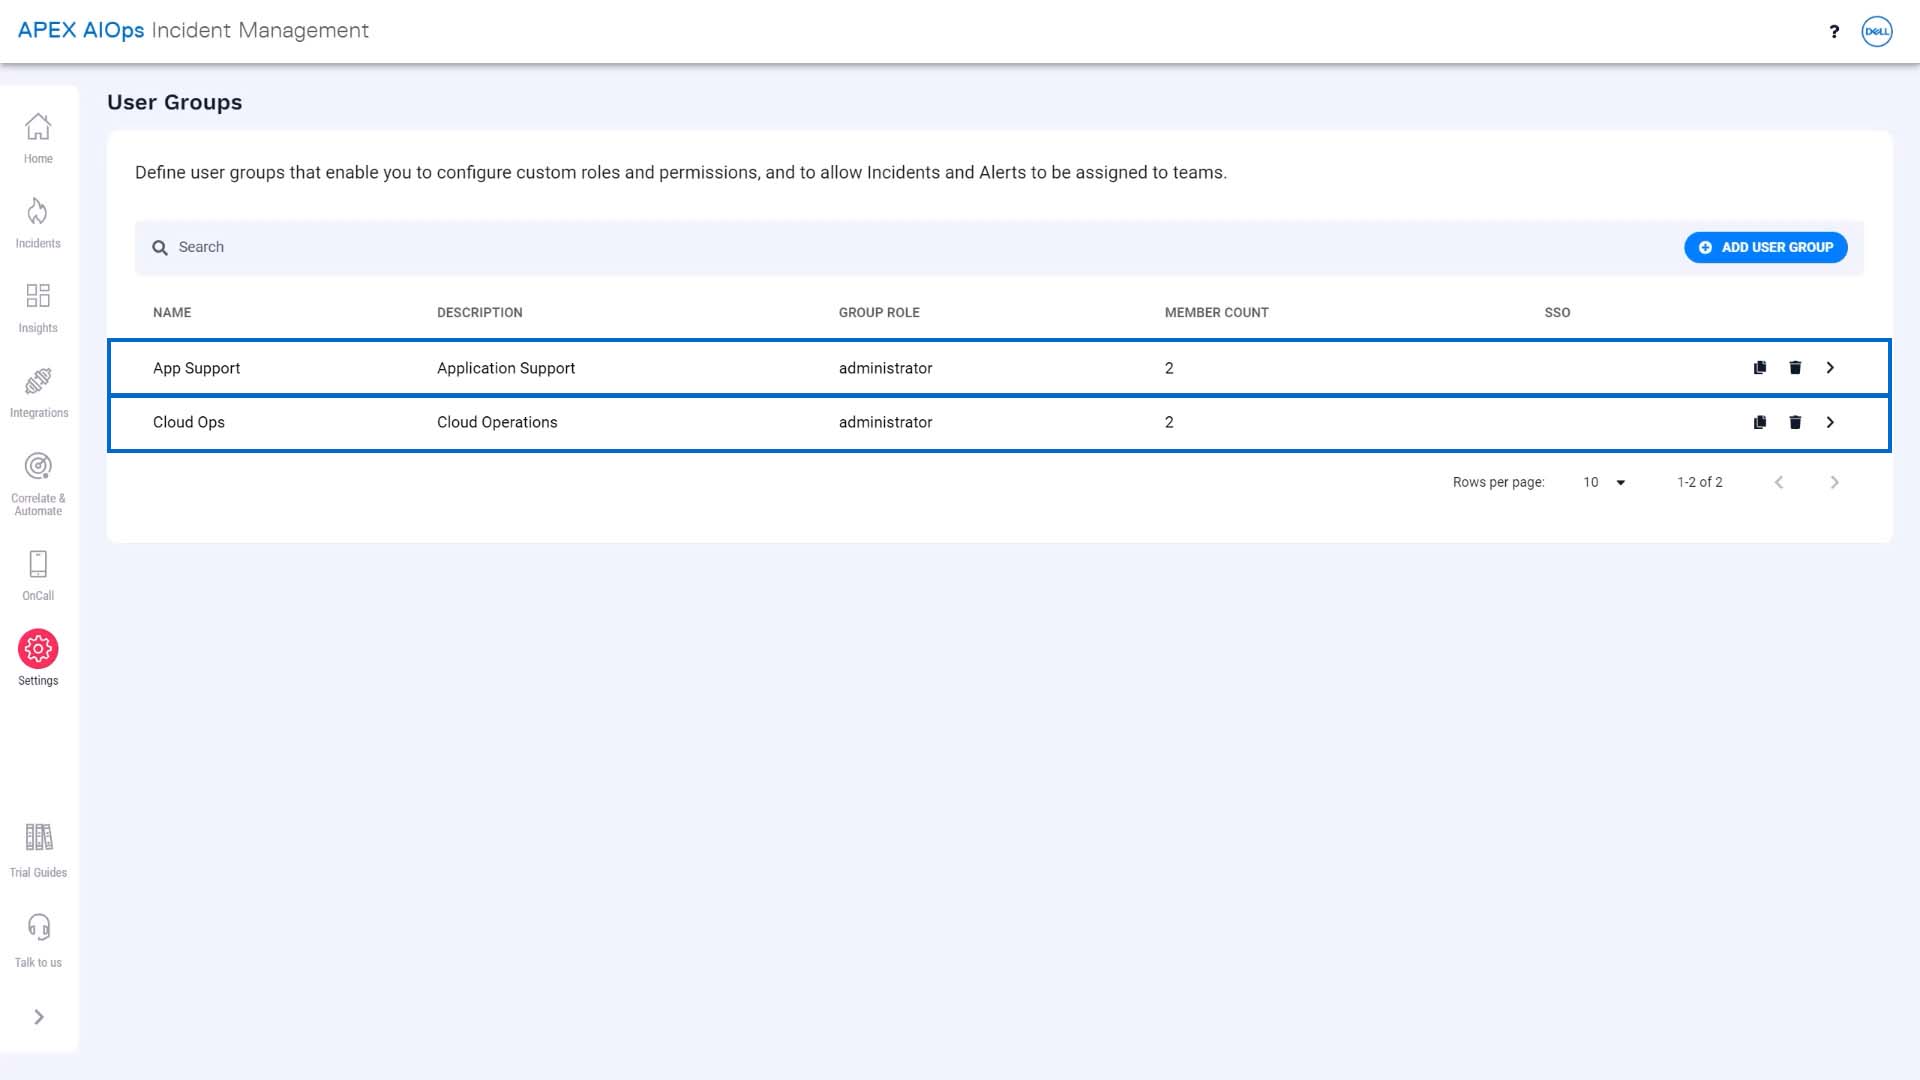
Our Incident Management instance is correlating alerts based on source and service, so we know each incident will only have one service value.
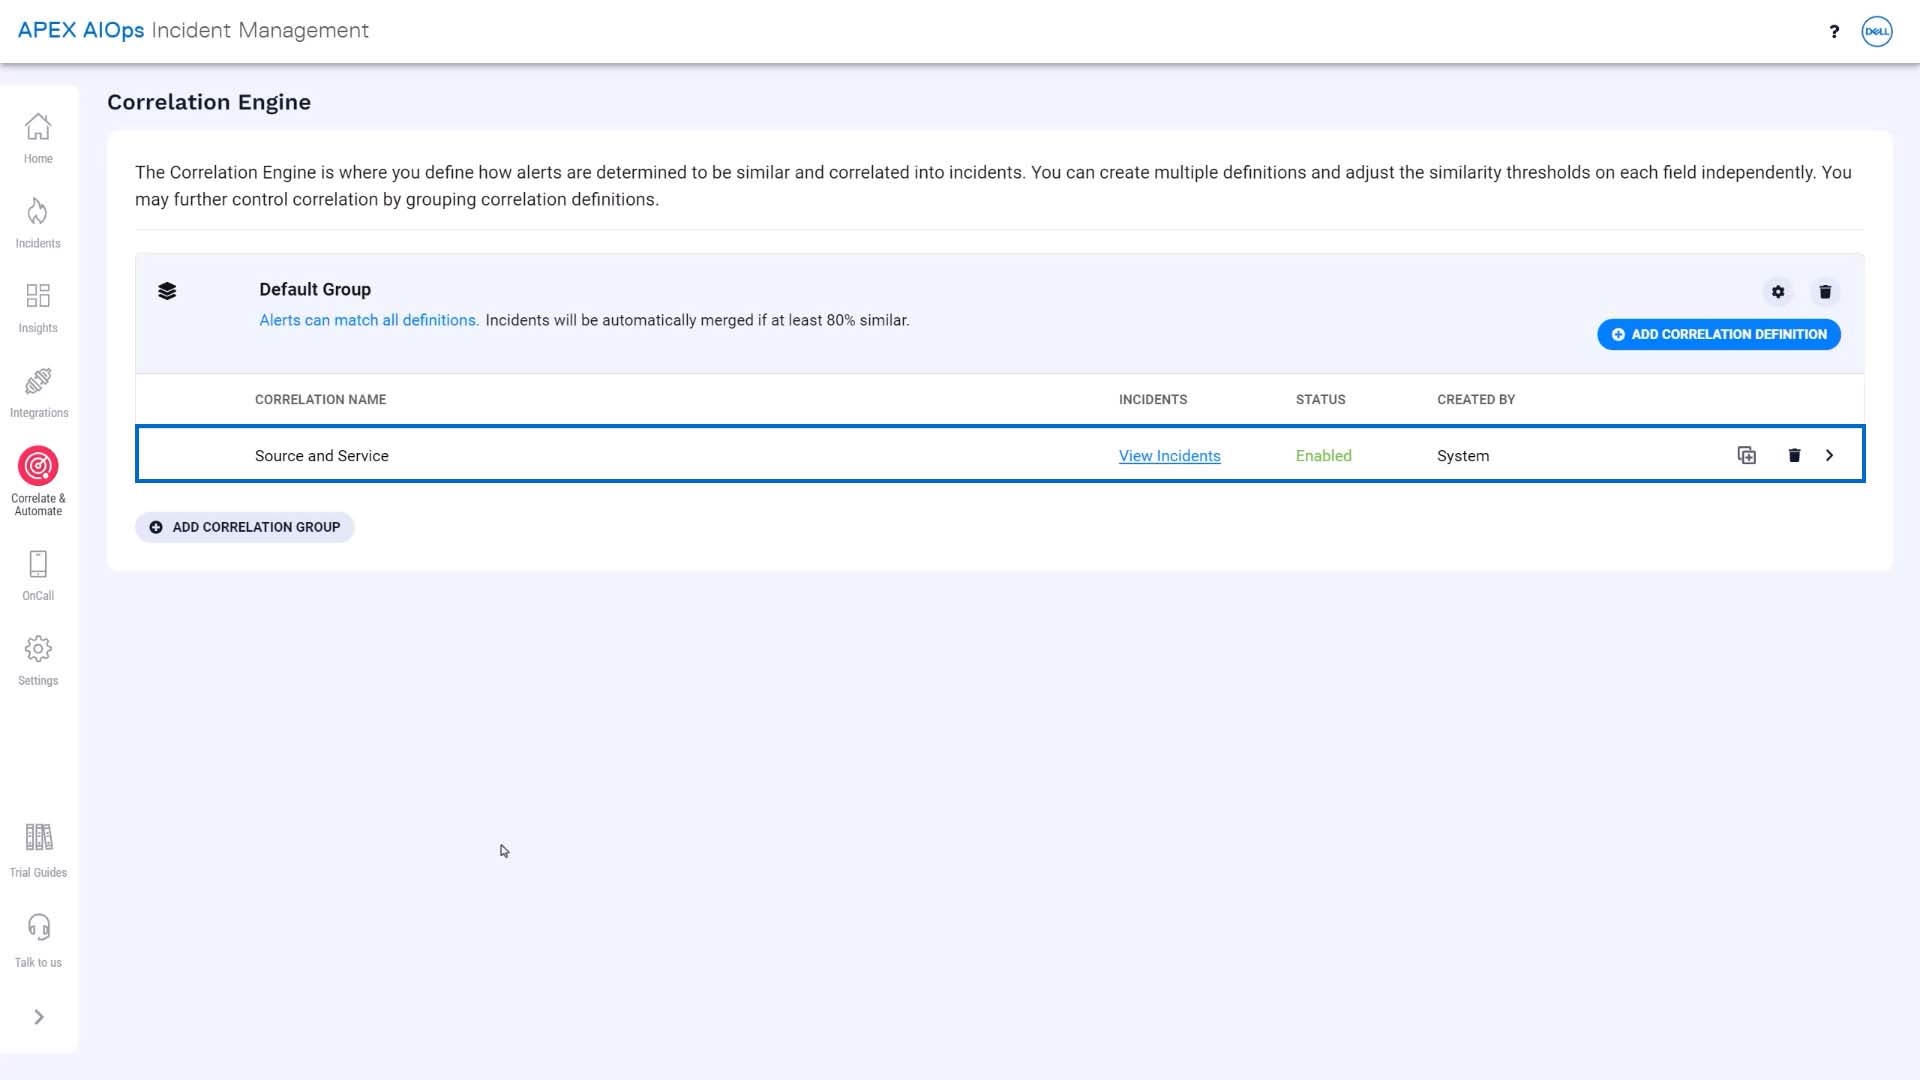
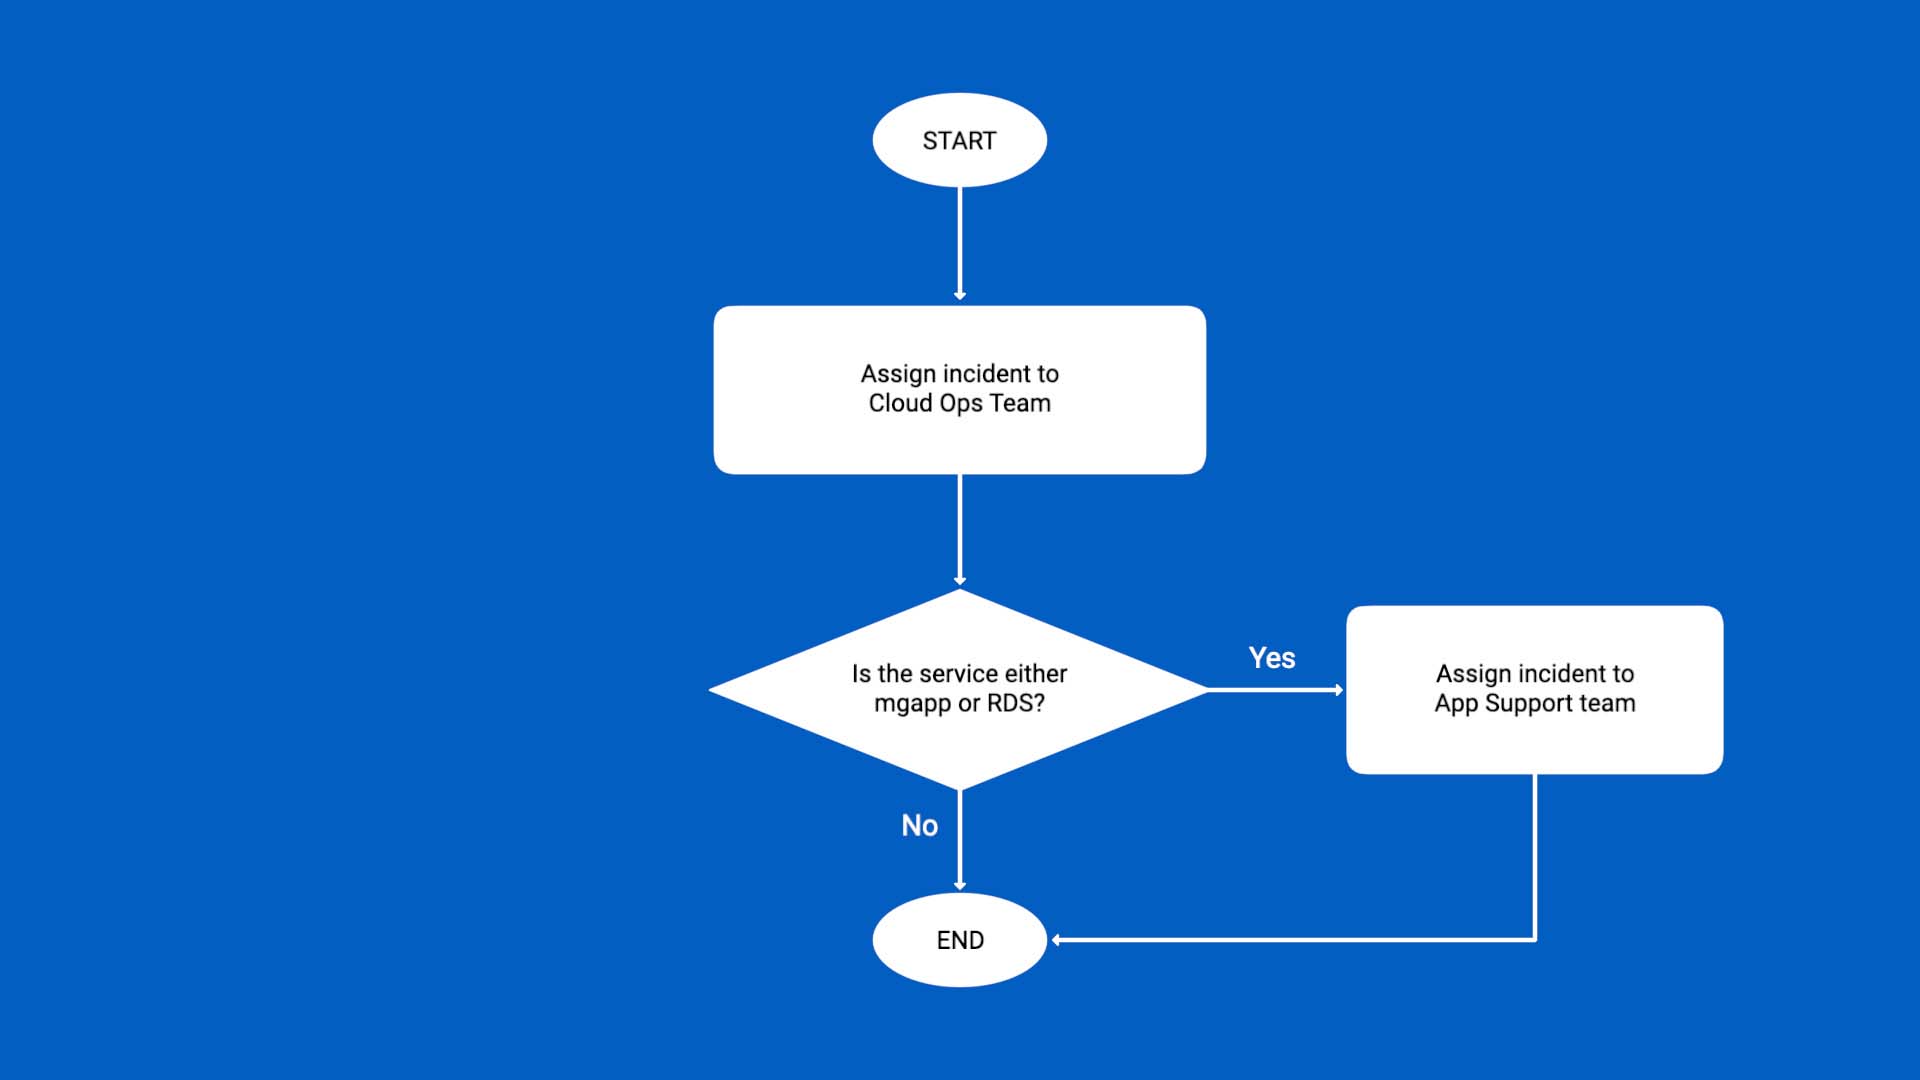
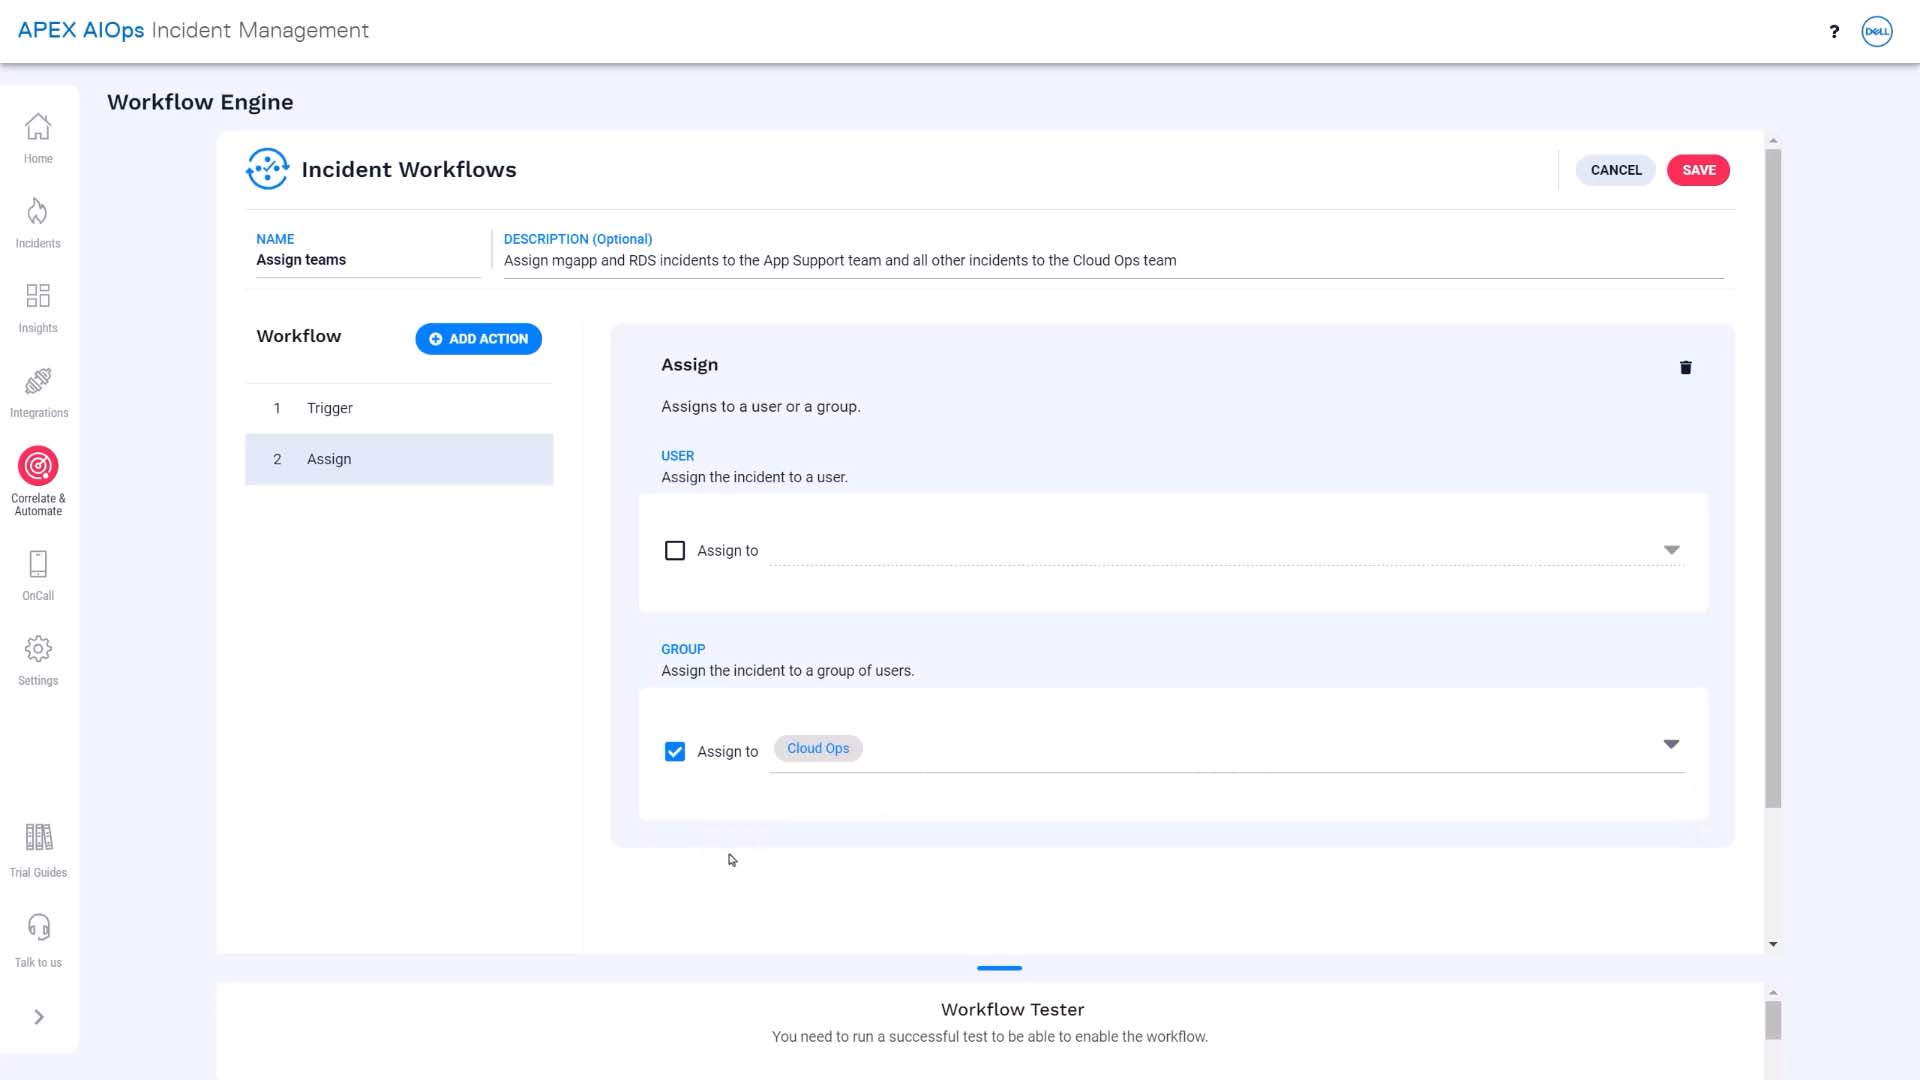
In our workflow, we’ll start by assigning all the incidents to the Cloud Ops team, which is the default.
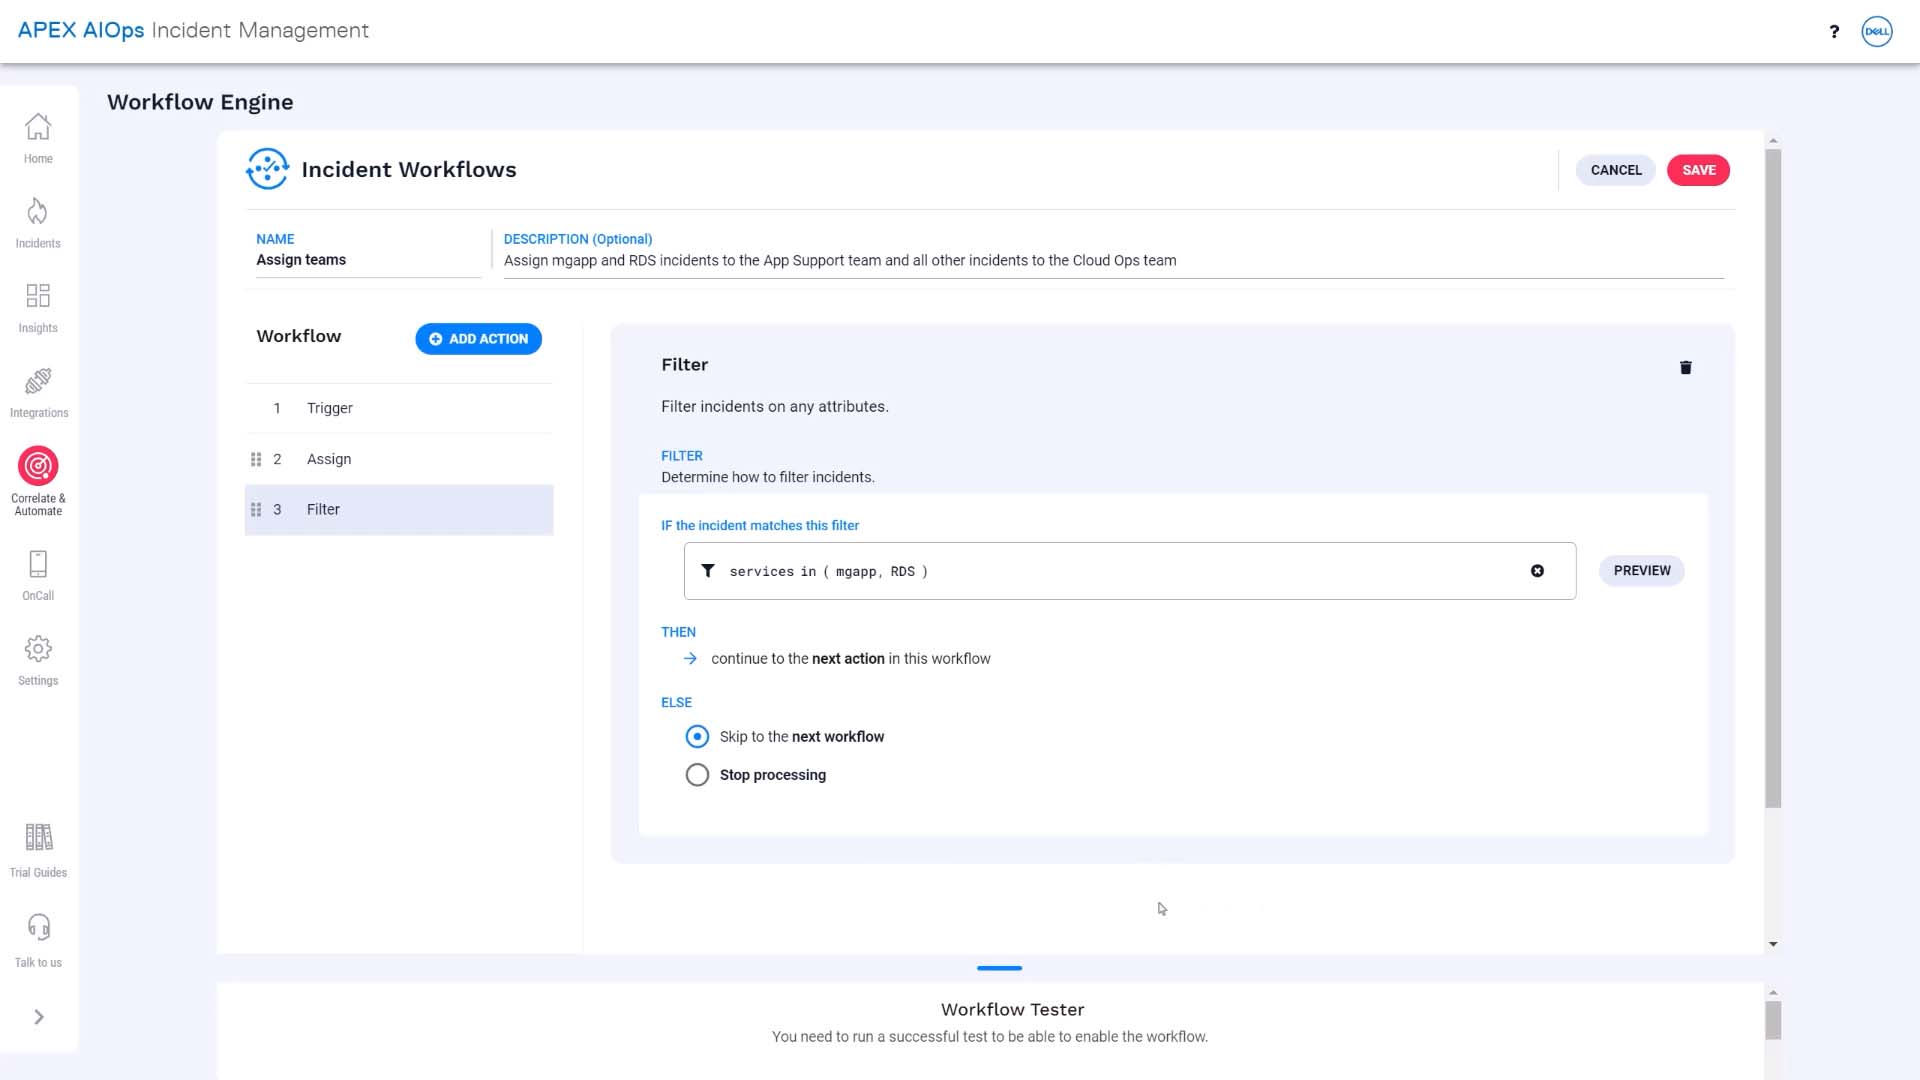
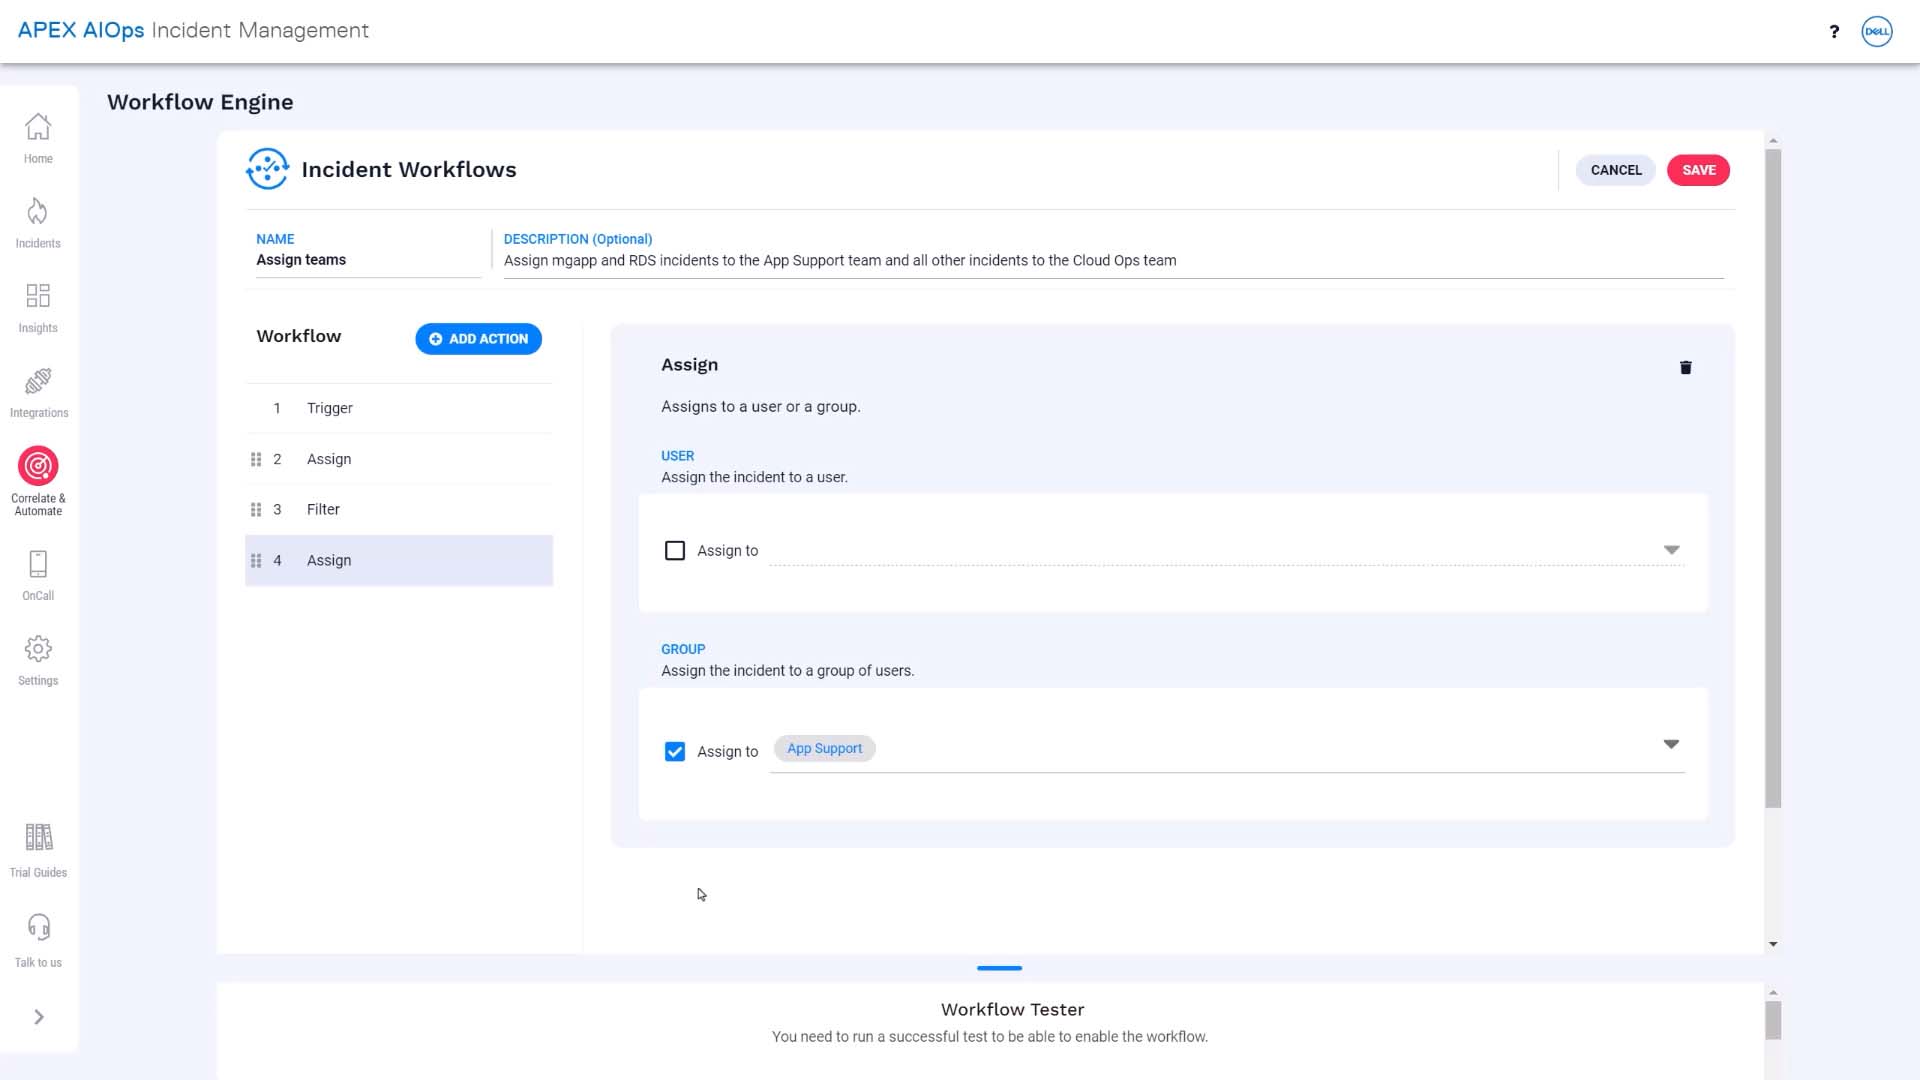
Then, if the services impacted are mgapp or RDS, we’ll change the assignment to the App Support team.
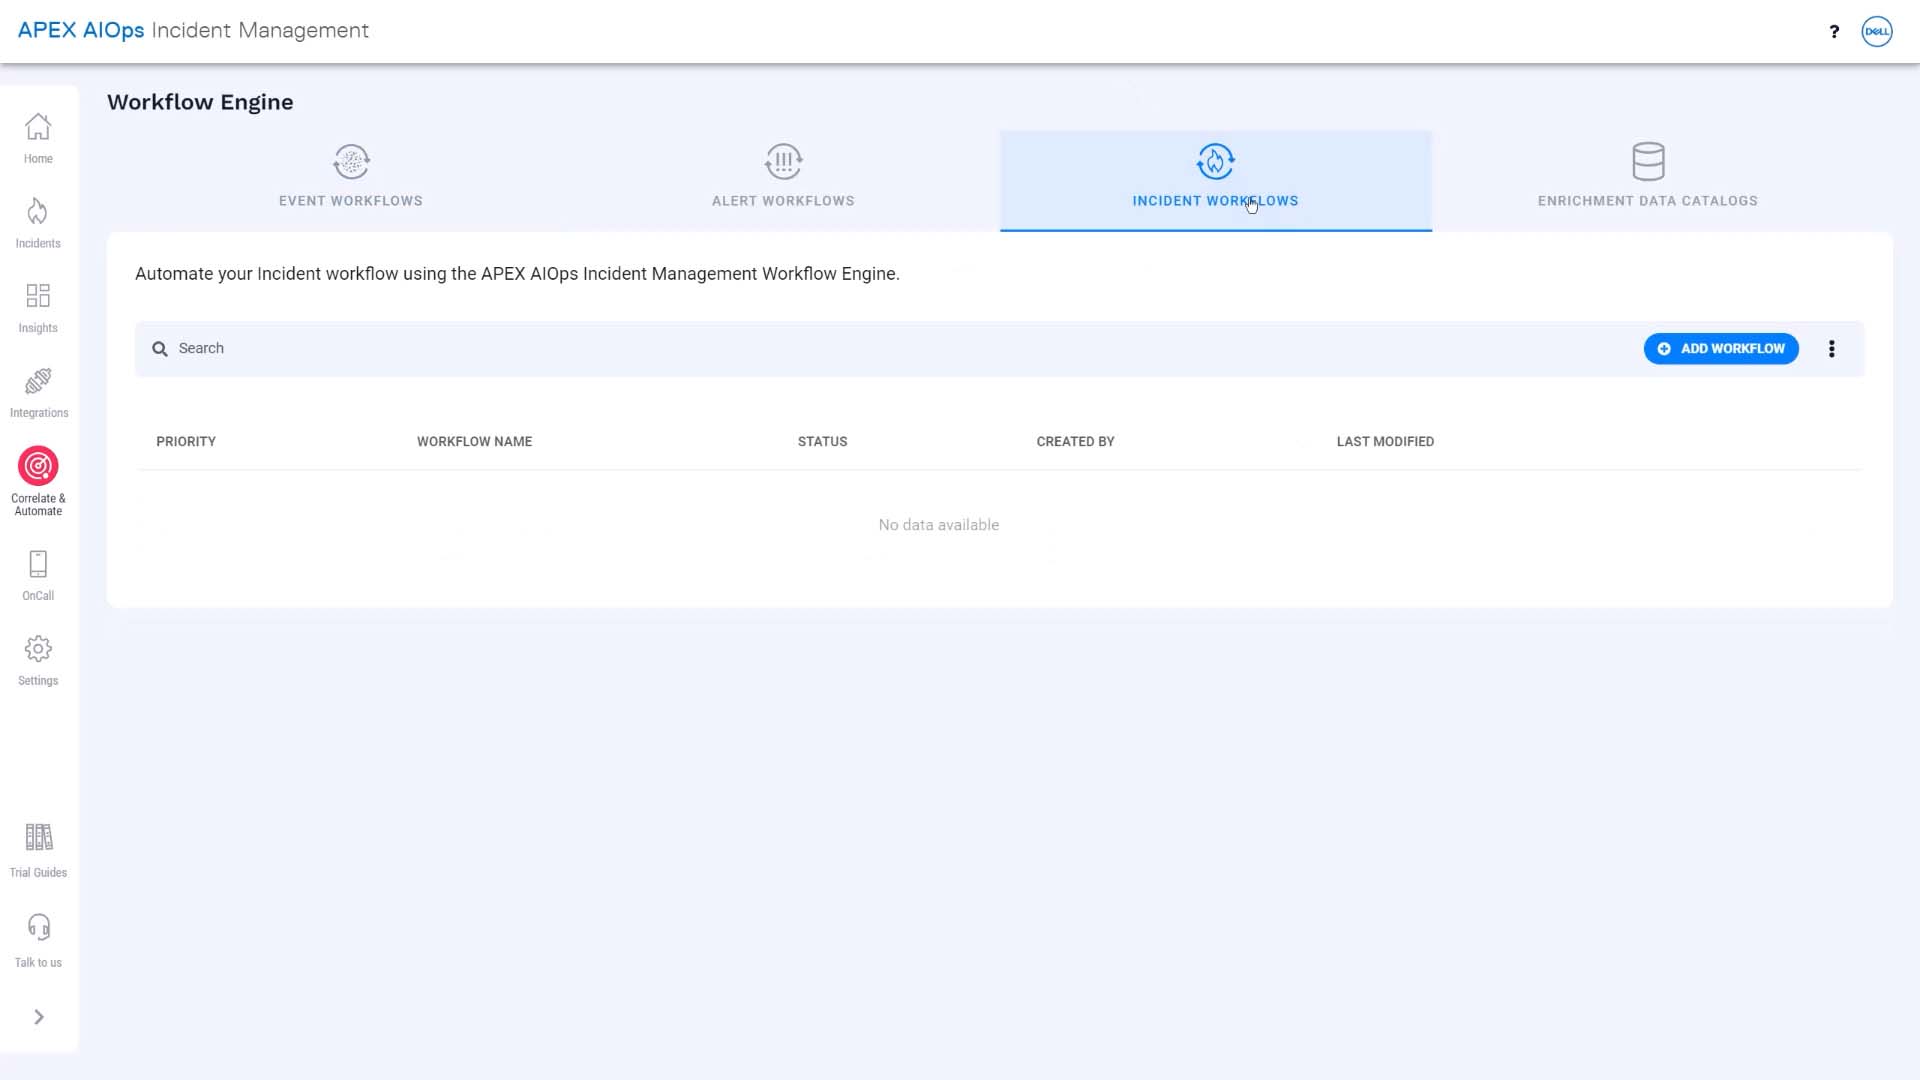
This is where you set up all the workflows, and what we want is a workflow to process incidents.
We’ll name and describe the workflow.
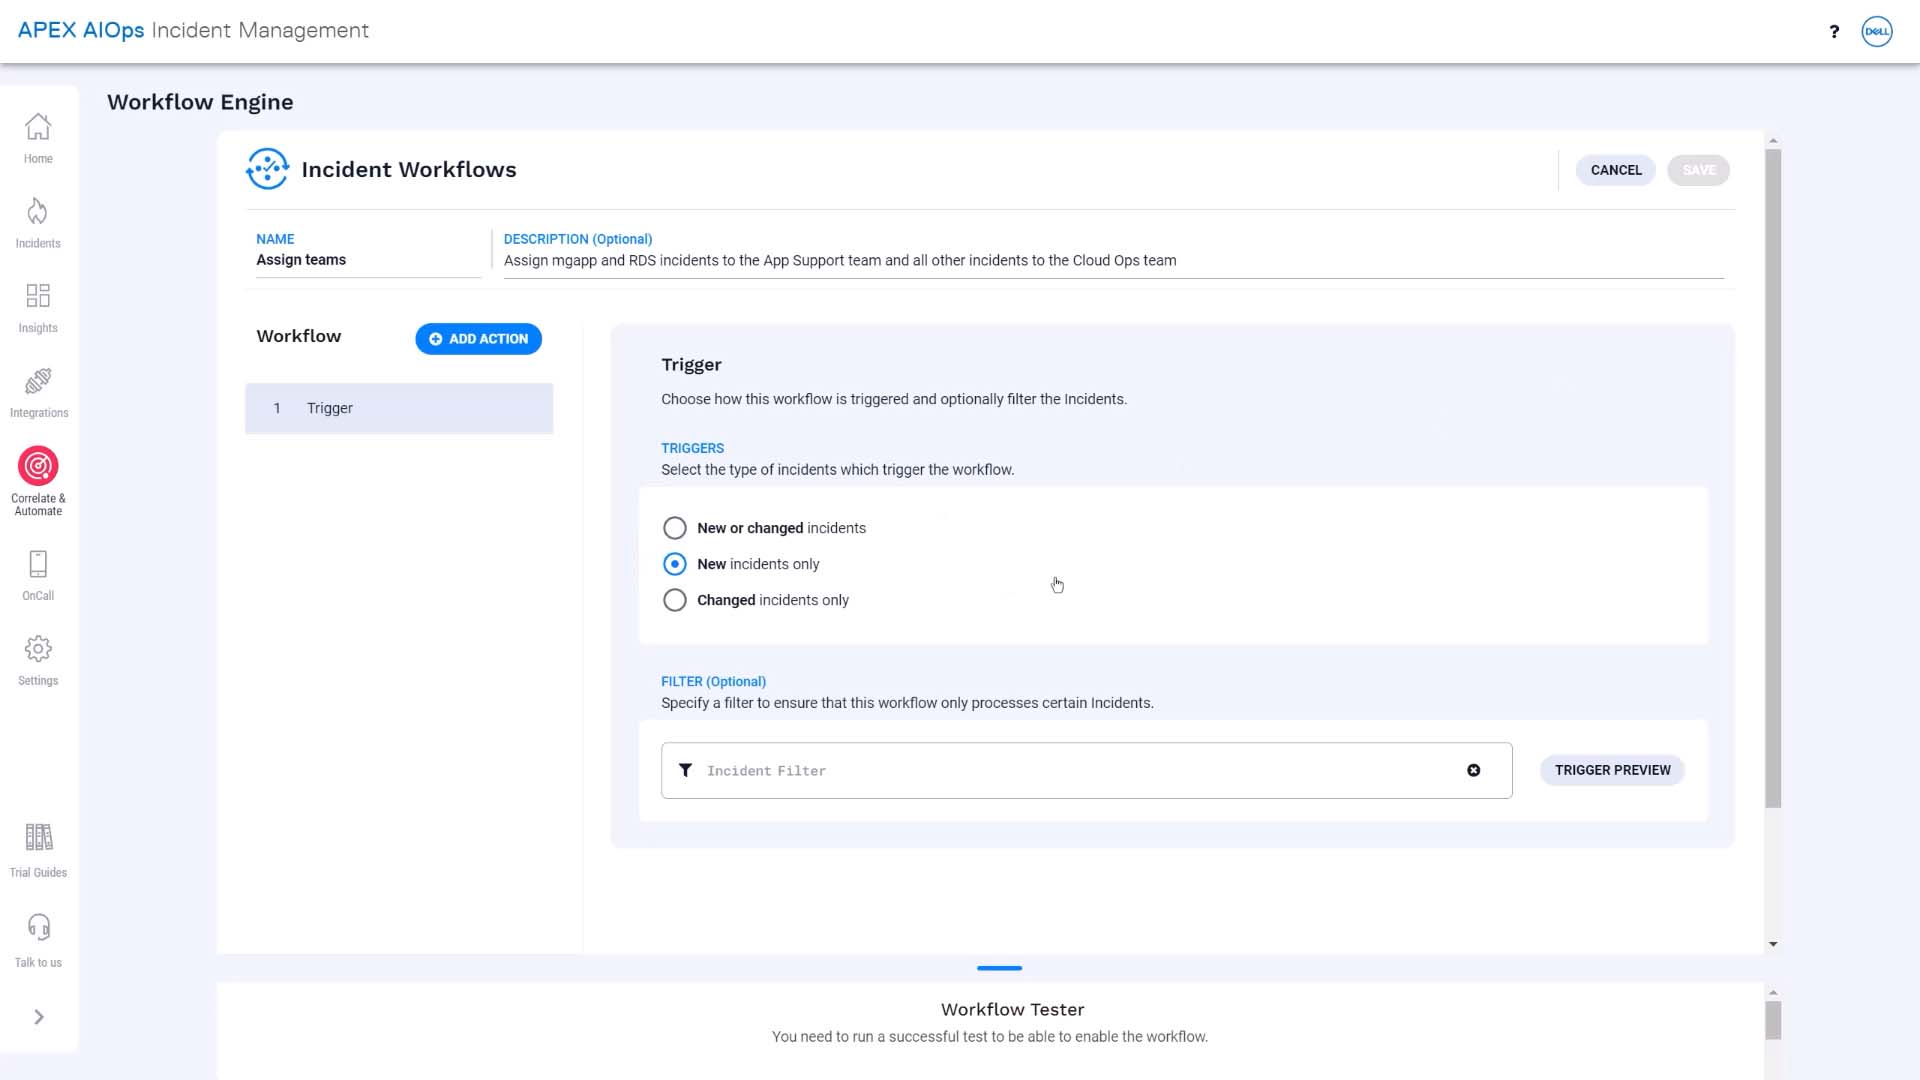
What we want this workflow to do is to take effect when incidents are first created.
Next, we are going to set up the action for qualifying incidents. We want to assign. And, in our case, the assignee is not an individual but a team. That takes care of the default team assignment.
Next, we’ll set up a filter so the workflow will continue processing just the incidents that should go to the App Support team.
And make another assignment action just for those incidents.
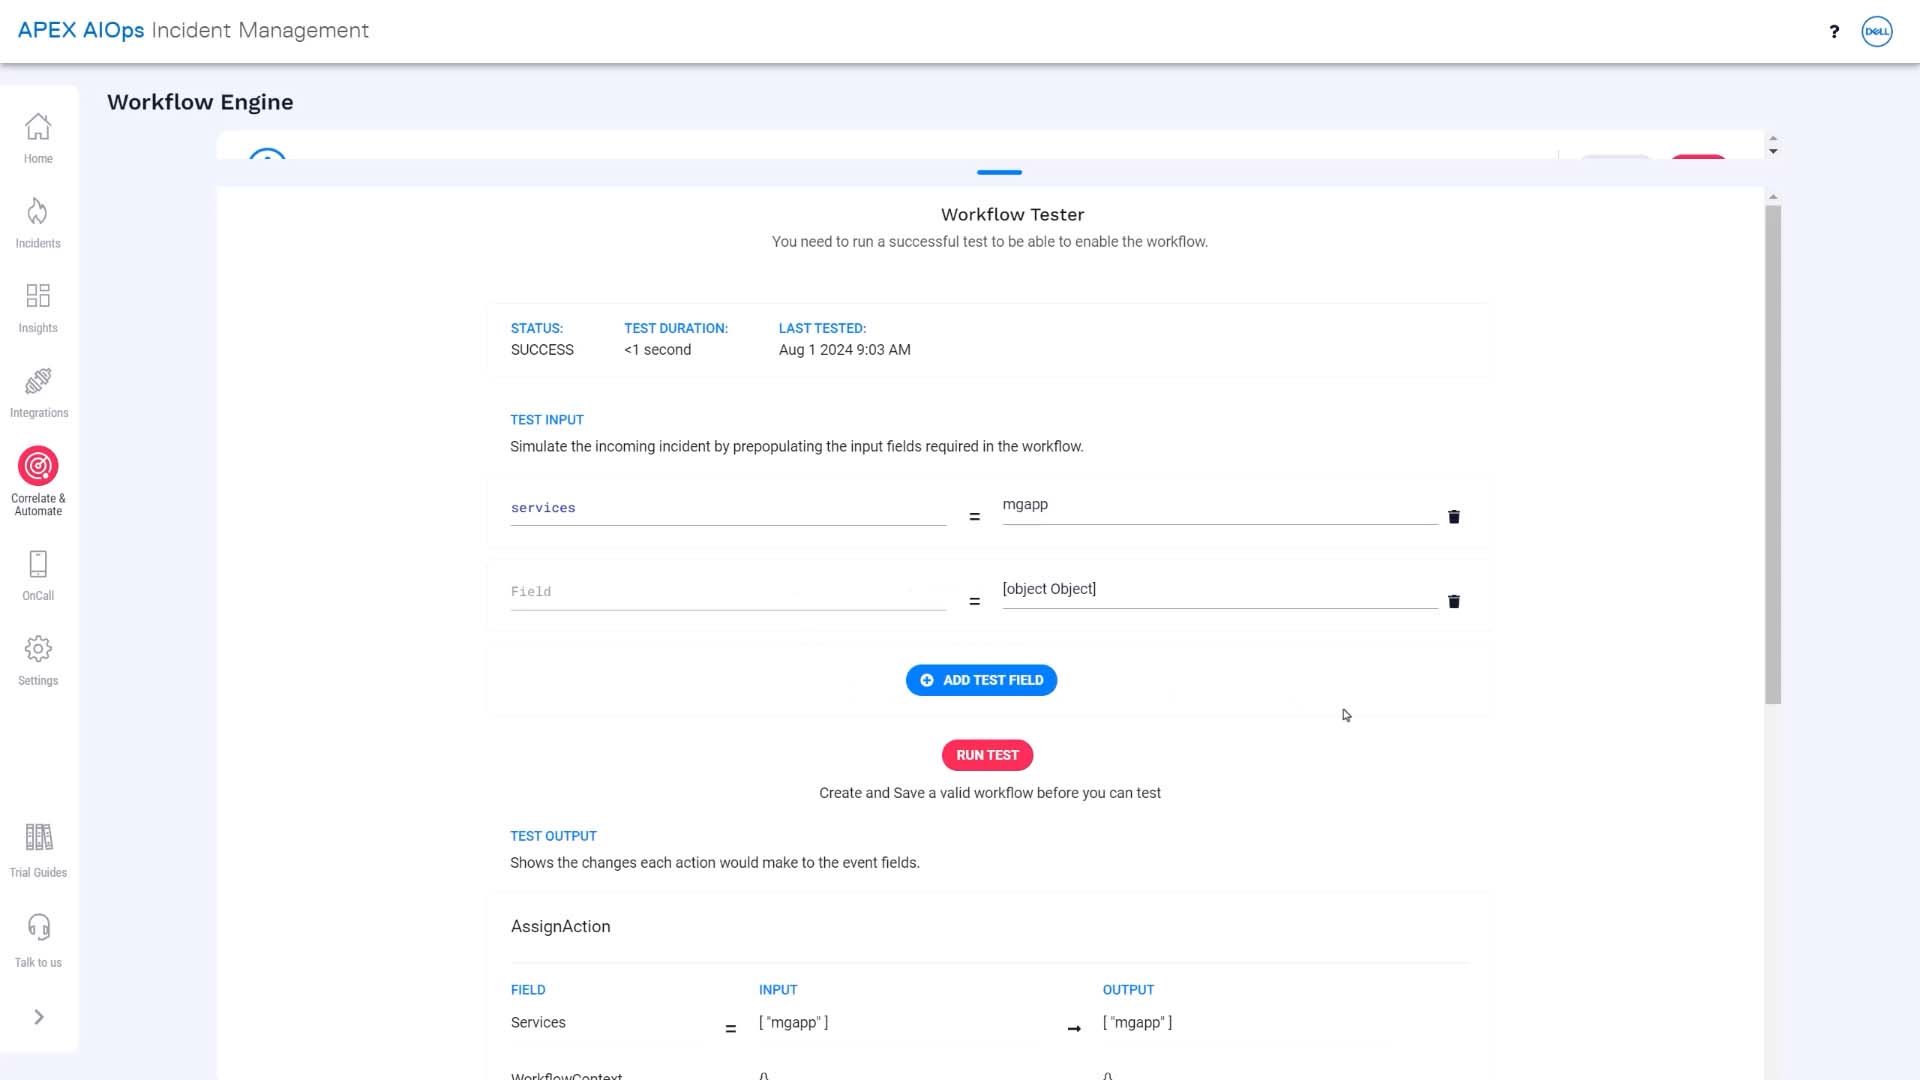
Workflow tester lets you check if the workflow produces the result you expect. This shows the assigned group updating successfully.
We can enable the workflow. A new incident is created, and the workflow kicks in and updates the team assignment without any manual intervention. Success!
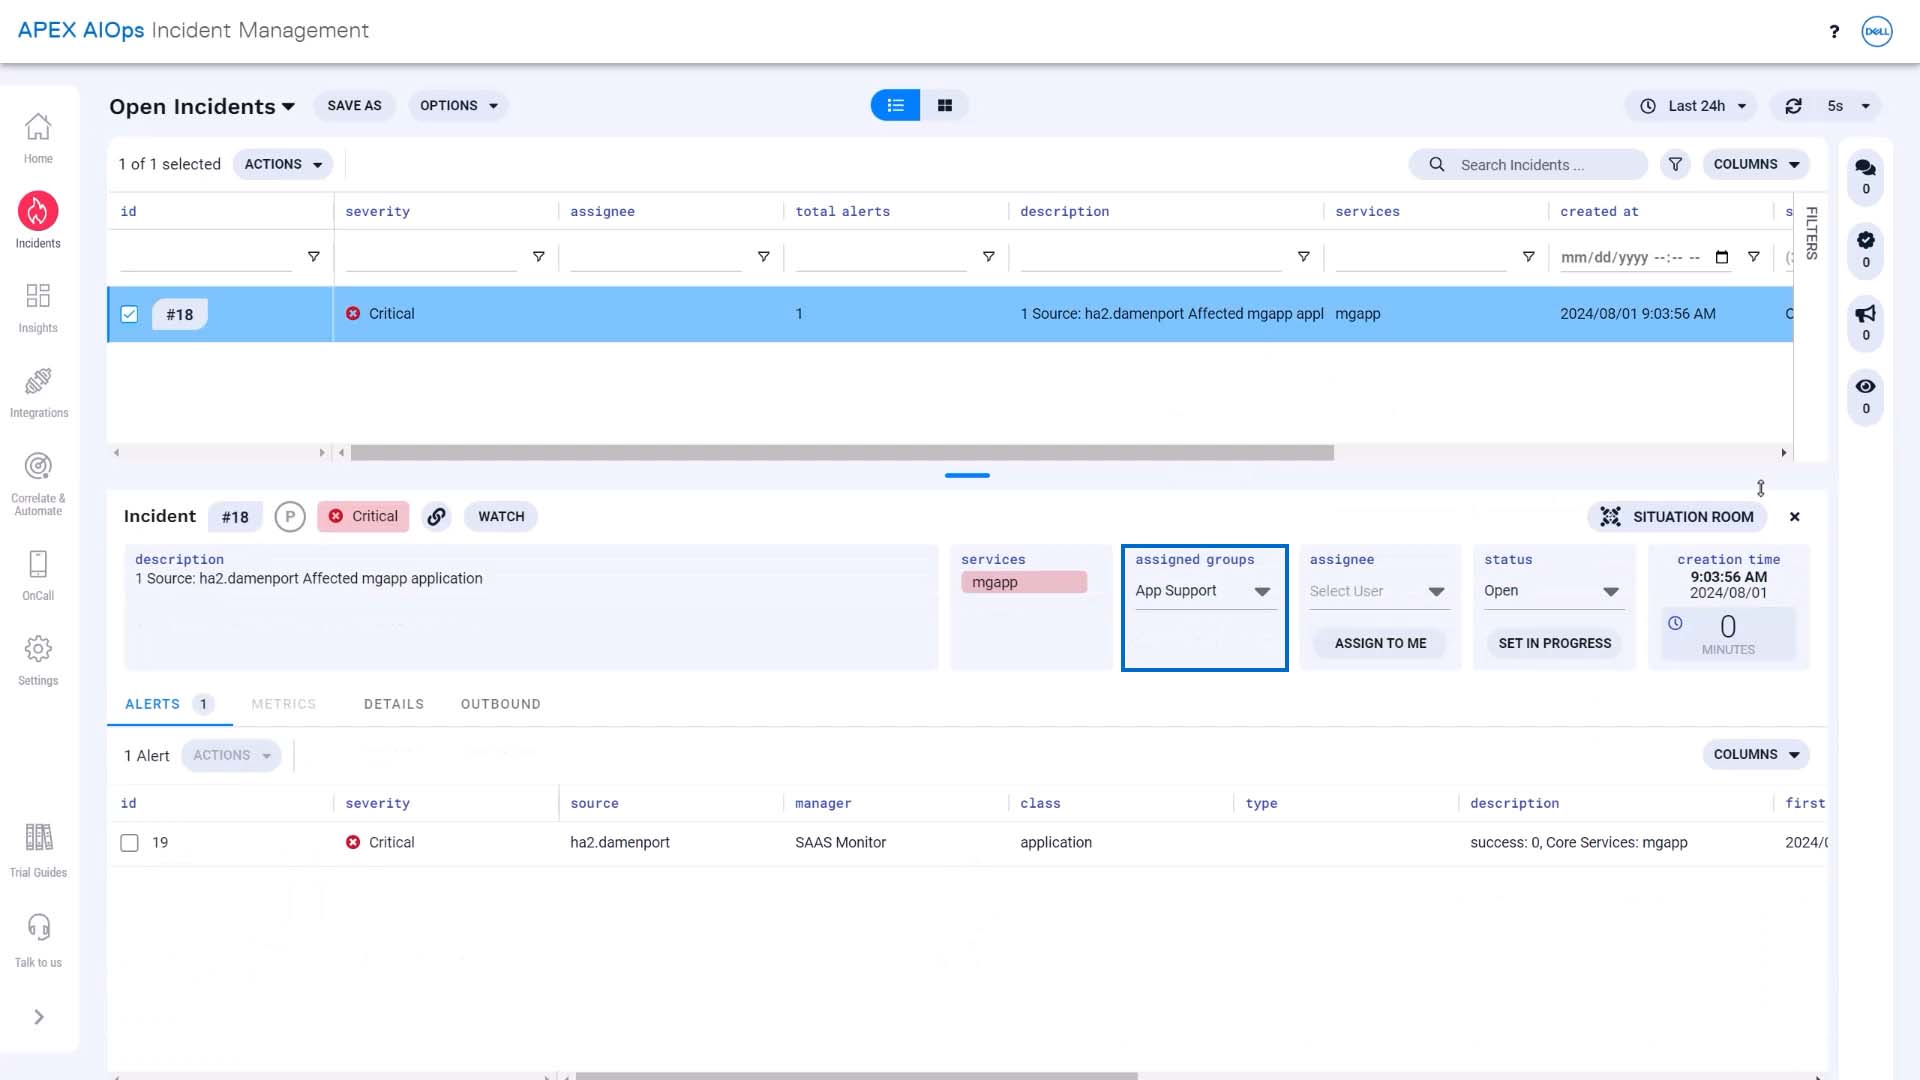
The next example is to put in delay. Many of you have set up integrations to send Incident Management incidents to external systems.
But as you know, incidents sometimes resolve themselves, or their severity decreases. So you don’t want to route the incident information right away. A delay action is what you need.
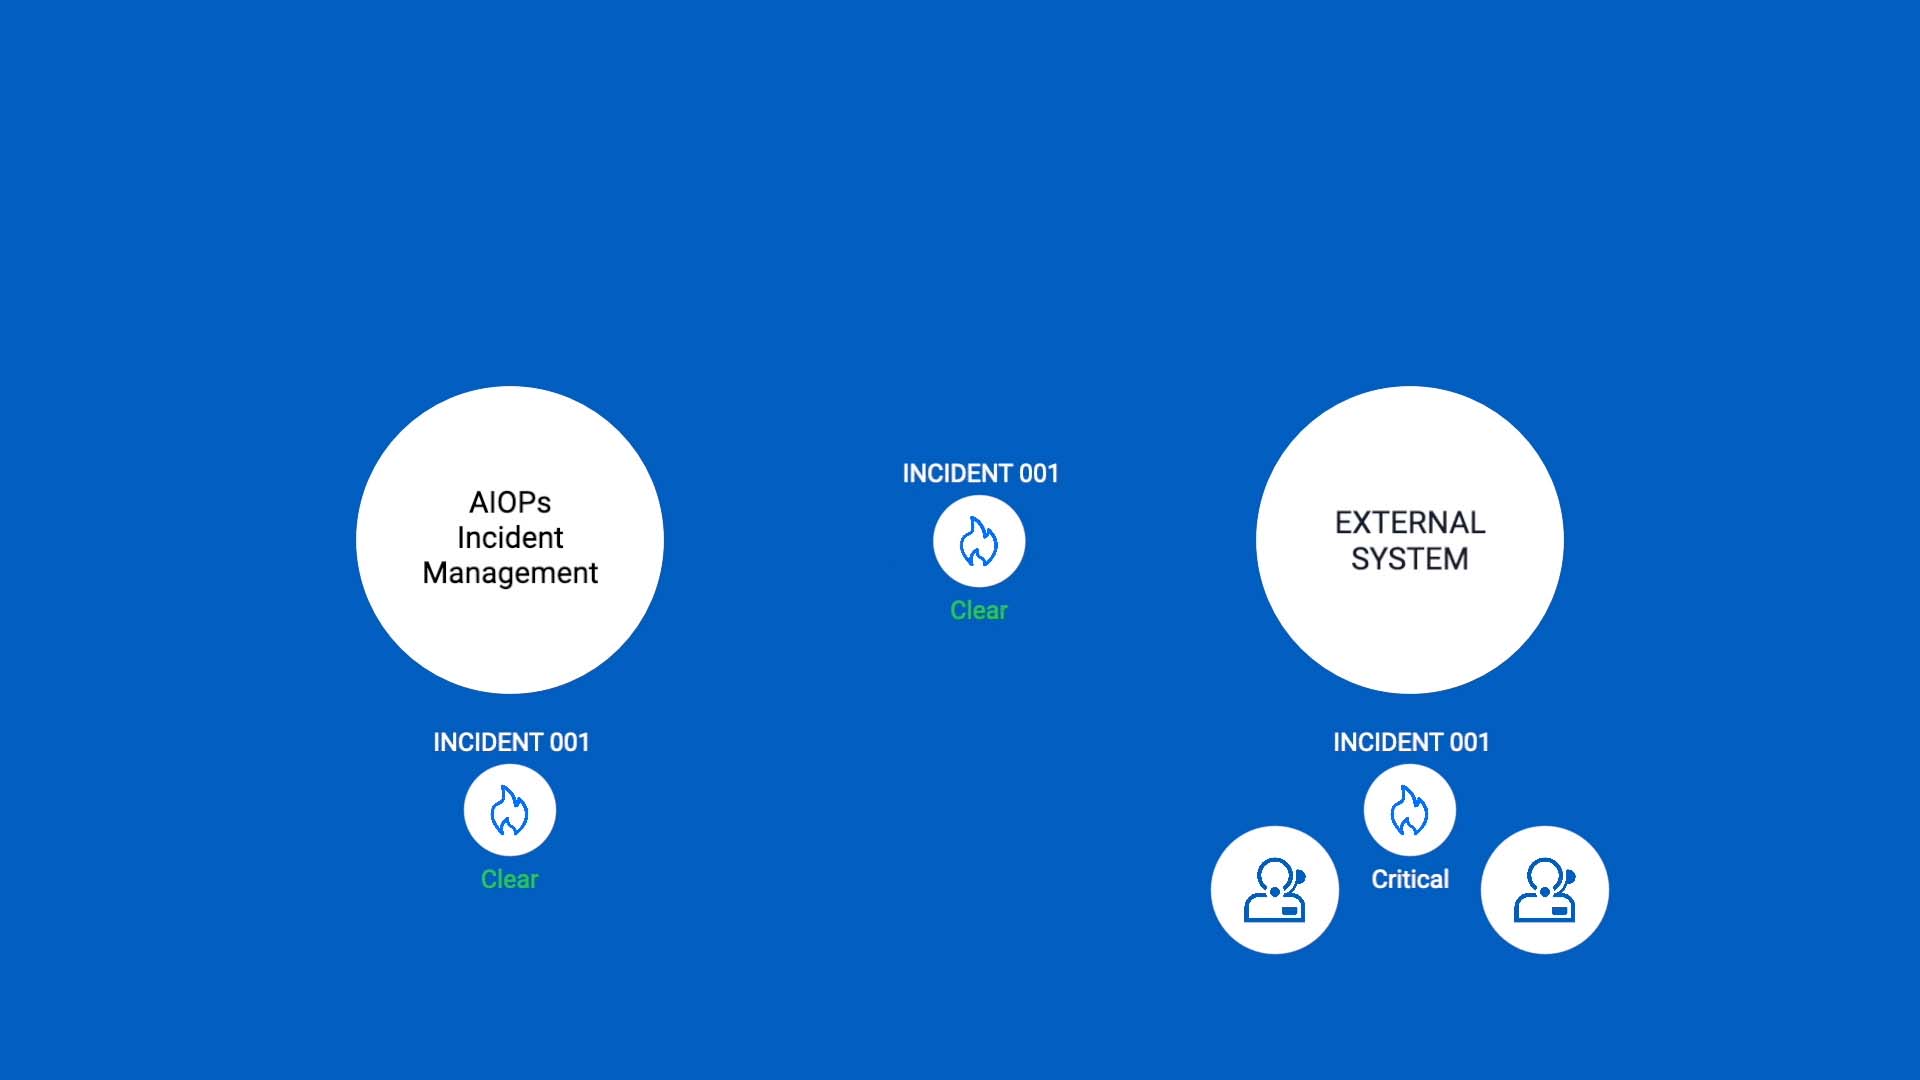
Suppose you want to send critical incidents to Datadog, but only if they are still unresolved after 30 minutes. Here’s how we’ll do that.
First, we’ll set up a workflow to process incidents when they are created. We’ll use an entry filter so only incidents with a critical severity enter the workflow.
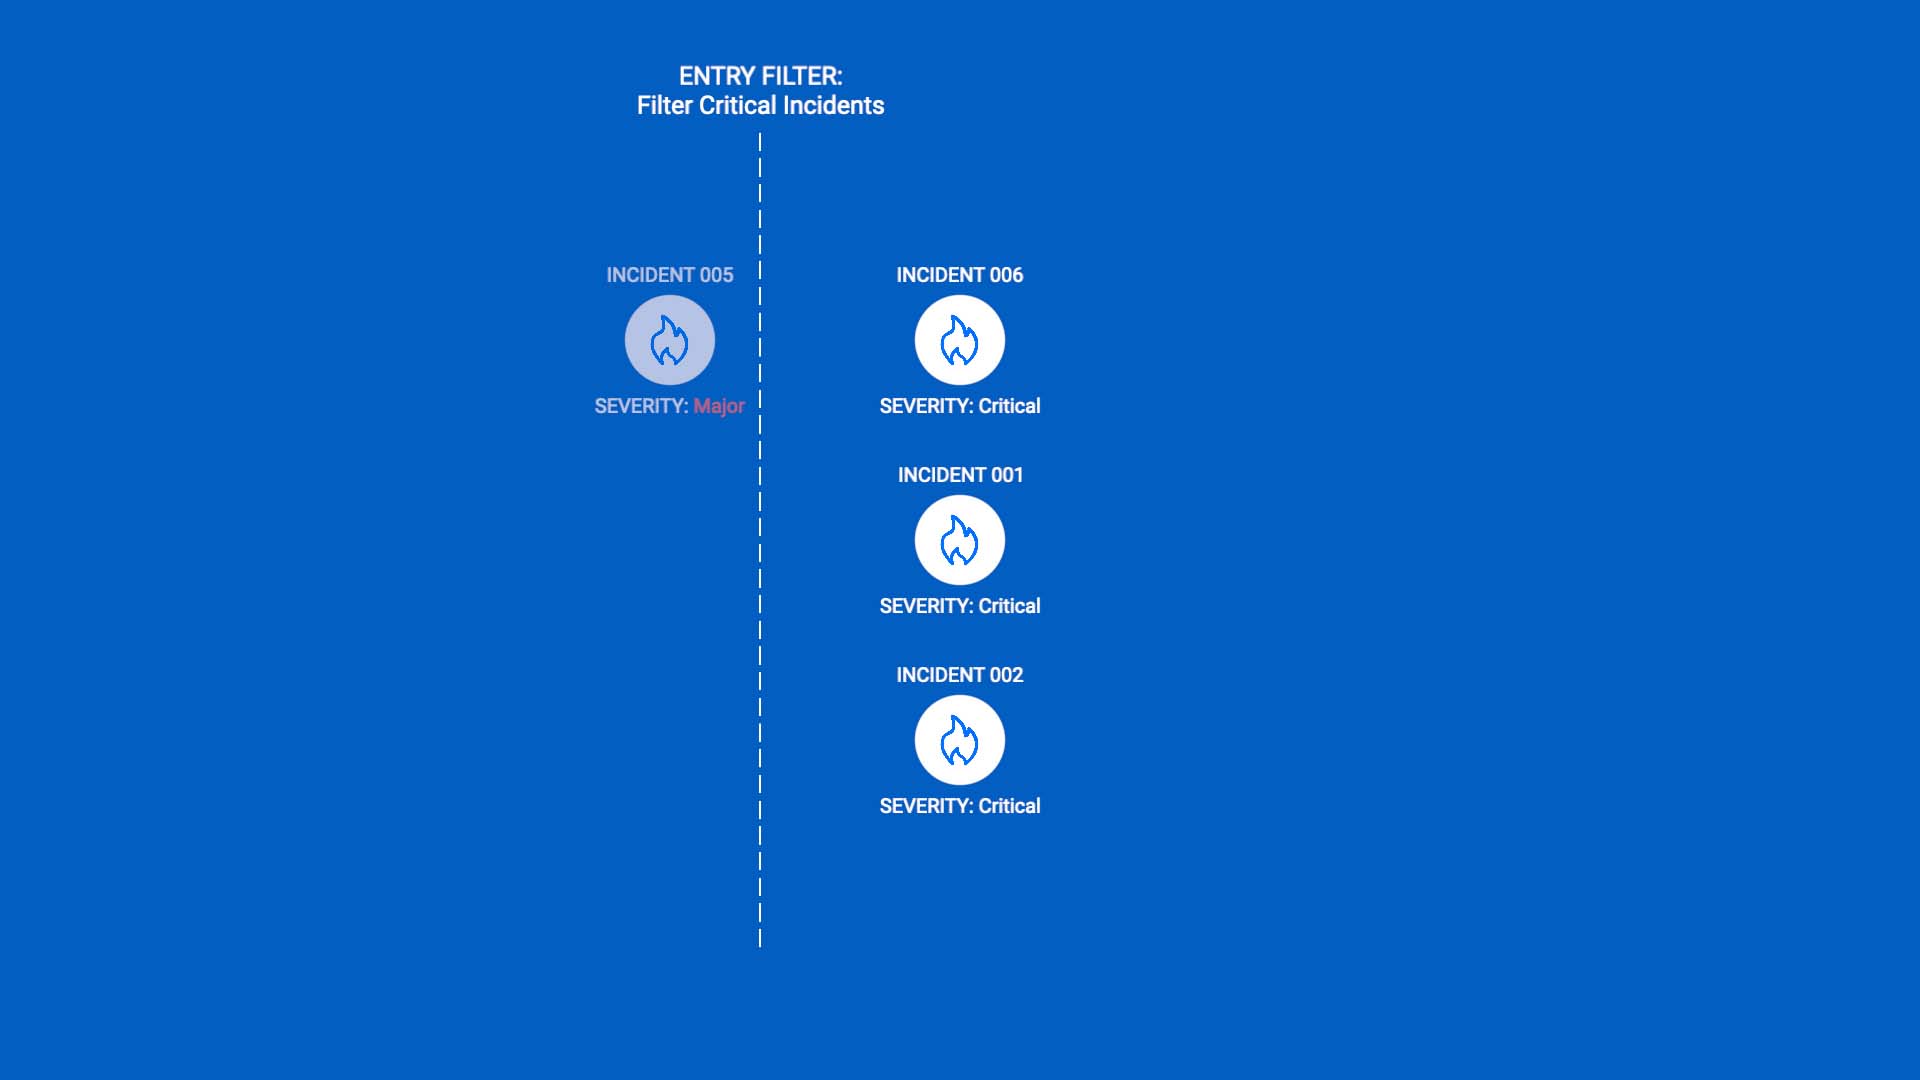
Then, we’ll add a delay.
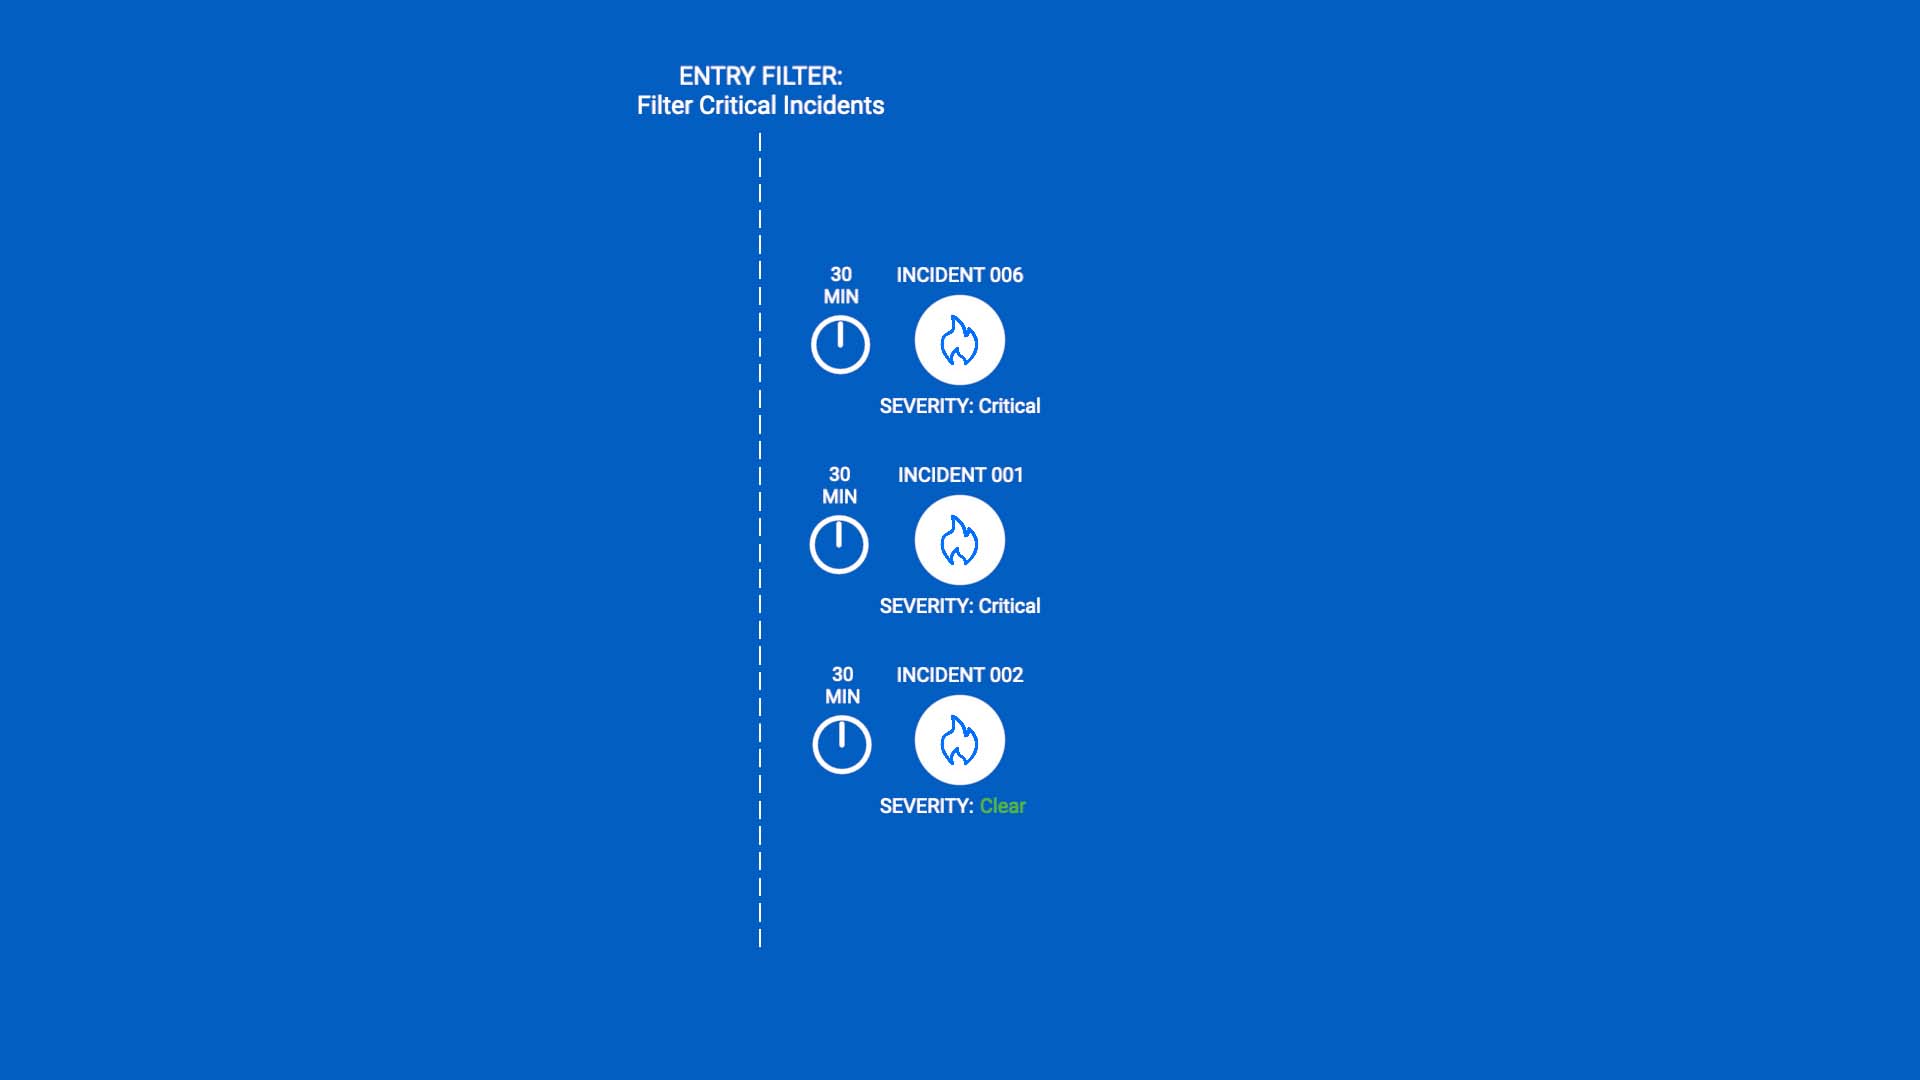
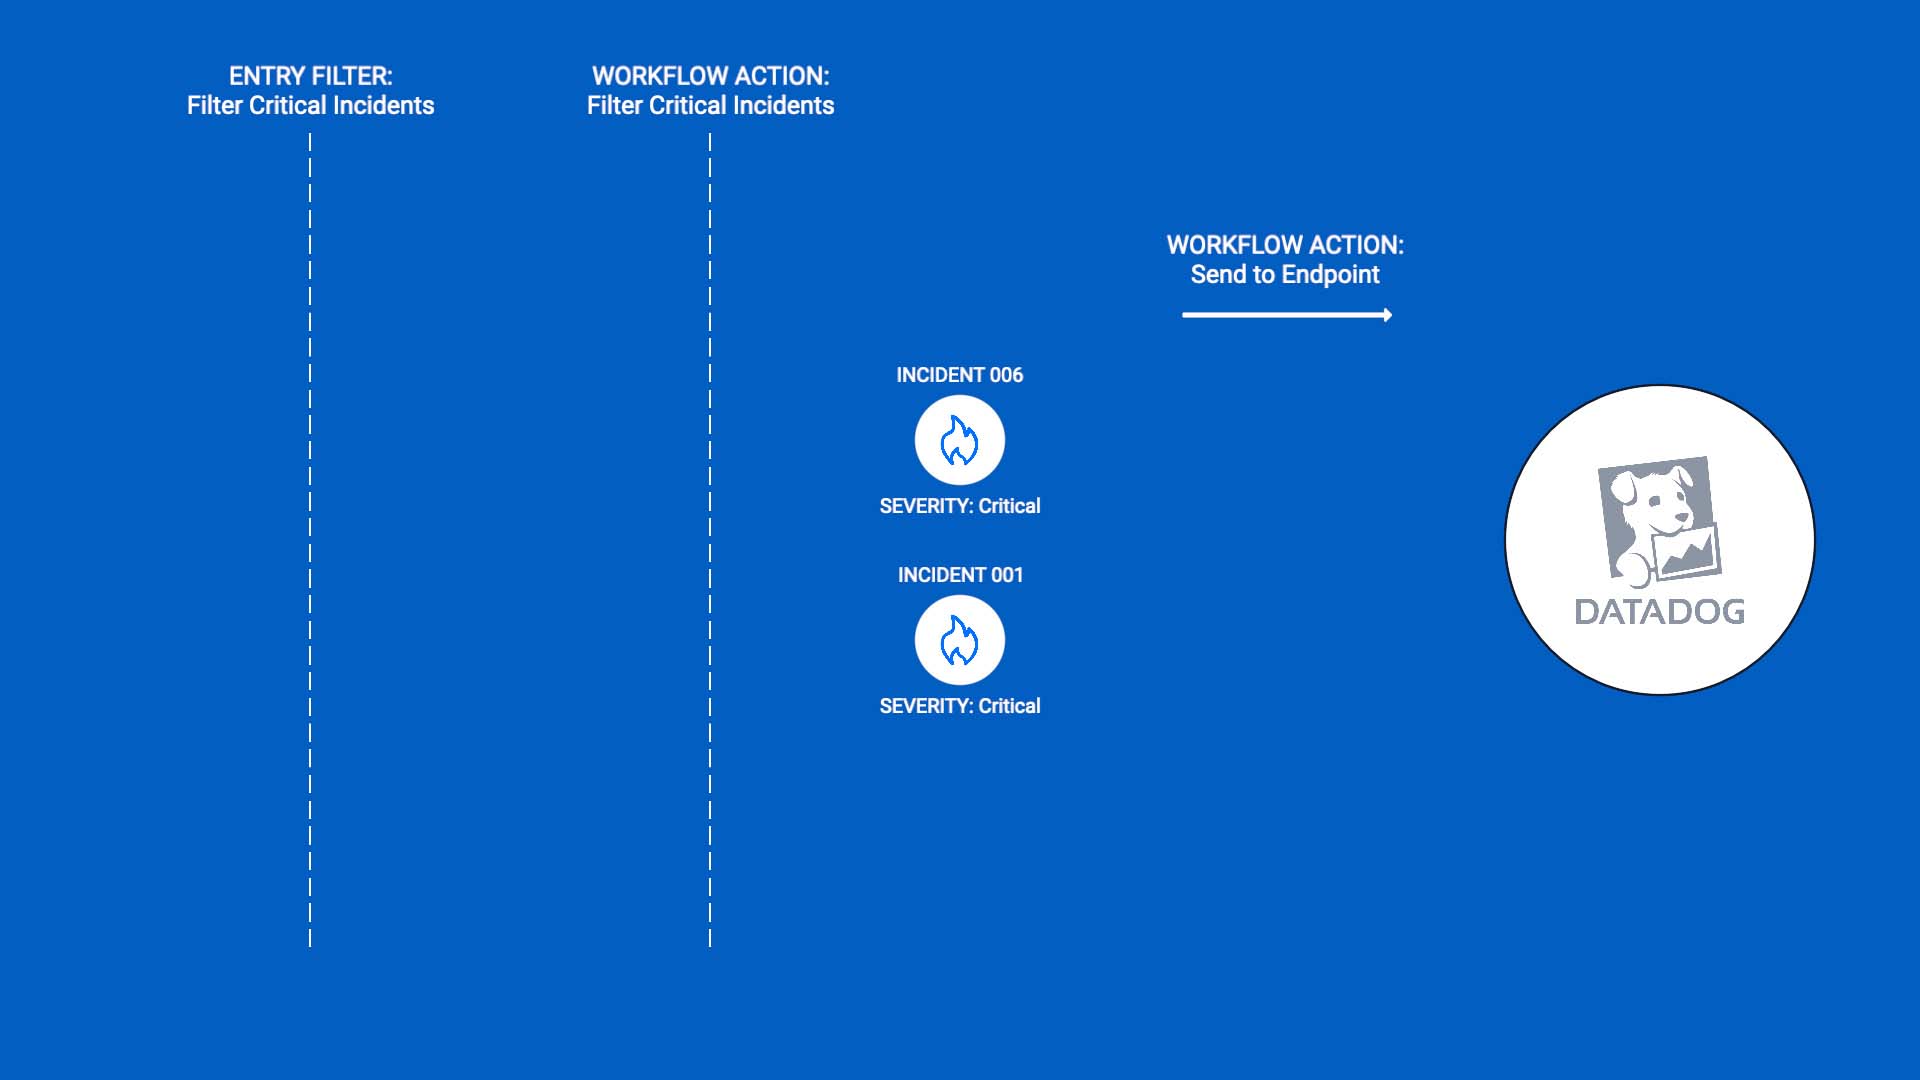
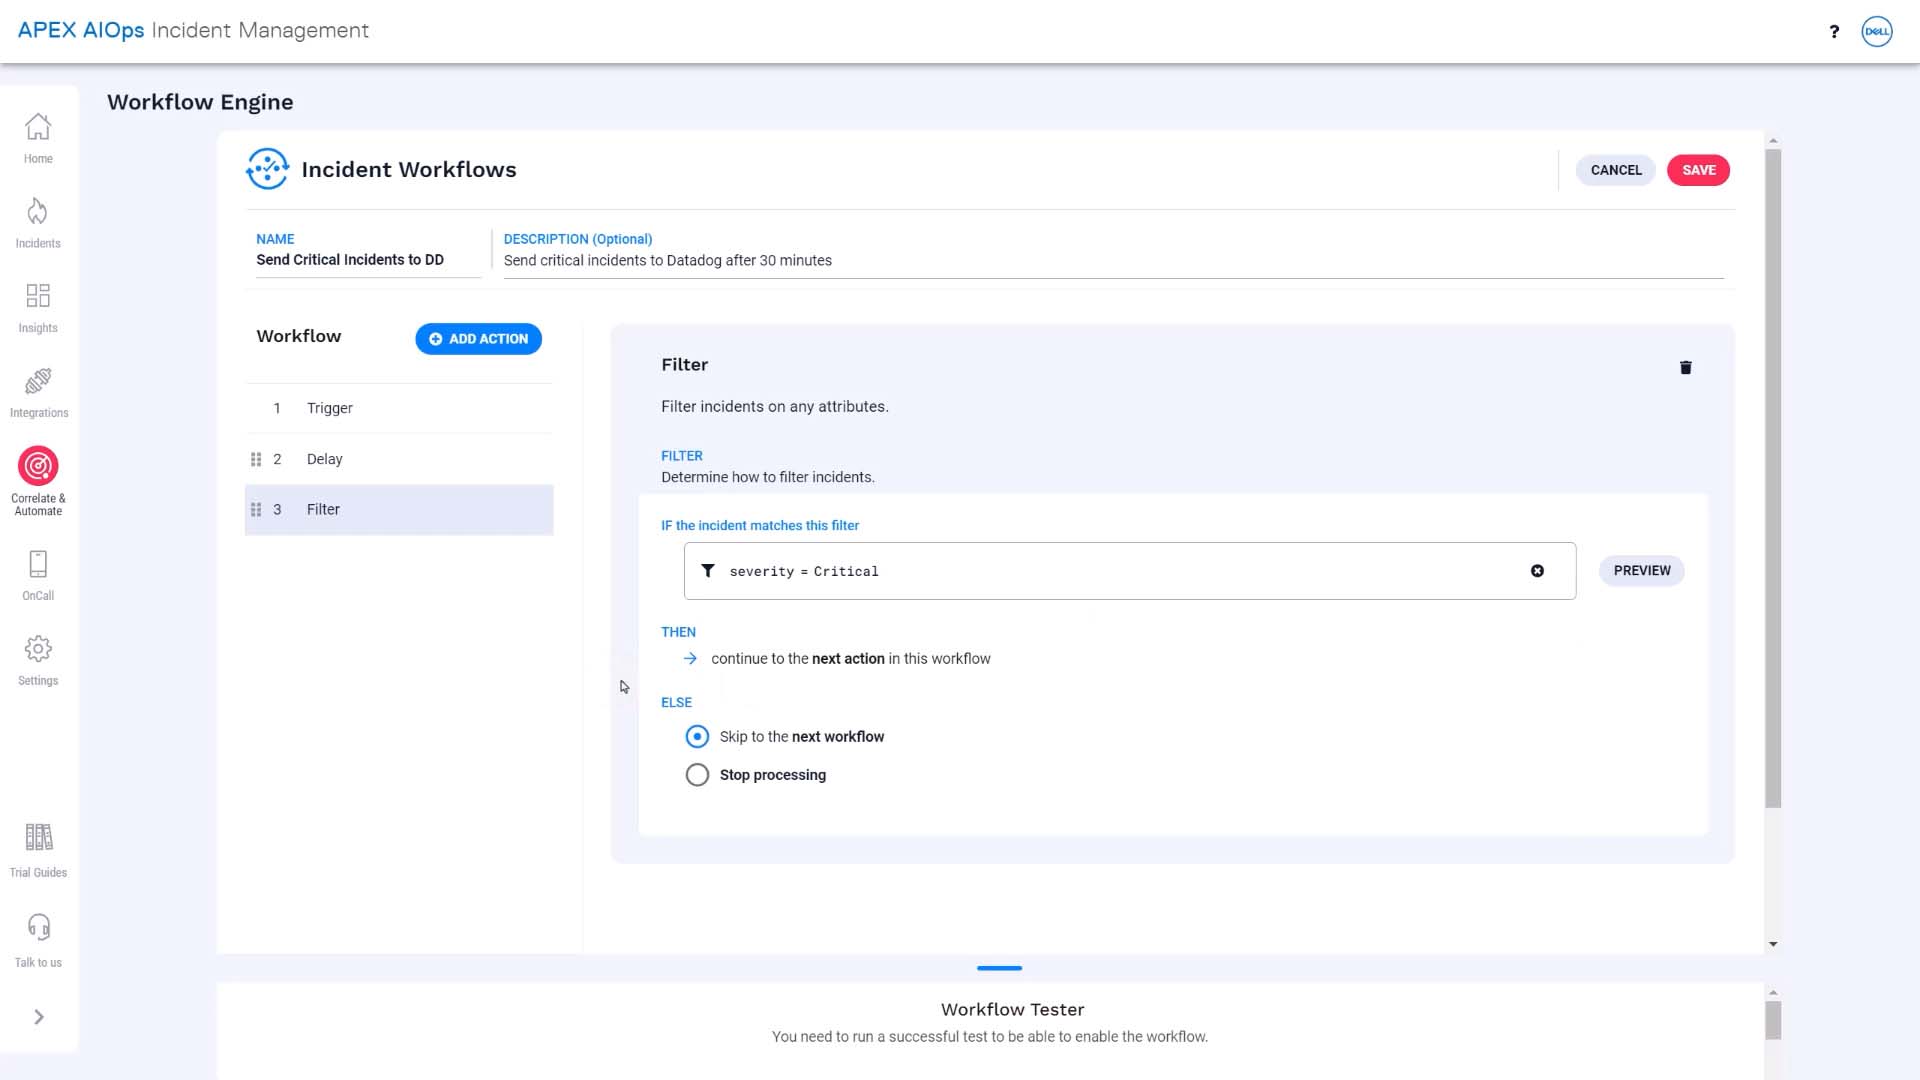
Next, we’ll add another filter for critical severity, so incidents that have become less severe won’t pass.
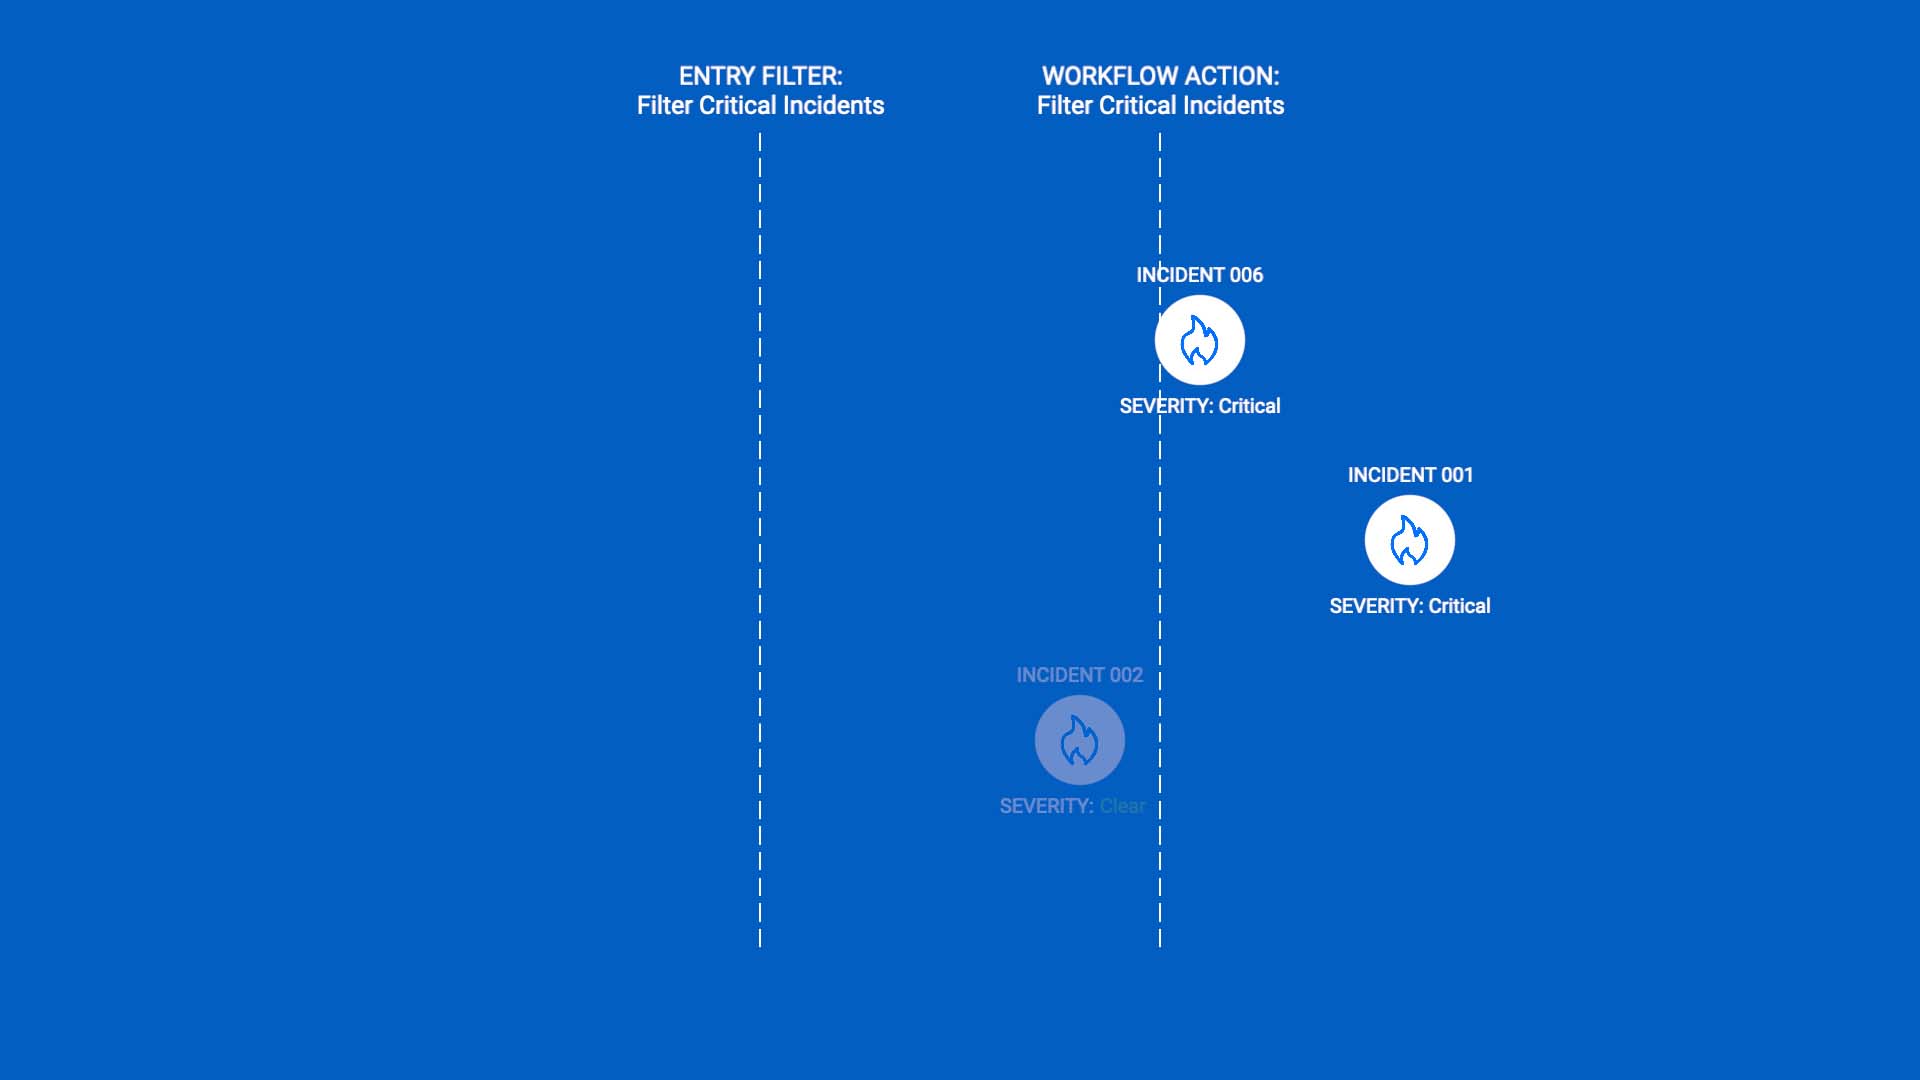
And finally, we’ll use a send to endpoint action to route the remaining critical incidents to our Datadog integration.
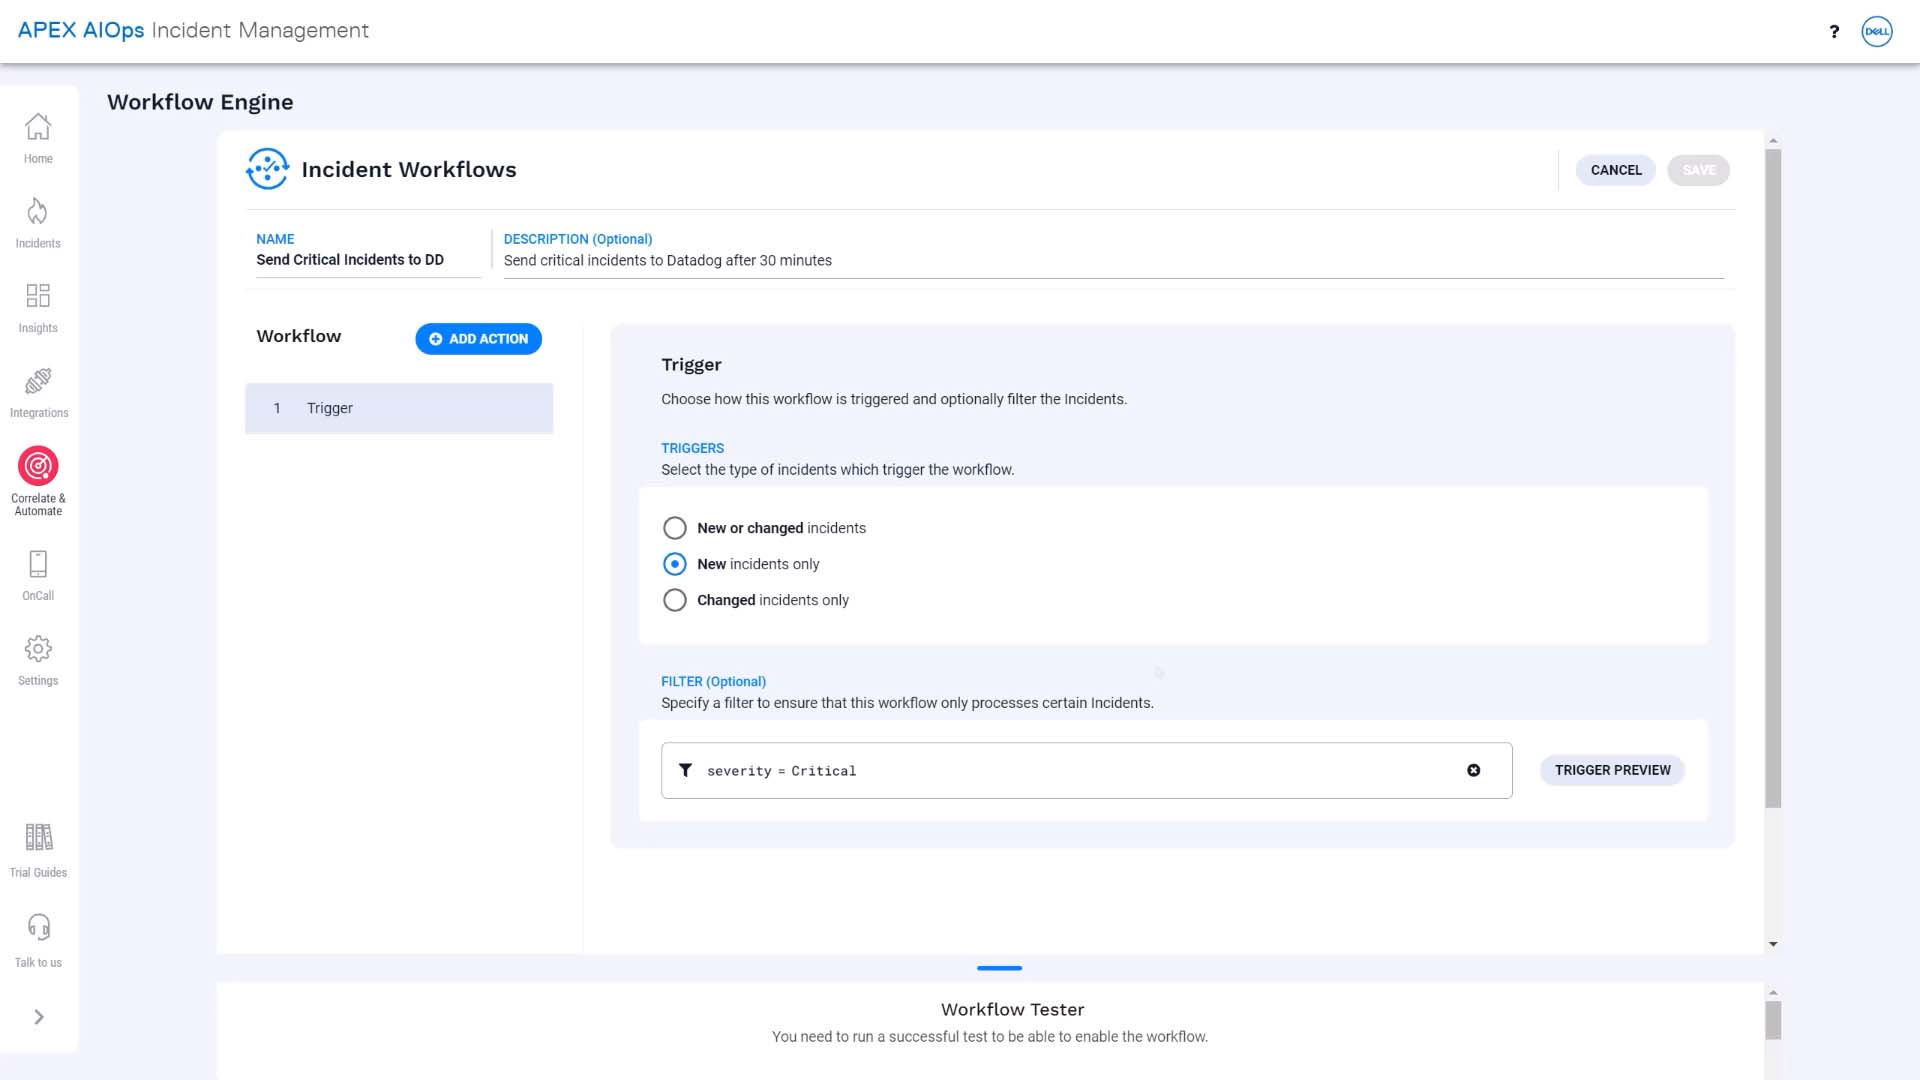
Here’s what that looks like. We’ll add a new workflow. We'll name and describe it, and set it to start up when an incident is created. We’ll filter for critical incidents.
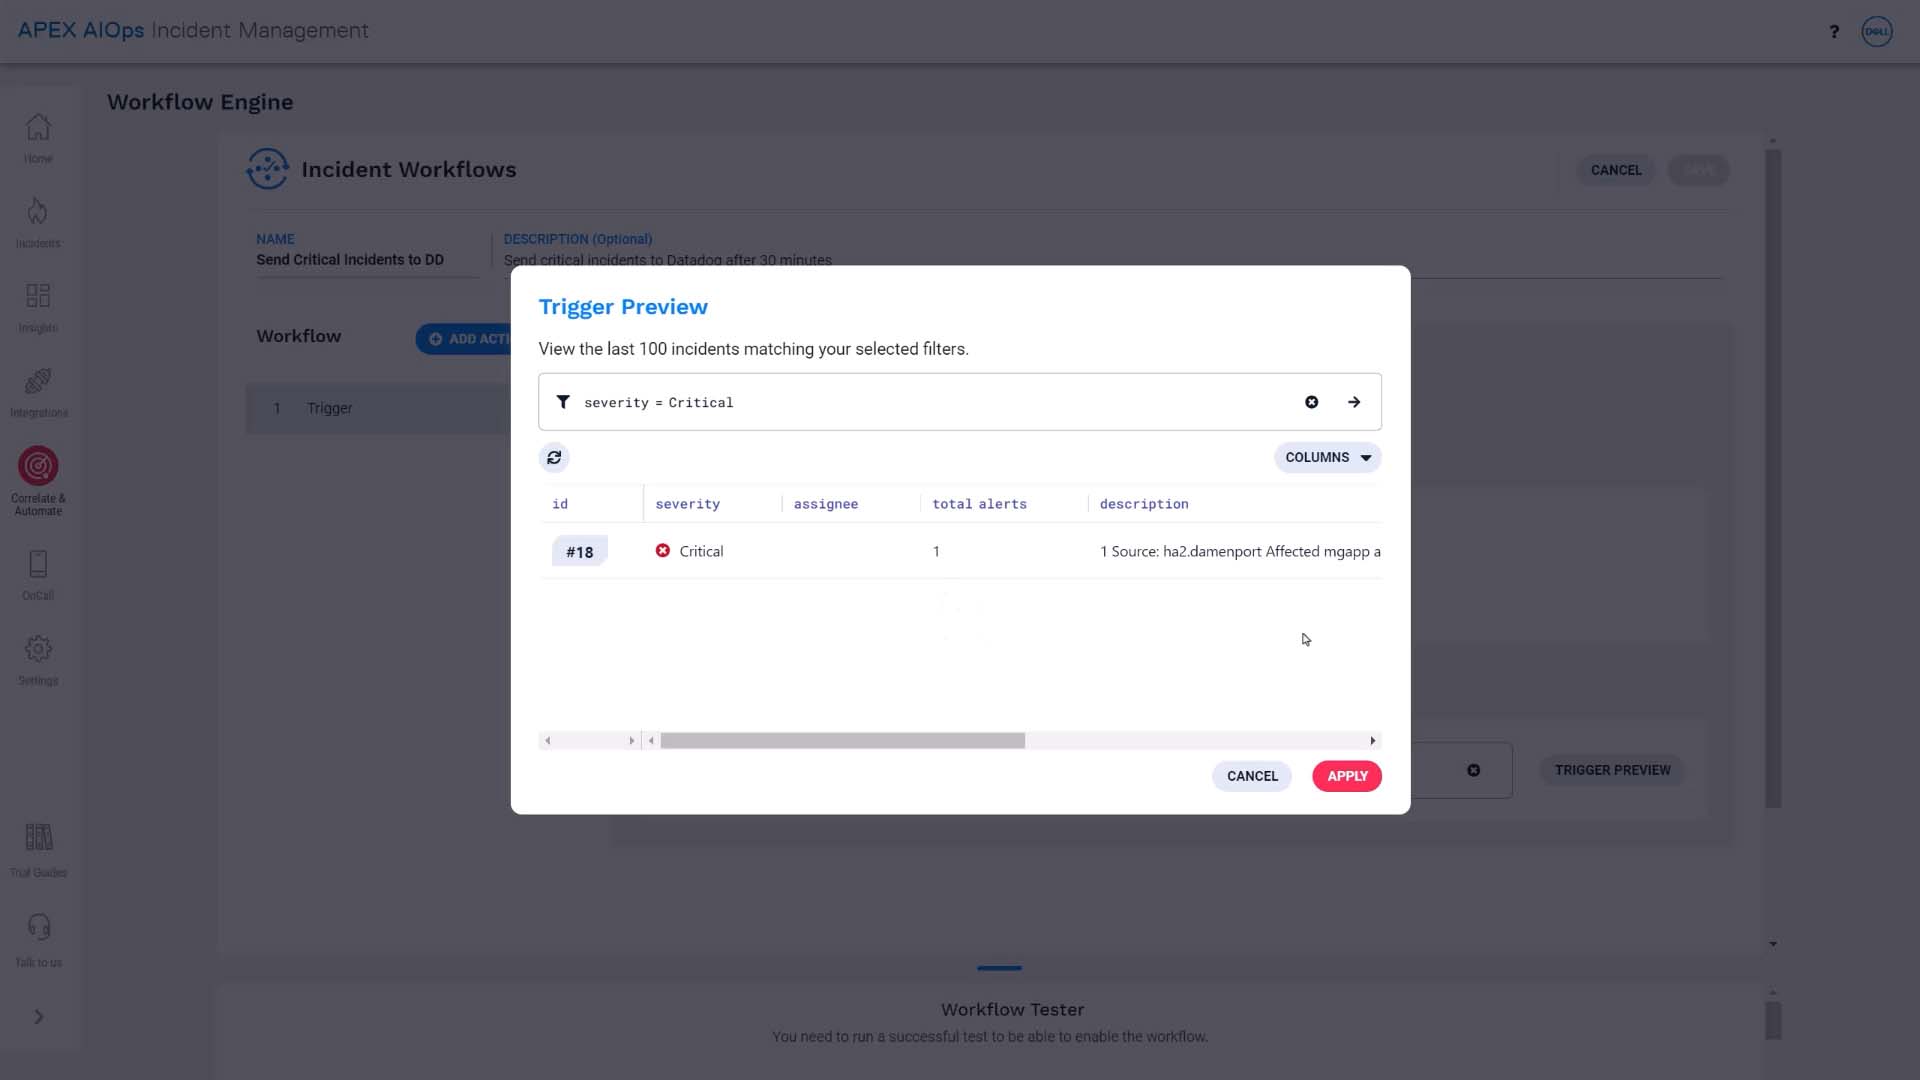
This preview button is convenient. You can test and see if you are getting the intended result.
We’ll add a delay action, and set the delay to 30 minutes.
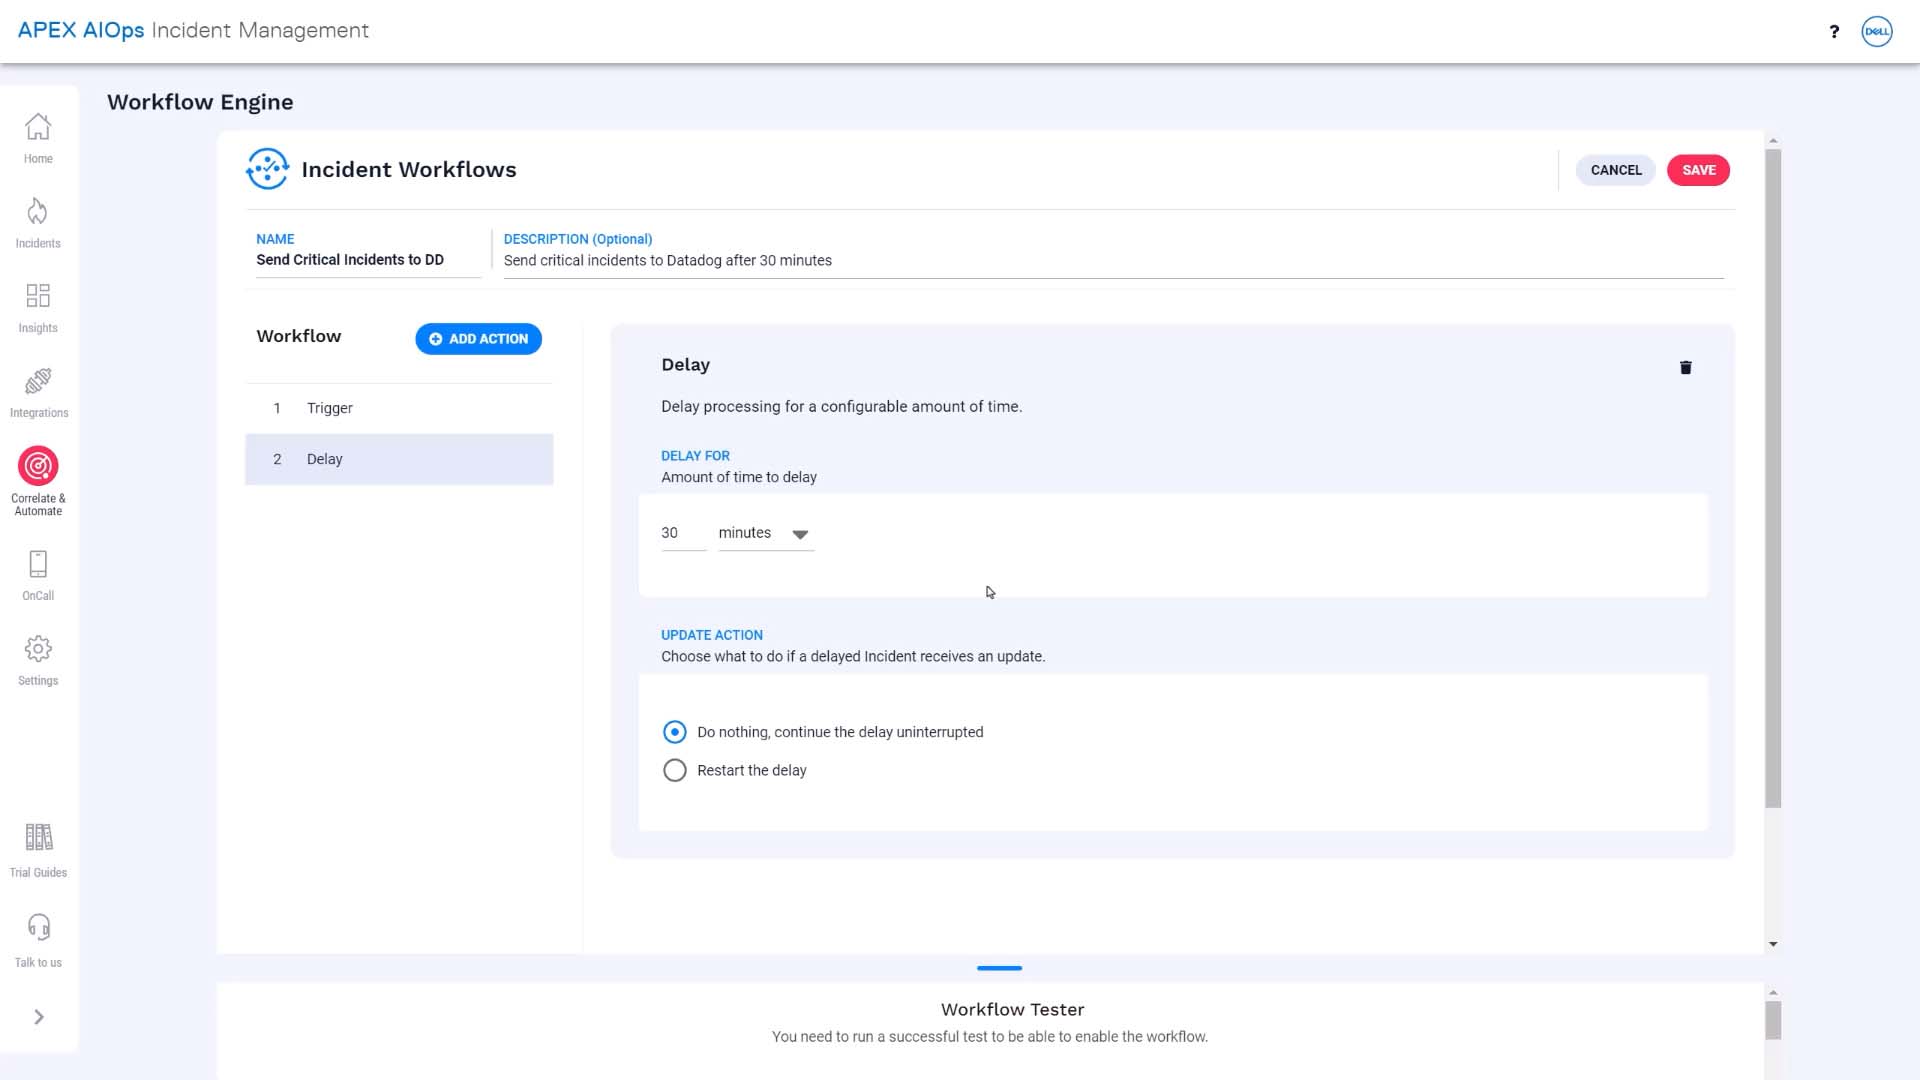
Next we’ll add another critical severity filter.
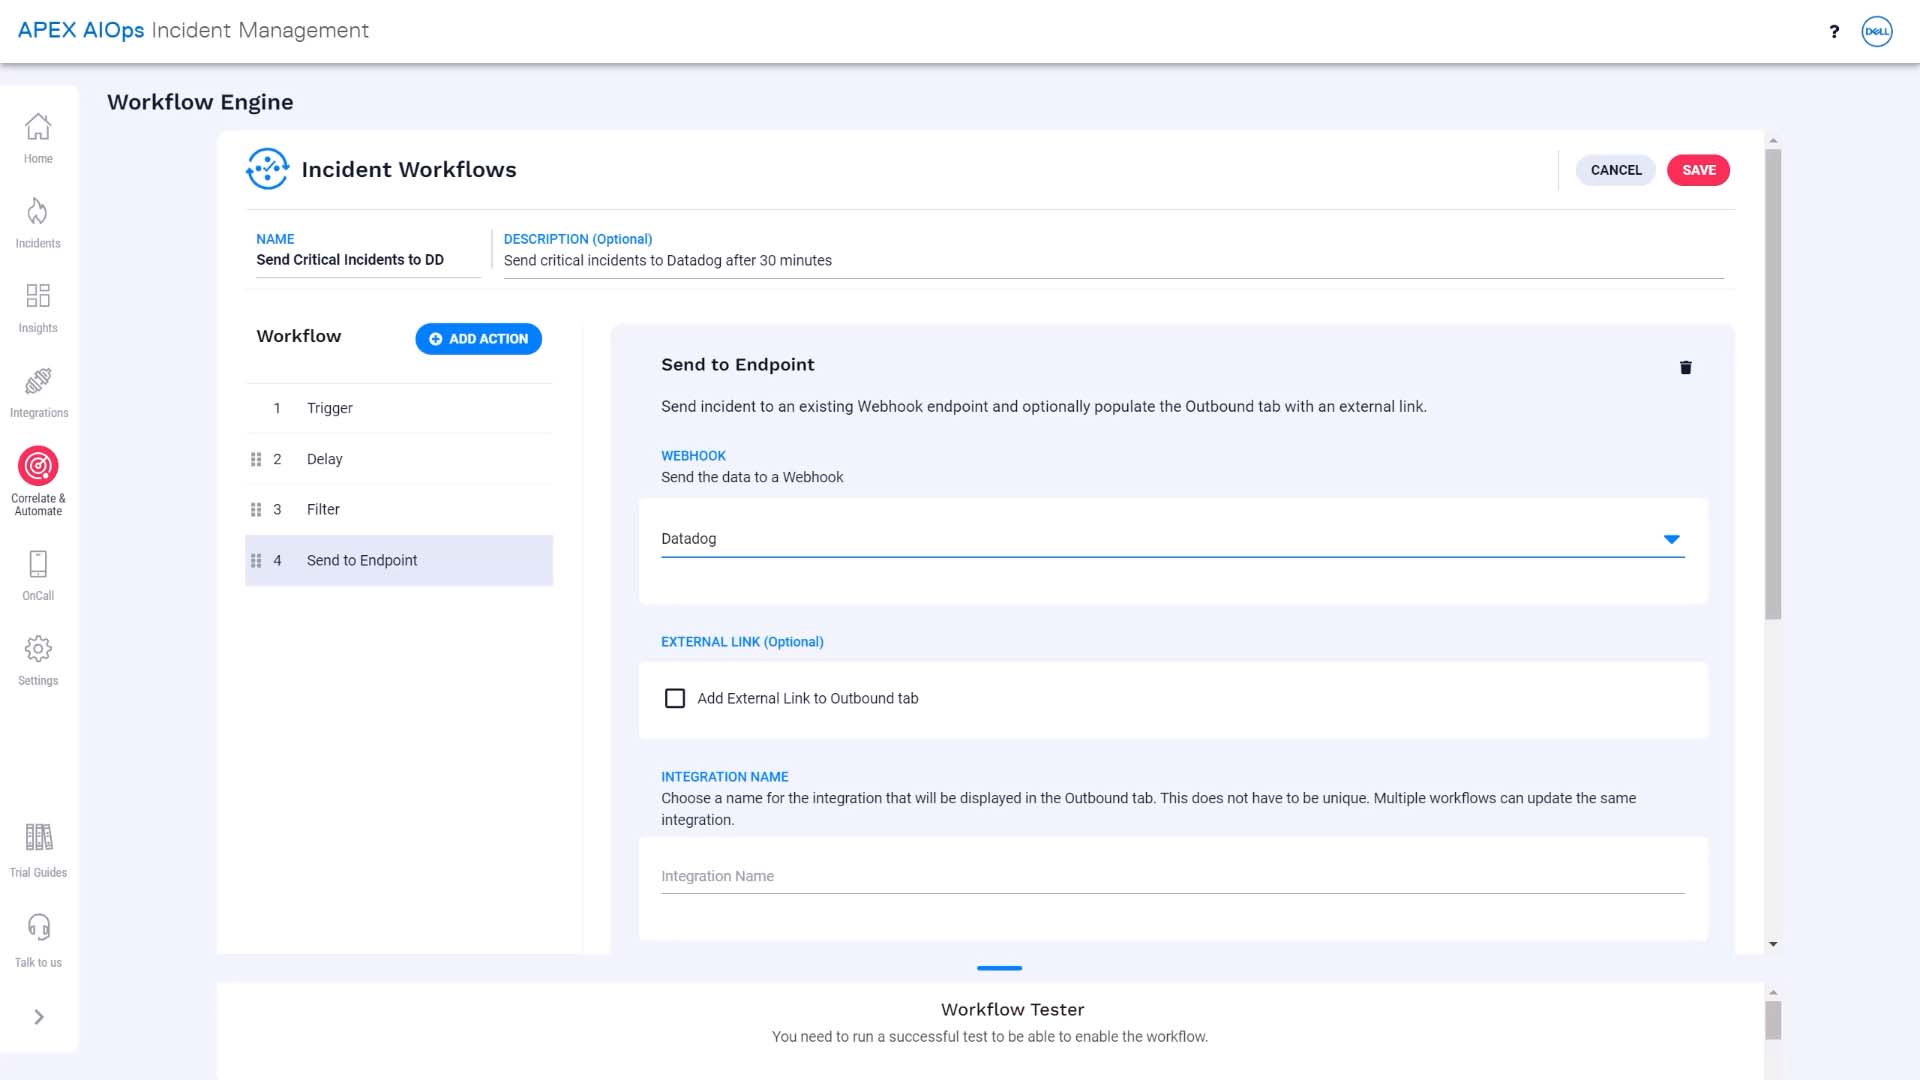
Any incidents that pass the second filter after the delay should go to Datadog. Here’s the action we need.
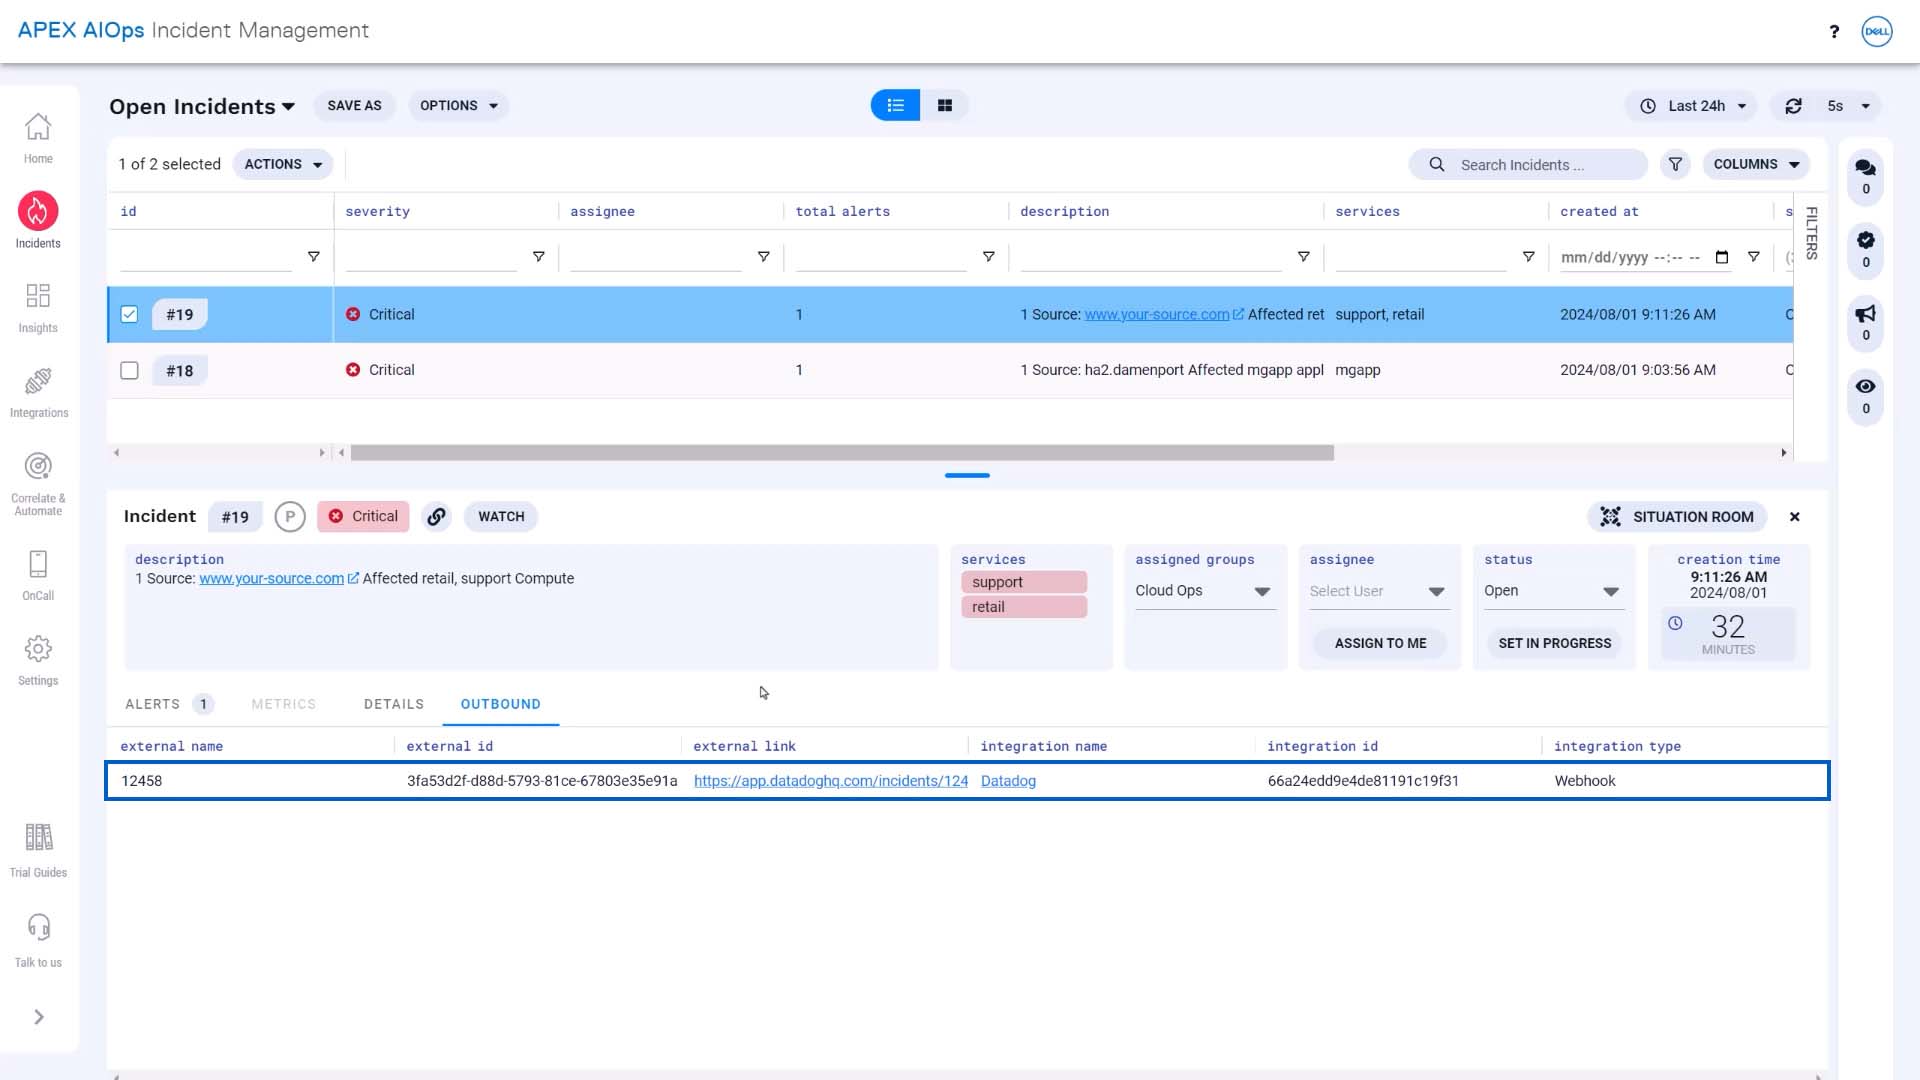
Our Datadog outbound webhook is already configured, so we’ll use that. You can read the Incident Management documentation to learn about configuring outbound integrations. This adds a link to the incident in Datadog to the Incident Management incident.
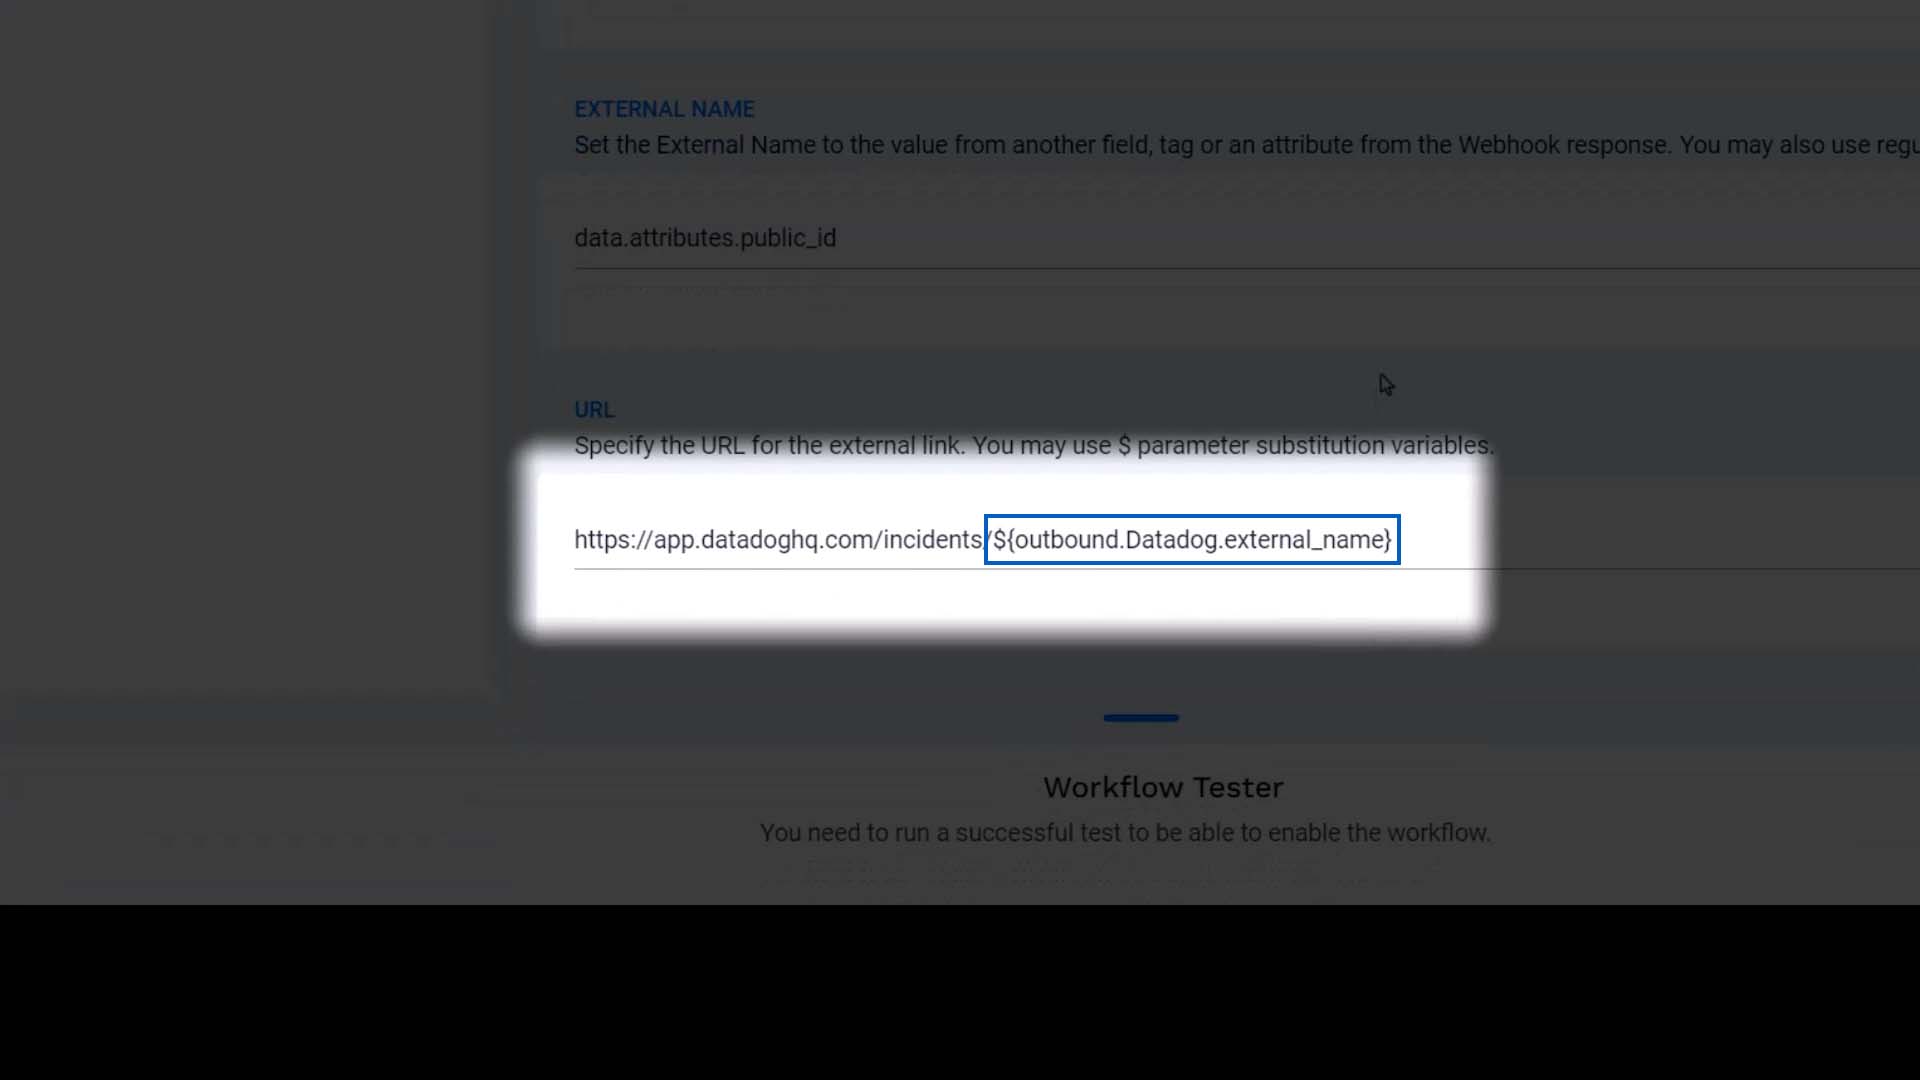
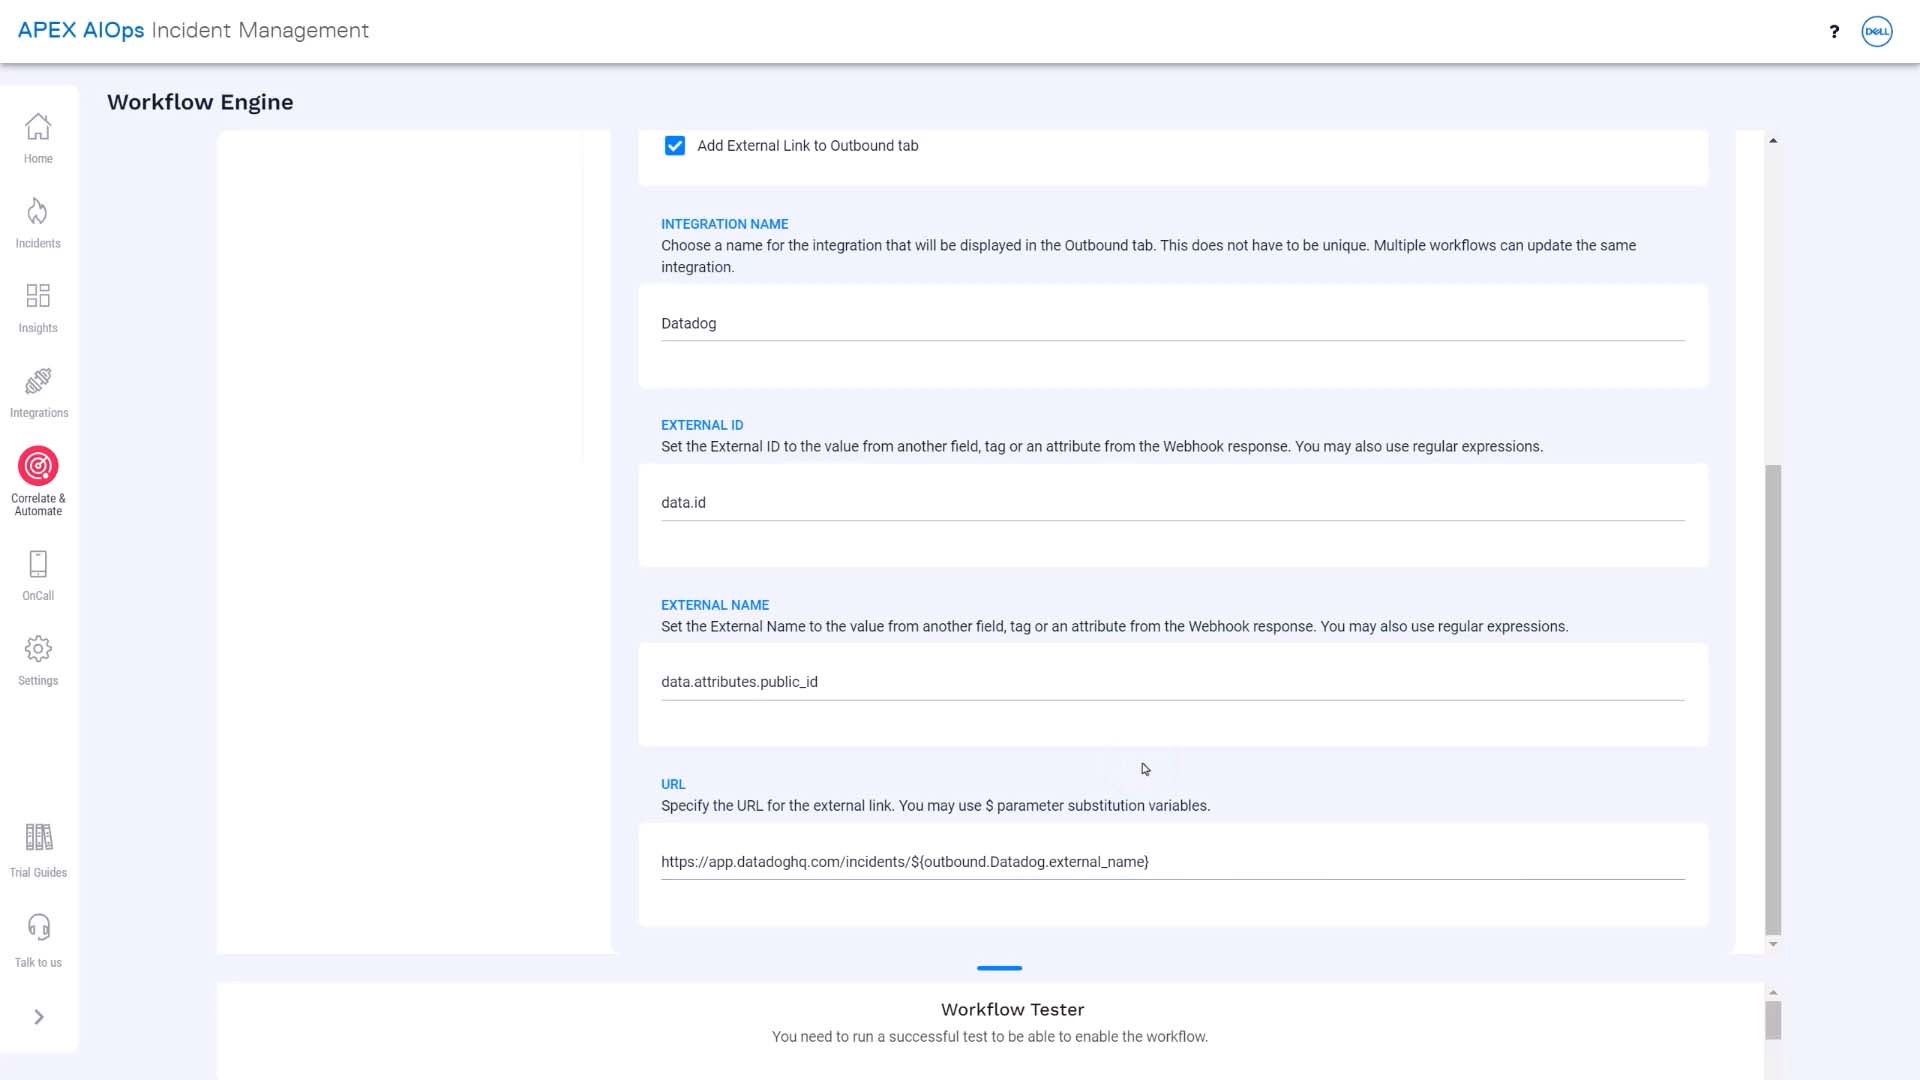
We’ll name the integration, and we’ll add the external name and ID, too. When an incident is forwarded to Datadog, Incident Management will parse Datadog’s response to get these values. Here is the URL that will link to the Datadog incident in Incident Management. It will show up under the Outbound tab for the incident.
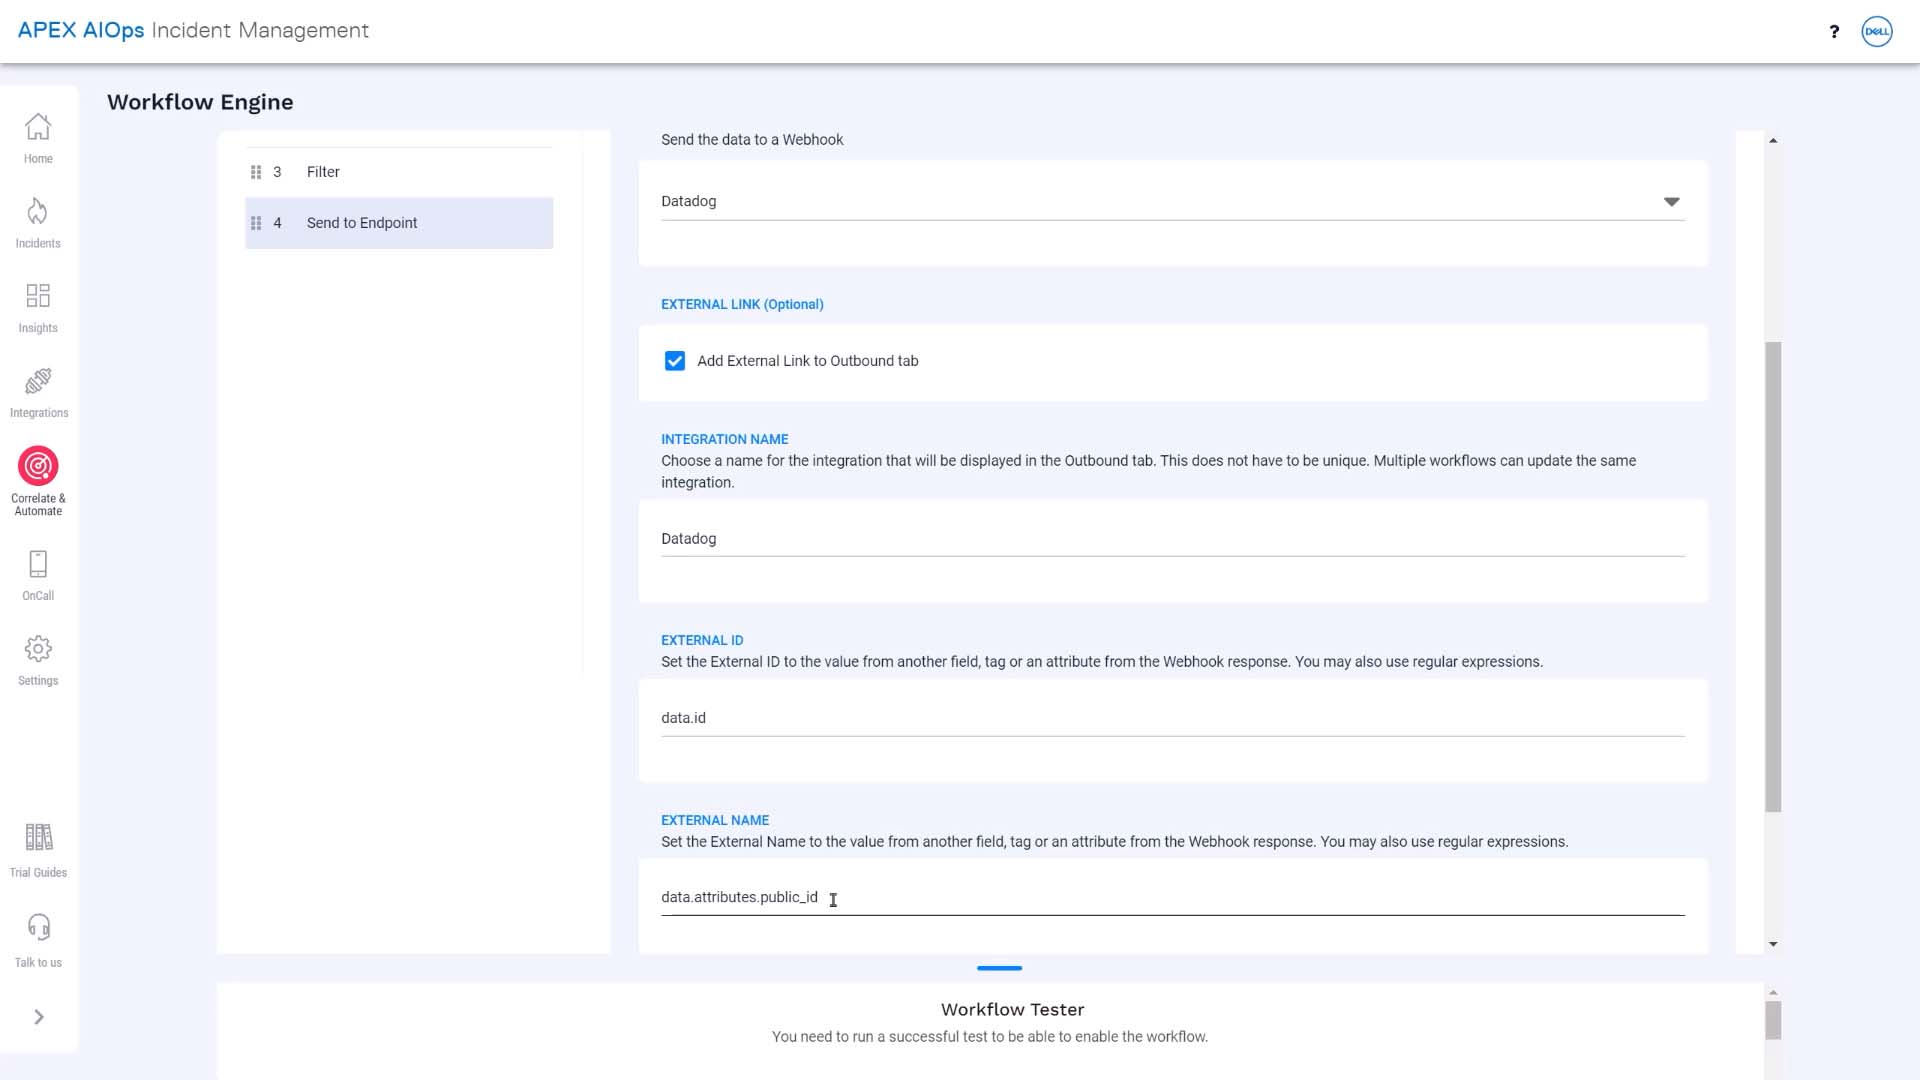
The dollar sign and curly brackets tell Incident Management we are referring to a Incident Management field–in this case, the external name we just defined.
Our workflow is all set! Let’s make sure it works. We could use the workflow tester, but we want to see the incident show up in Datadog, so let’s send a test incident.
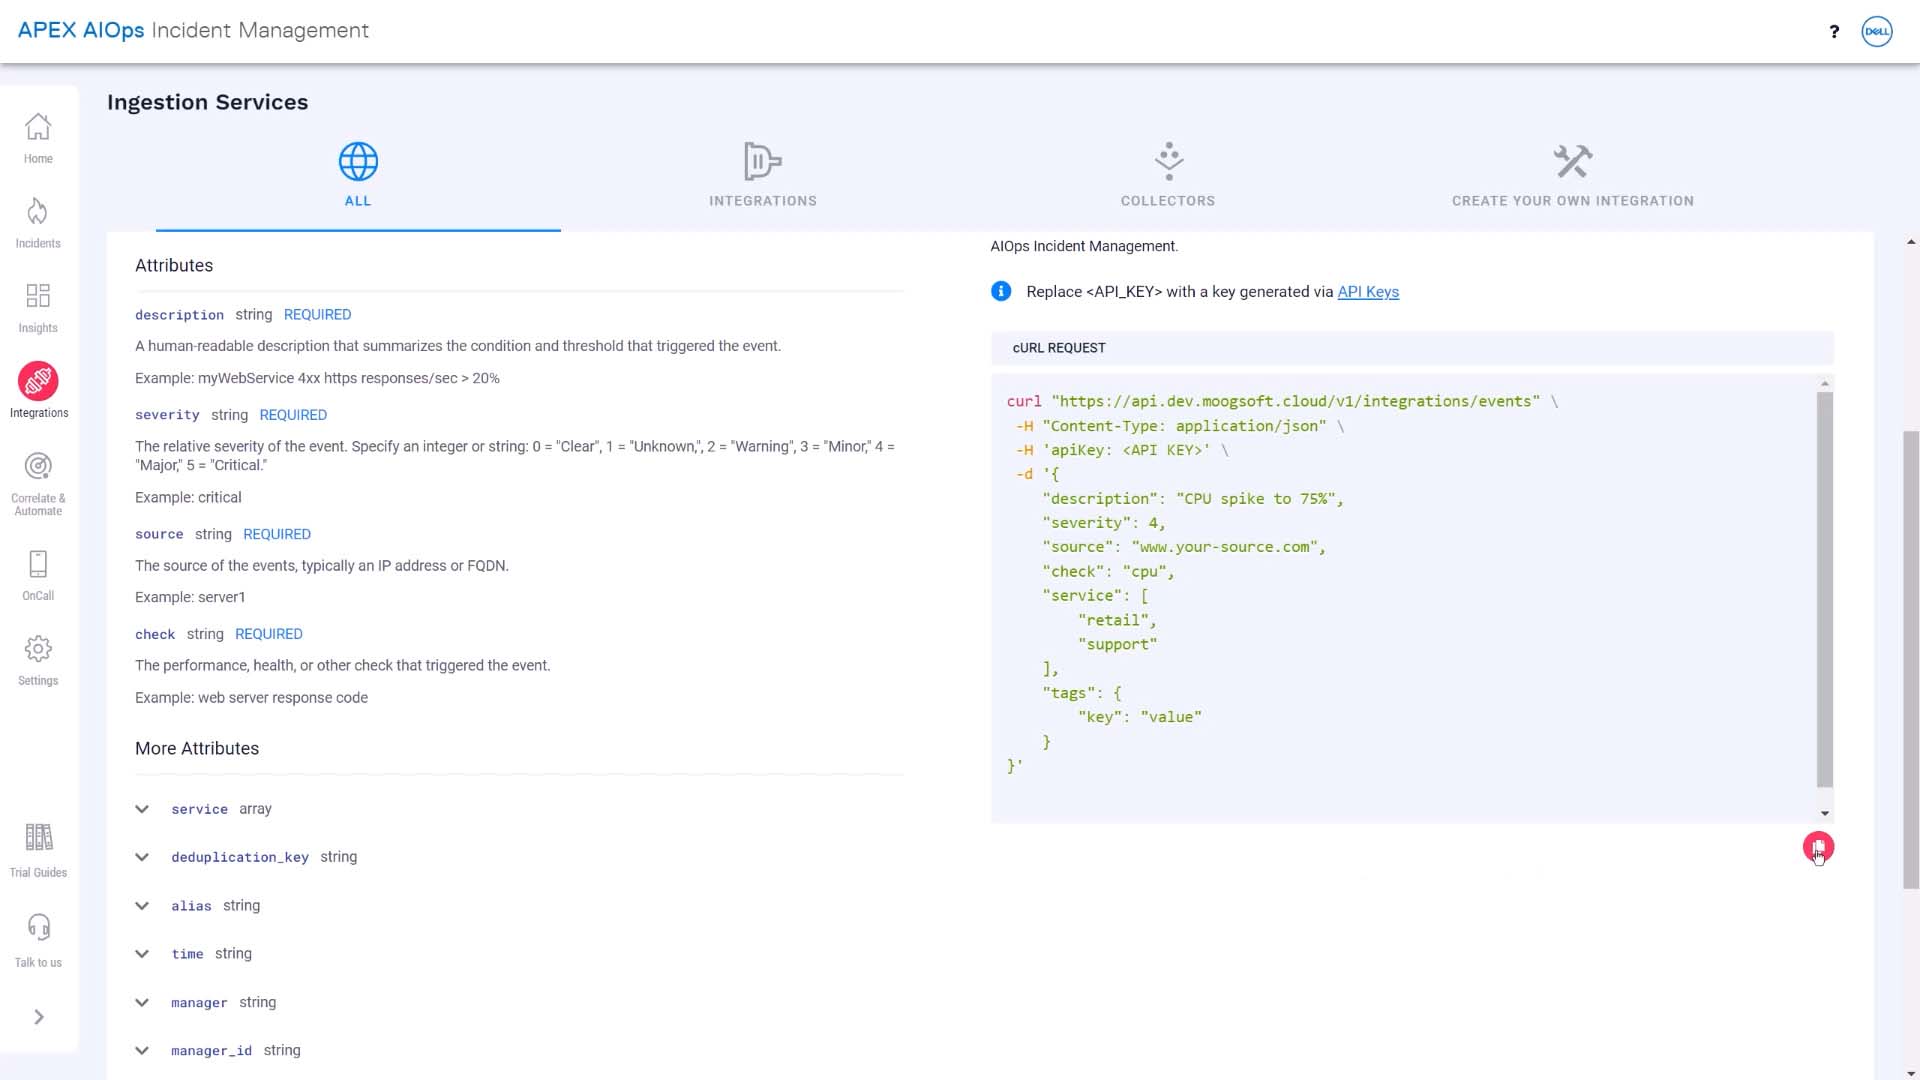
Let’s take a closer look at how to send in a test incident. We can copy a curl command with a sample event from here…
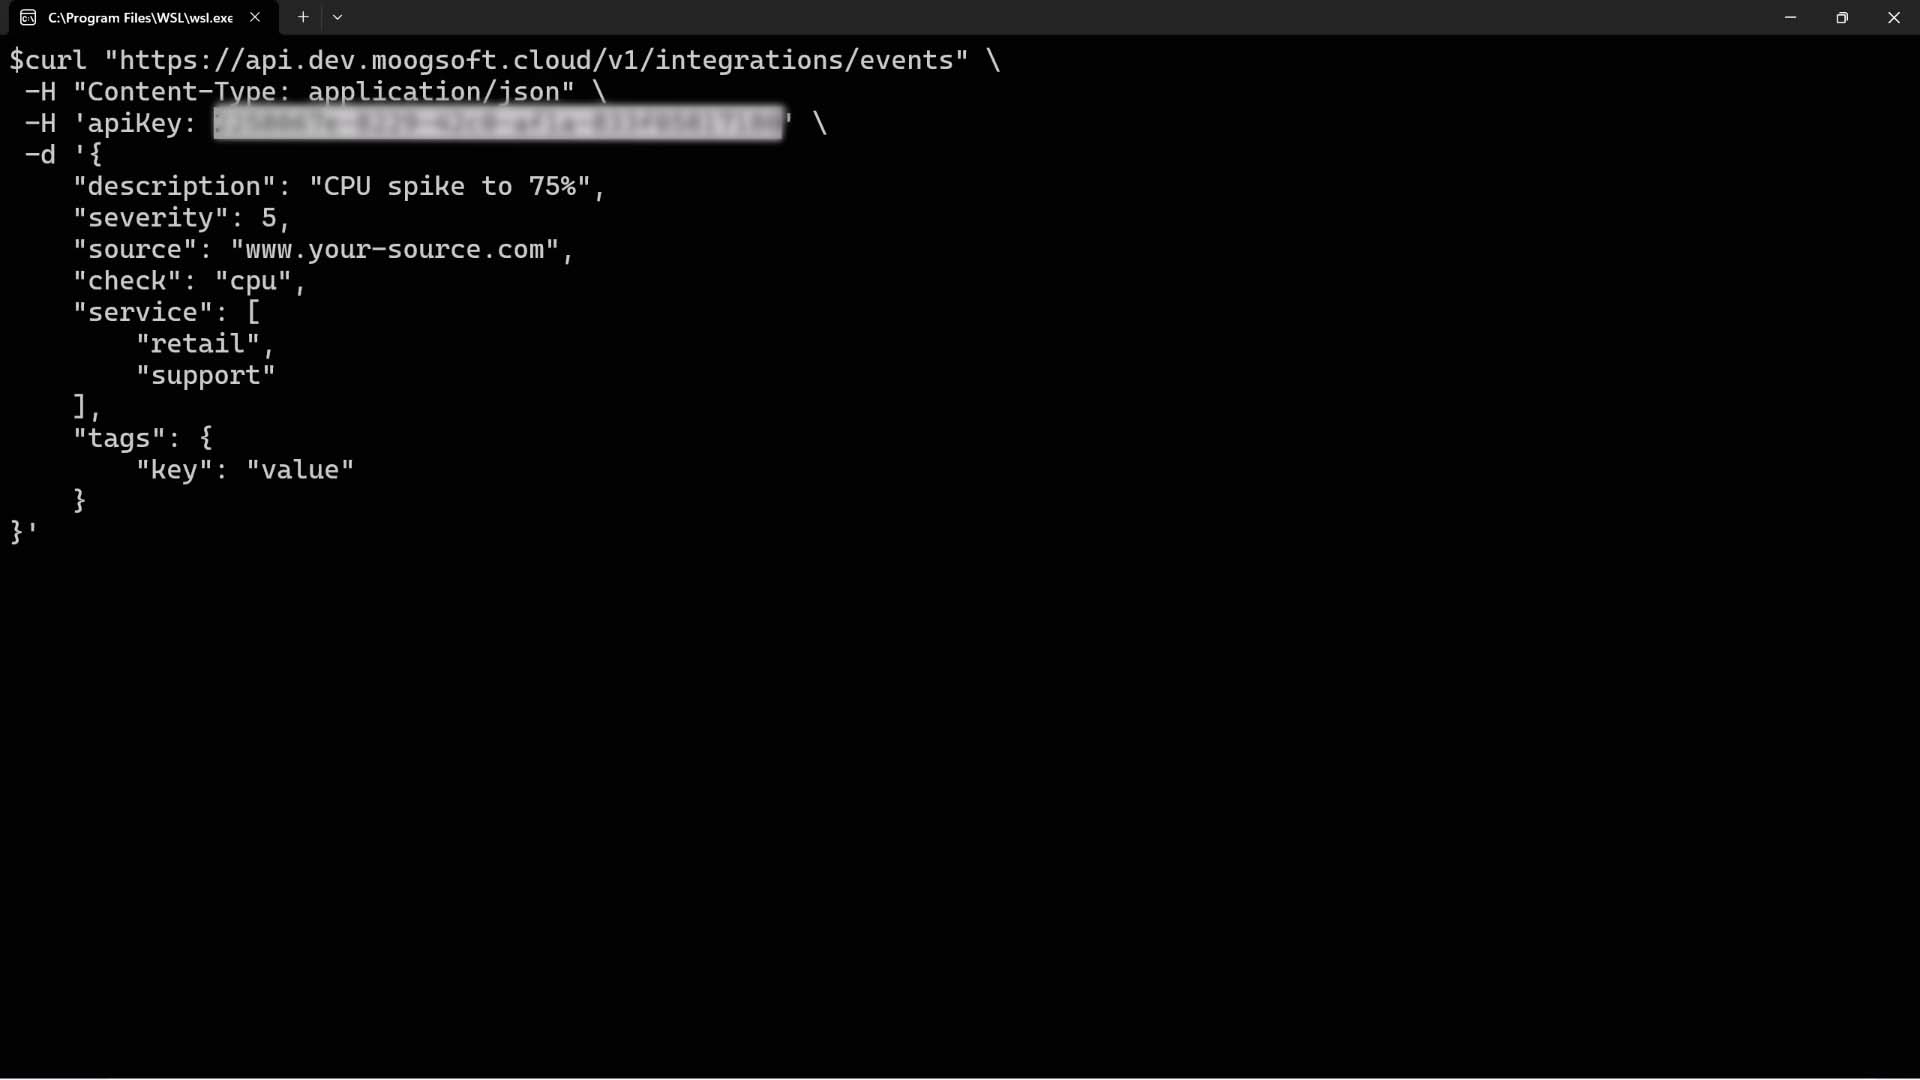
…paste it in a terminal… change the numeric severity to the critical value…and send it to Incident Management. Success!
Here is the resulting incident in Incident Management.
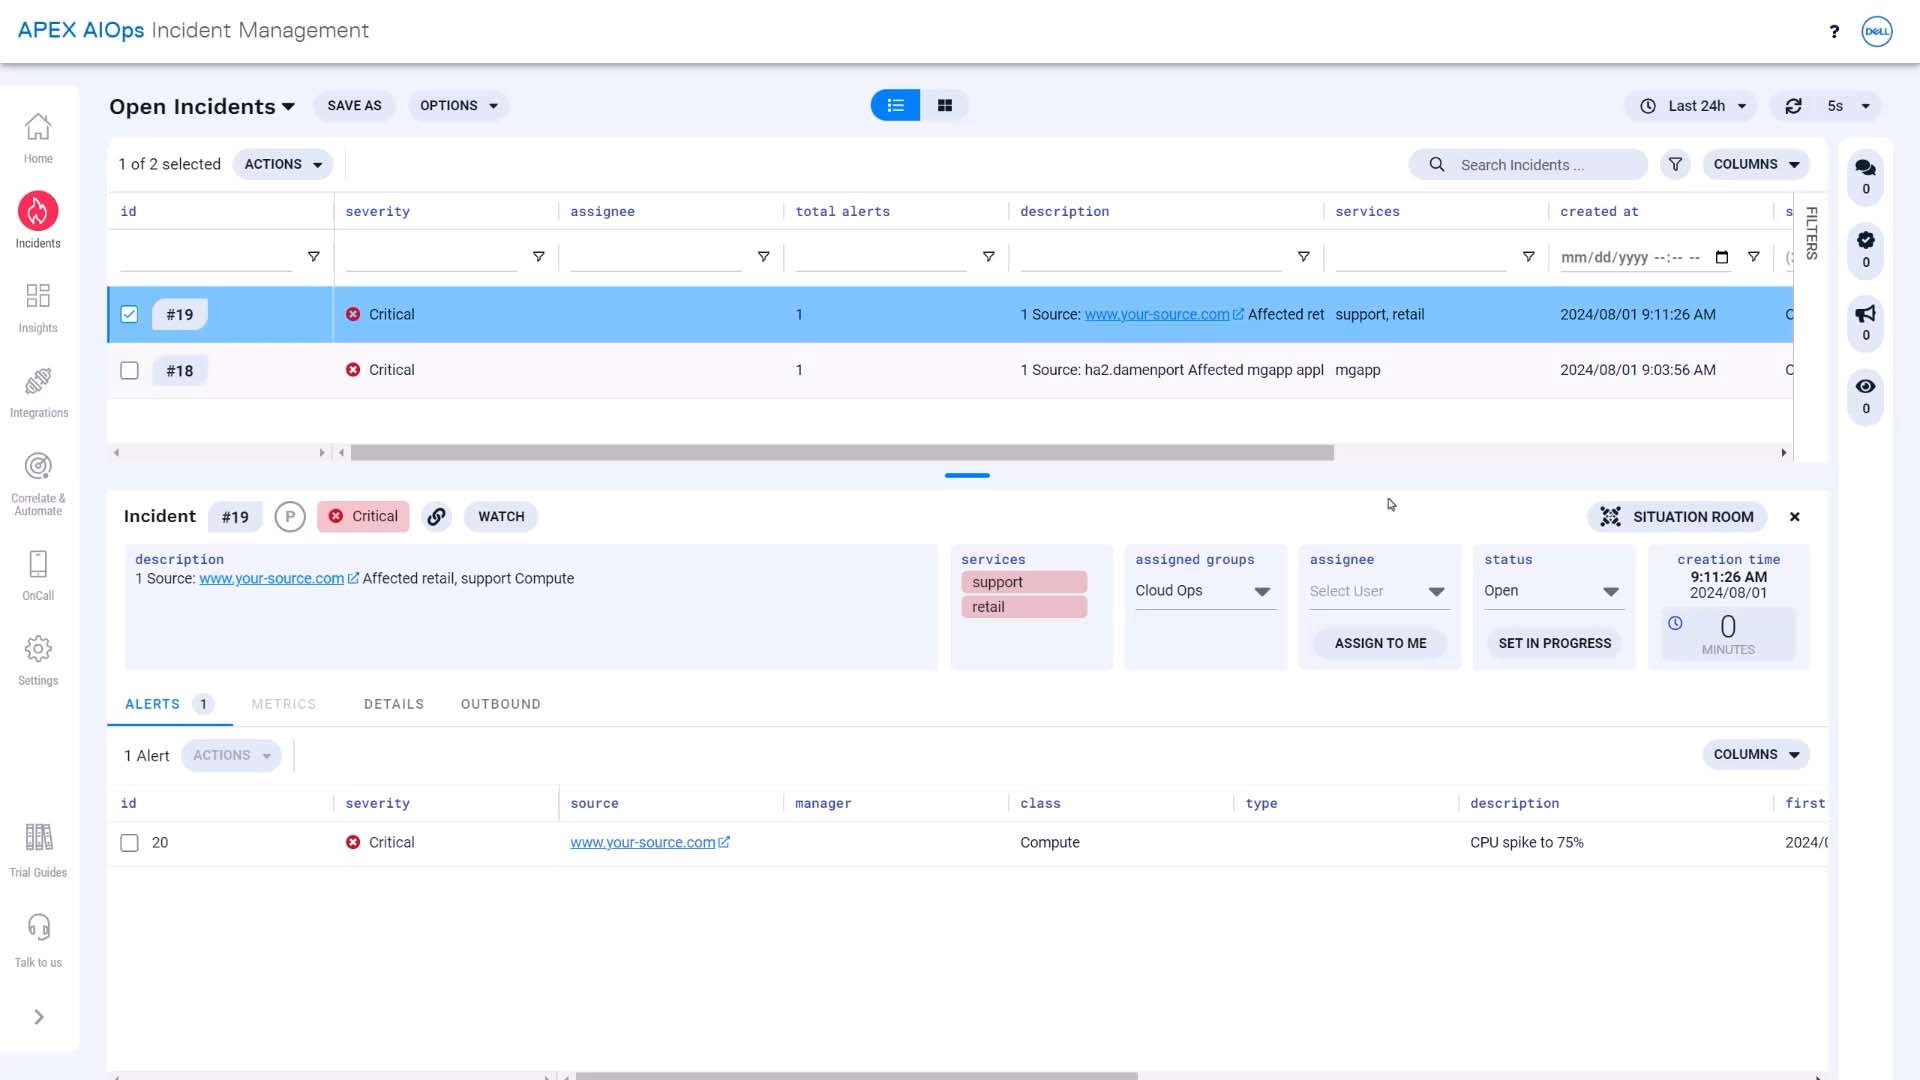
We’ve waited… and the event was sent to Datadog. Here it is in Incident Management with the Datadog link.
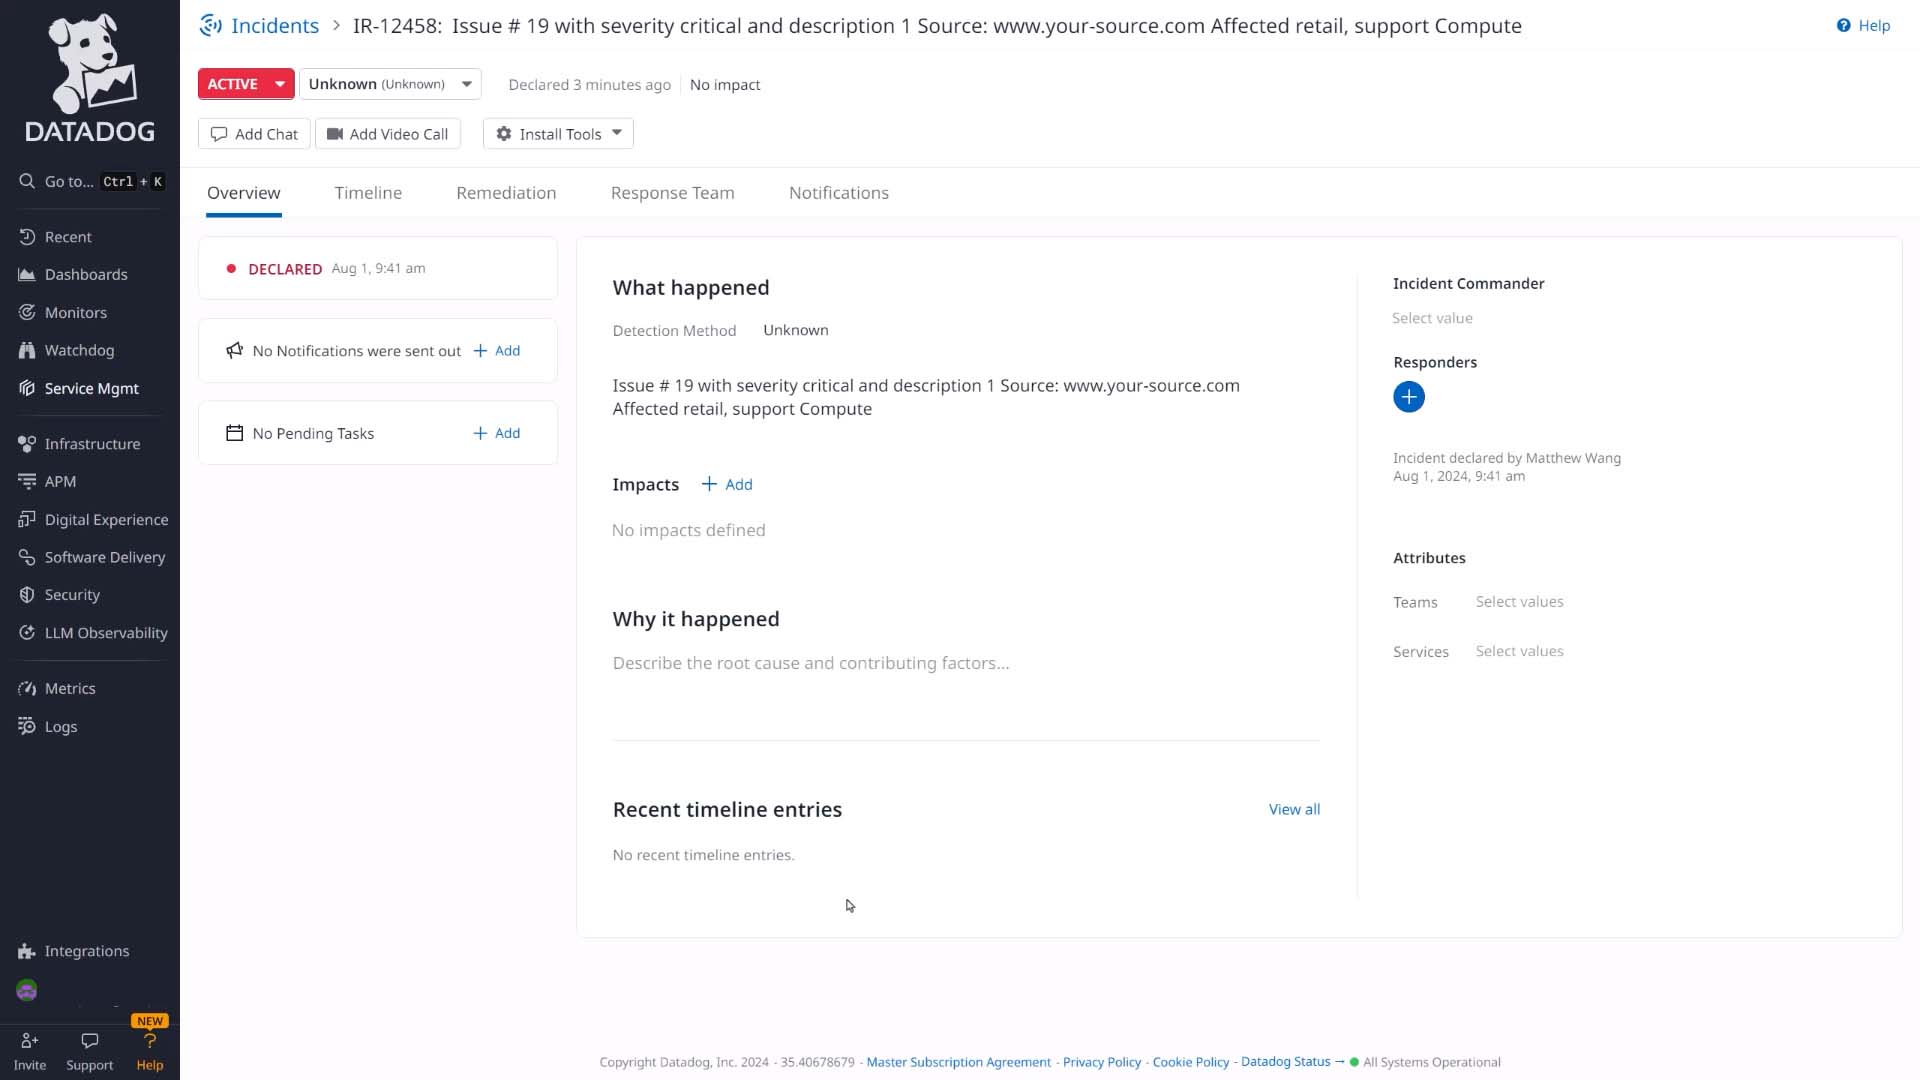
And here it is in Datadog.
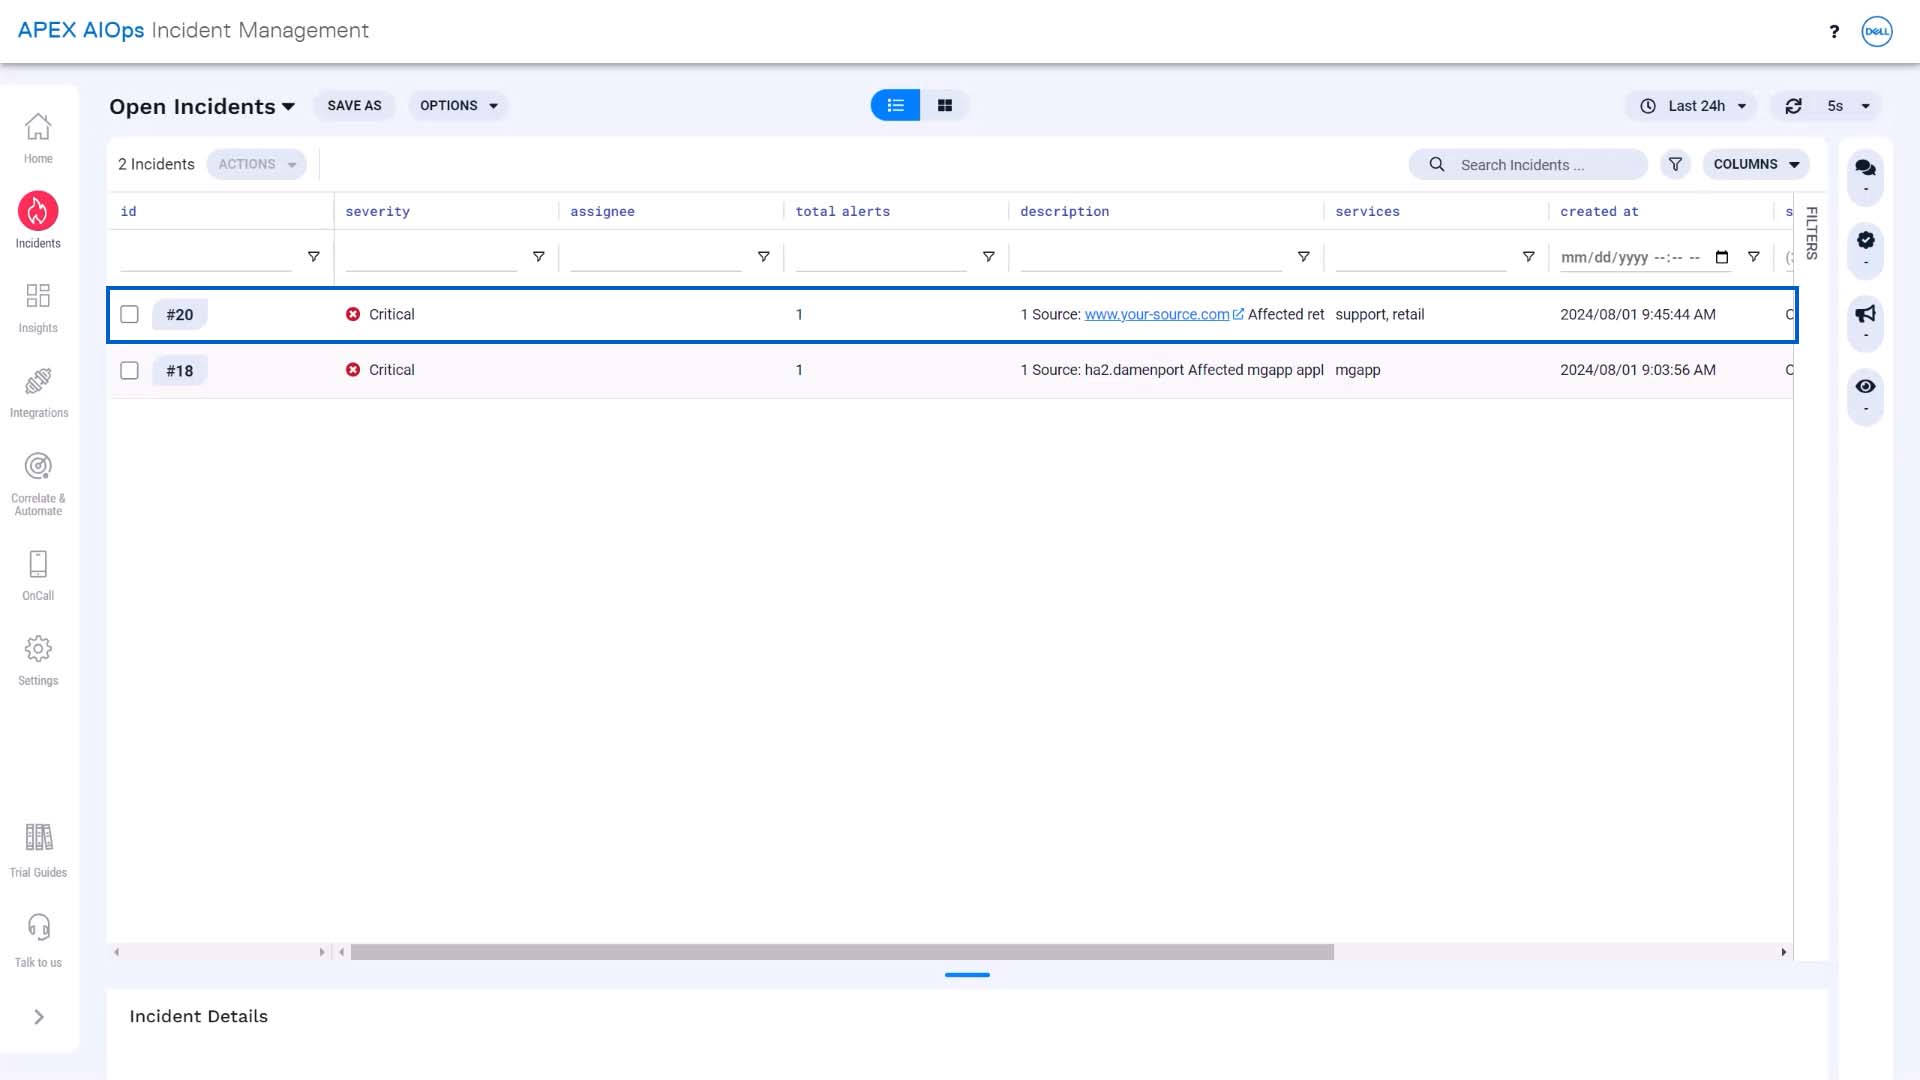
Let’s close this incident and run the test again. We’ll send another critical event. Here’s the new incident.
And now we’ll resend the event, but with a severity of 0, which is clear. Since nothing changed but the severity, Incident Management will deduplicate this event into the same alert.
And the alert change updates the incident… here’s the incident with clear severity.
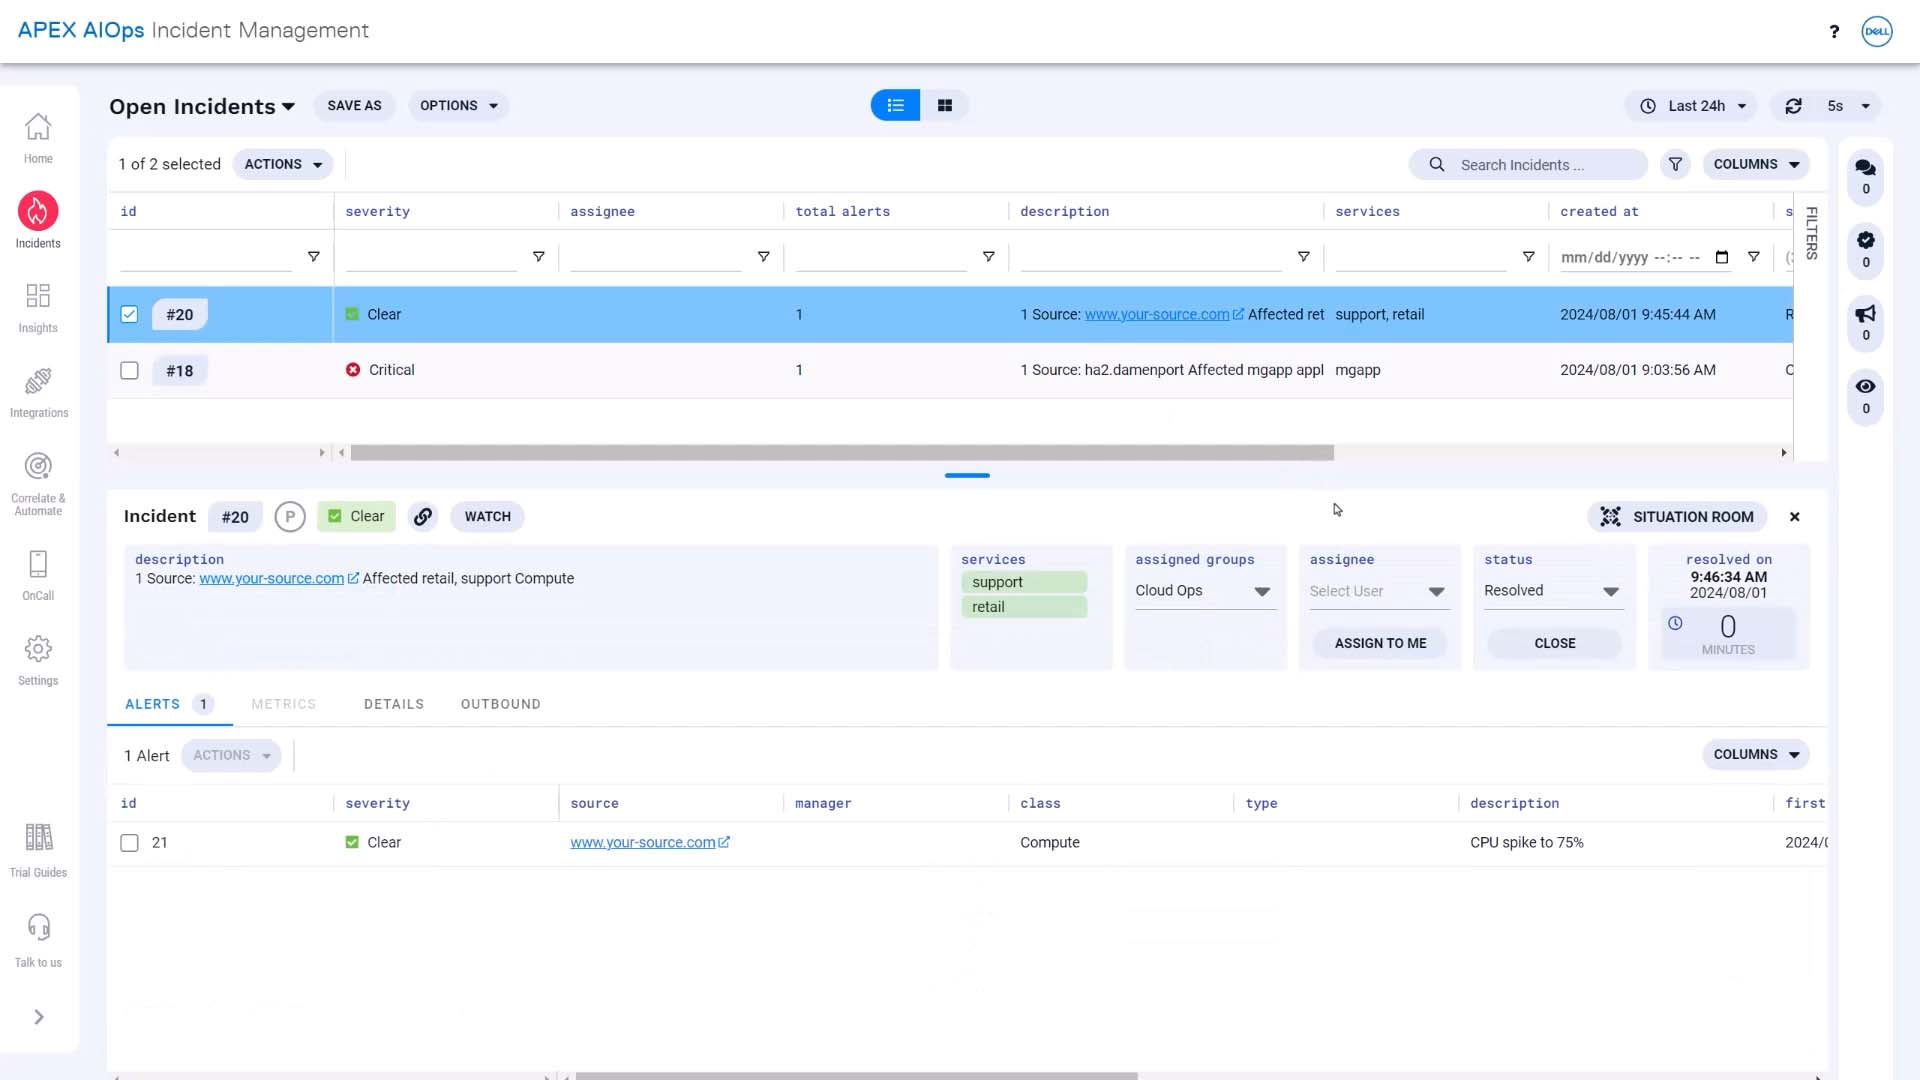
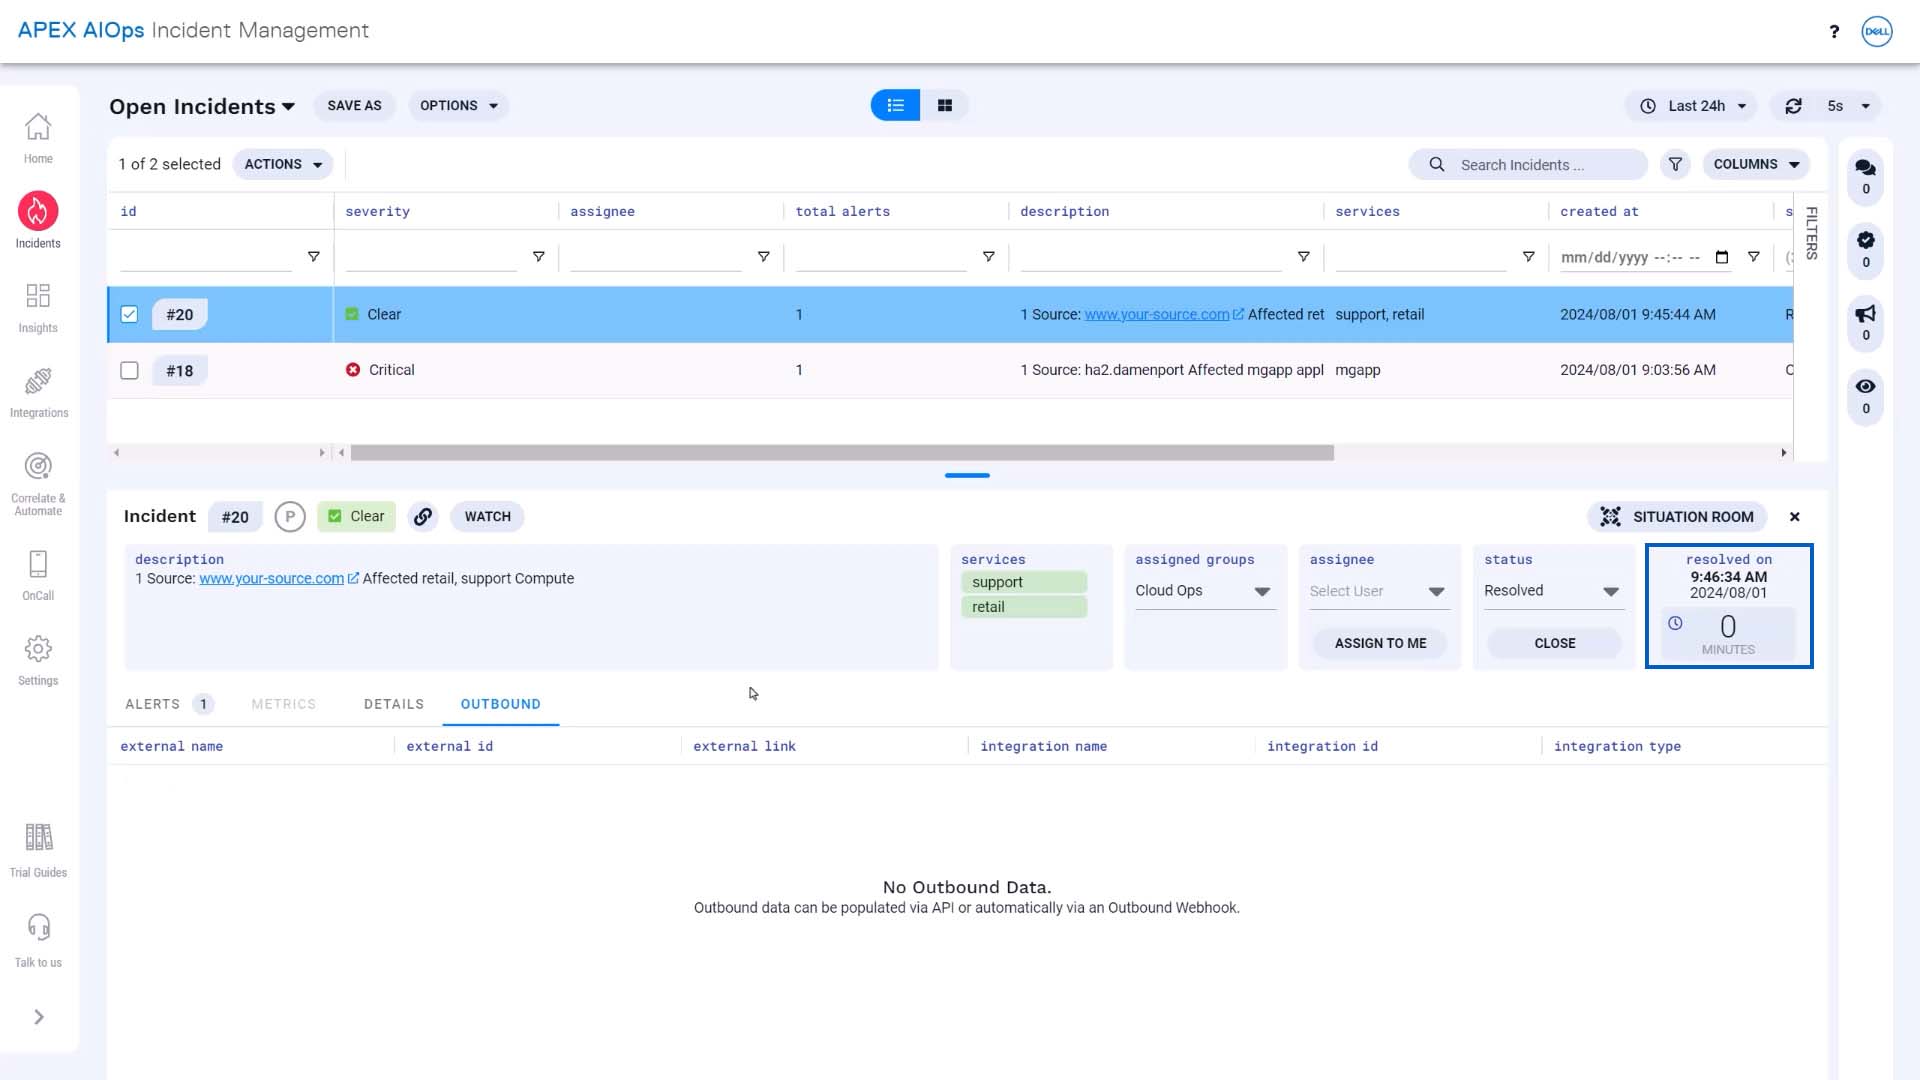
We’ve waited 30 minutes… and there is still no outbound information. The Incident Management incident was never forwarded to Datadog, because it cleared during the programmed delay.
We can see that it resolved in less than a minute. Our workflow is behaving just as we wanted.
Now you know how to create incident workflows. Thanks for watching!